How to update Gadget IO firmware on an Element
Written as of Eos Family software version 2.7.4
Upon booting your console or starting ETCnomad, you may be met with the following update notification:
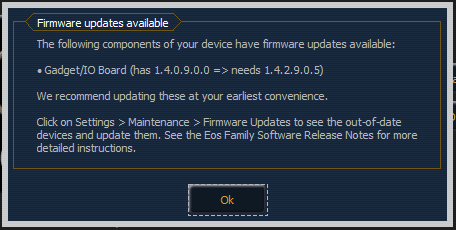
If you see this, it means your Gadget I/O board needs to be updated. The process is different depending on whether you have a Gadget I or Gadget II for ETCnomad, or whether or not your console's I/O board has an RJ11 phone jack or not. Based on these criteria, please follow the appropriate set of instructions below on how to update the Gadget I/O firmware.
If the console is prompting you for an update, the firmware file already exists on the console's hard drive. It just needs to be installed onto the Gadget or I/O board.
Gadget I and Gadget II I/O firmware can only be updated using an Eos family or Cobalt Family console, or a Windows PC. It cannot be updated on a Mac.
Gadget I and I/O Board with the Phone Jack
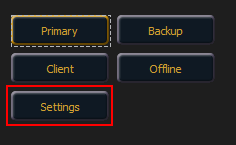
- From the ECU shell screen click the settings button:
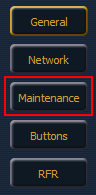
- In Settings click the Maintenance button:
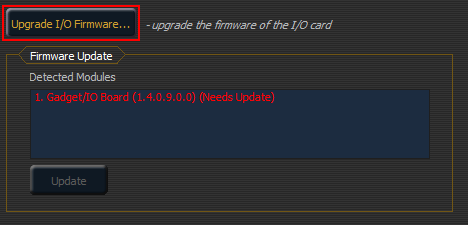
- Scroll to the Firmware Update section to see your Gadget I/O Board shown in red, notating that it needs updating. Click on the "Upgrade I/O Firmware..." button above the Firmware Update section:
- An I/O Downloader window will pop up and display "Please Connect Console" for 10-15 seconds before displaying "Please Download Firmware".

- From the File list choose the IO_CARD option with the largest number. At the time of this post, the correct file is "IO_CARD_v1_4_2_9_0_005.SRC".
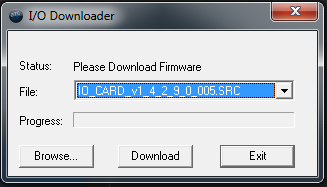
- Click Download to begin the update process, which typically takes around 10 seconds to complete.
- After the update, you'll see the display cycle back to "Please Connect Console" and then "Please Download Firmware." At this point, click the Exit button, then click Accept at the bottom of the settings menu.
- Shut down your console and reboot. If you're using ETCnomad, close the program, unplug your Gadget I, then plug it back in and restart ETCnomad.
Gadget II and I/O Board without the Phone Jack
- From the ECU shell screen, click the Settings button.
- In Settings, click the Maintenance button.
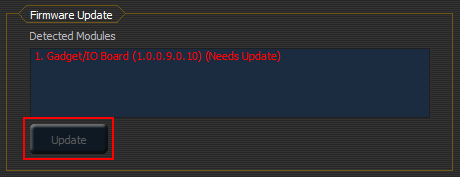
- Scroll to the Firmware Update section to see your Gadget I/O Board shown in red, notating that it needs updating. Click on the Gadget I/O Board in the list, then click the Update button below Detected Modules.
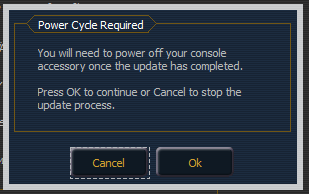
- Click OK on the prompt notifying you that a power cycle of the console/device is required after the update.
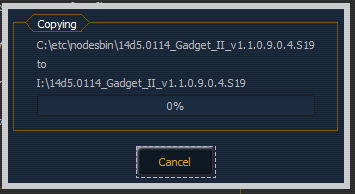
- Select the Gadget II option with the highest version number. At the time of this post, the correct file is "14d5.0114_Gadget_II_v1.1.0.9.0.4.S19".
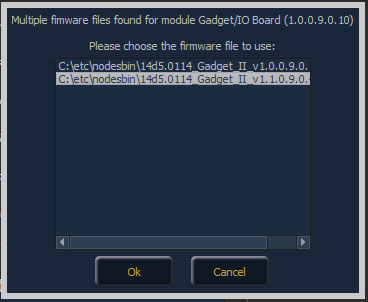
- Click OK to being the update process, which typically takes around 10 seconds to complete.
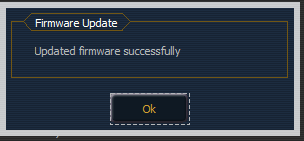
- Click OK on the window notifying that the update was successful.
- Click OK on the window asking you to power cycle the console, then power cycle the console or disconnect and reconnect the Gadget II if using ETCNomad.
- Upon restarting or re-plugging your device, it should be ready for use. If you encounter any issues, please contact ETC technical services.
Video Explanation