How to replace a peeling Eos Ti wrist rest
Summary
If the soft touch on your Gio, Gio @5 or Eos Ti wrist rest is peeling or damaged, and you'd like to make it look and feel spiffy and new again, you can order a wrist rest replacement kit and follow the instructions below.
Required Tools/Materials
- Gio wrist rest service kit, ETC part# 4240K1030
or - Eos Ti wrist rest service kit, ETC part# 4350K1030
or - Gio @5 wrist rest service kit, ETC part #4390K1030
- Cardboard and/or towel to cover and protect screens
- #2 phillips screwdriver
- 1/16" allen/hex key
Instructions
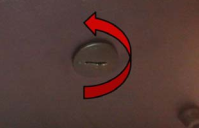
- Open the facepanel control section using a coin or large, flat screwdriver on the latches under the front of the console.
- Place some cardboard, towel, or some sort of protection over your screens to protect them from falling pieces in the following steps.
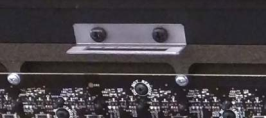
- Take note of the position of the latch brackets attached to the underside of the control panel. They will need to be removed with the wrist rest.

- While HOLDING the wrist rest, remove the screws along the front that retain the wrist rest. BE SURE THAT THE REST DOES NOT FALL OFF AND BREAK YOUR SCREEN!!!

- Install the new wrist rest in the same manner it was removed taking care to reinstall the latches in the correct position. Feel free to reuse the old fasteners, or there are new ones included with the kit if you lose one/some. But be sure to use the same size of fasteners though, as the kit includes both metric and standard. If you compare the threads, the metric and standard difference will be clear. Use the same as the old ones.

If replacing a Gio@5 wrist rest, you can skip the rest of this article which pertains to replacement of the thumb rests. The @5 kit does not include thumb rests. If your thumb rests need to be replaced as well, they can be purchased separately.
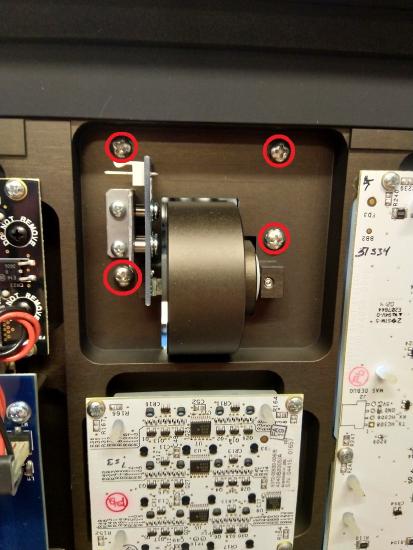
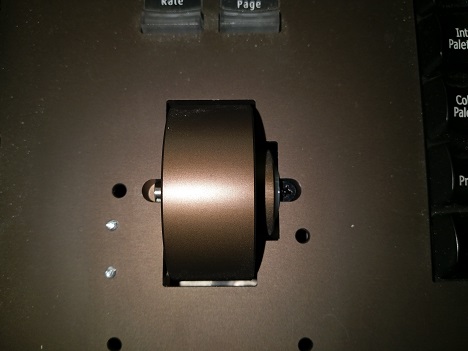
- NOTE: If your level wheels are already attached to the control panel from underneath and do not look like the picture below, then you can simply replace your thumb rests by removing the 4 screws shown, and skip to step 11 to attach the new ones.
While HOLDING the level wheel AND thumb rest from the top, remove the 4 screws that retain the thumb rest around the level wheel from below. The thumb rest retains the level wheel such that, upon removal, the level wheel will be loose. Remove the level wheel and set it aside. BE SURE NEITHER THE WHEEL NOR THE REST FALLS OUT AND BREAKS YOUR SCREEN!!! Repeat for the other wheel and thumb rest.
- Clean up the area around and under the thumb rests on the top of the control panel.
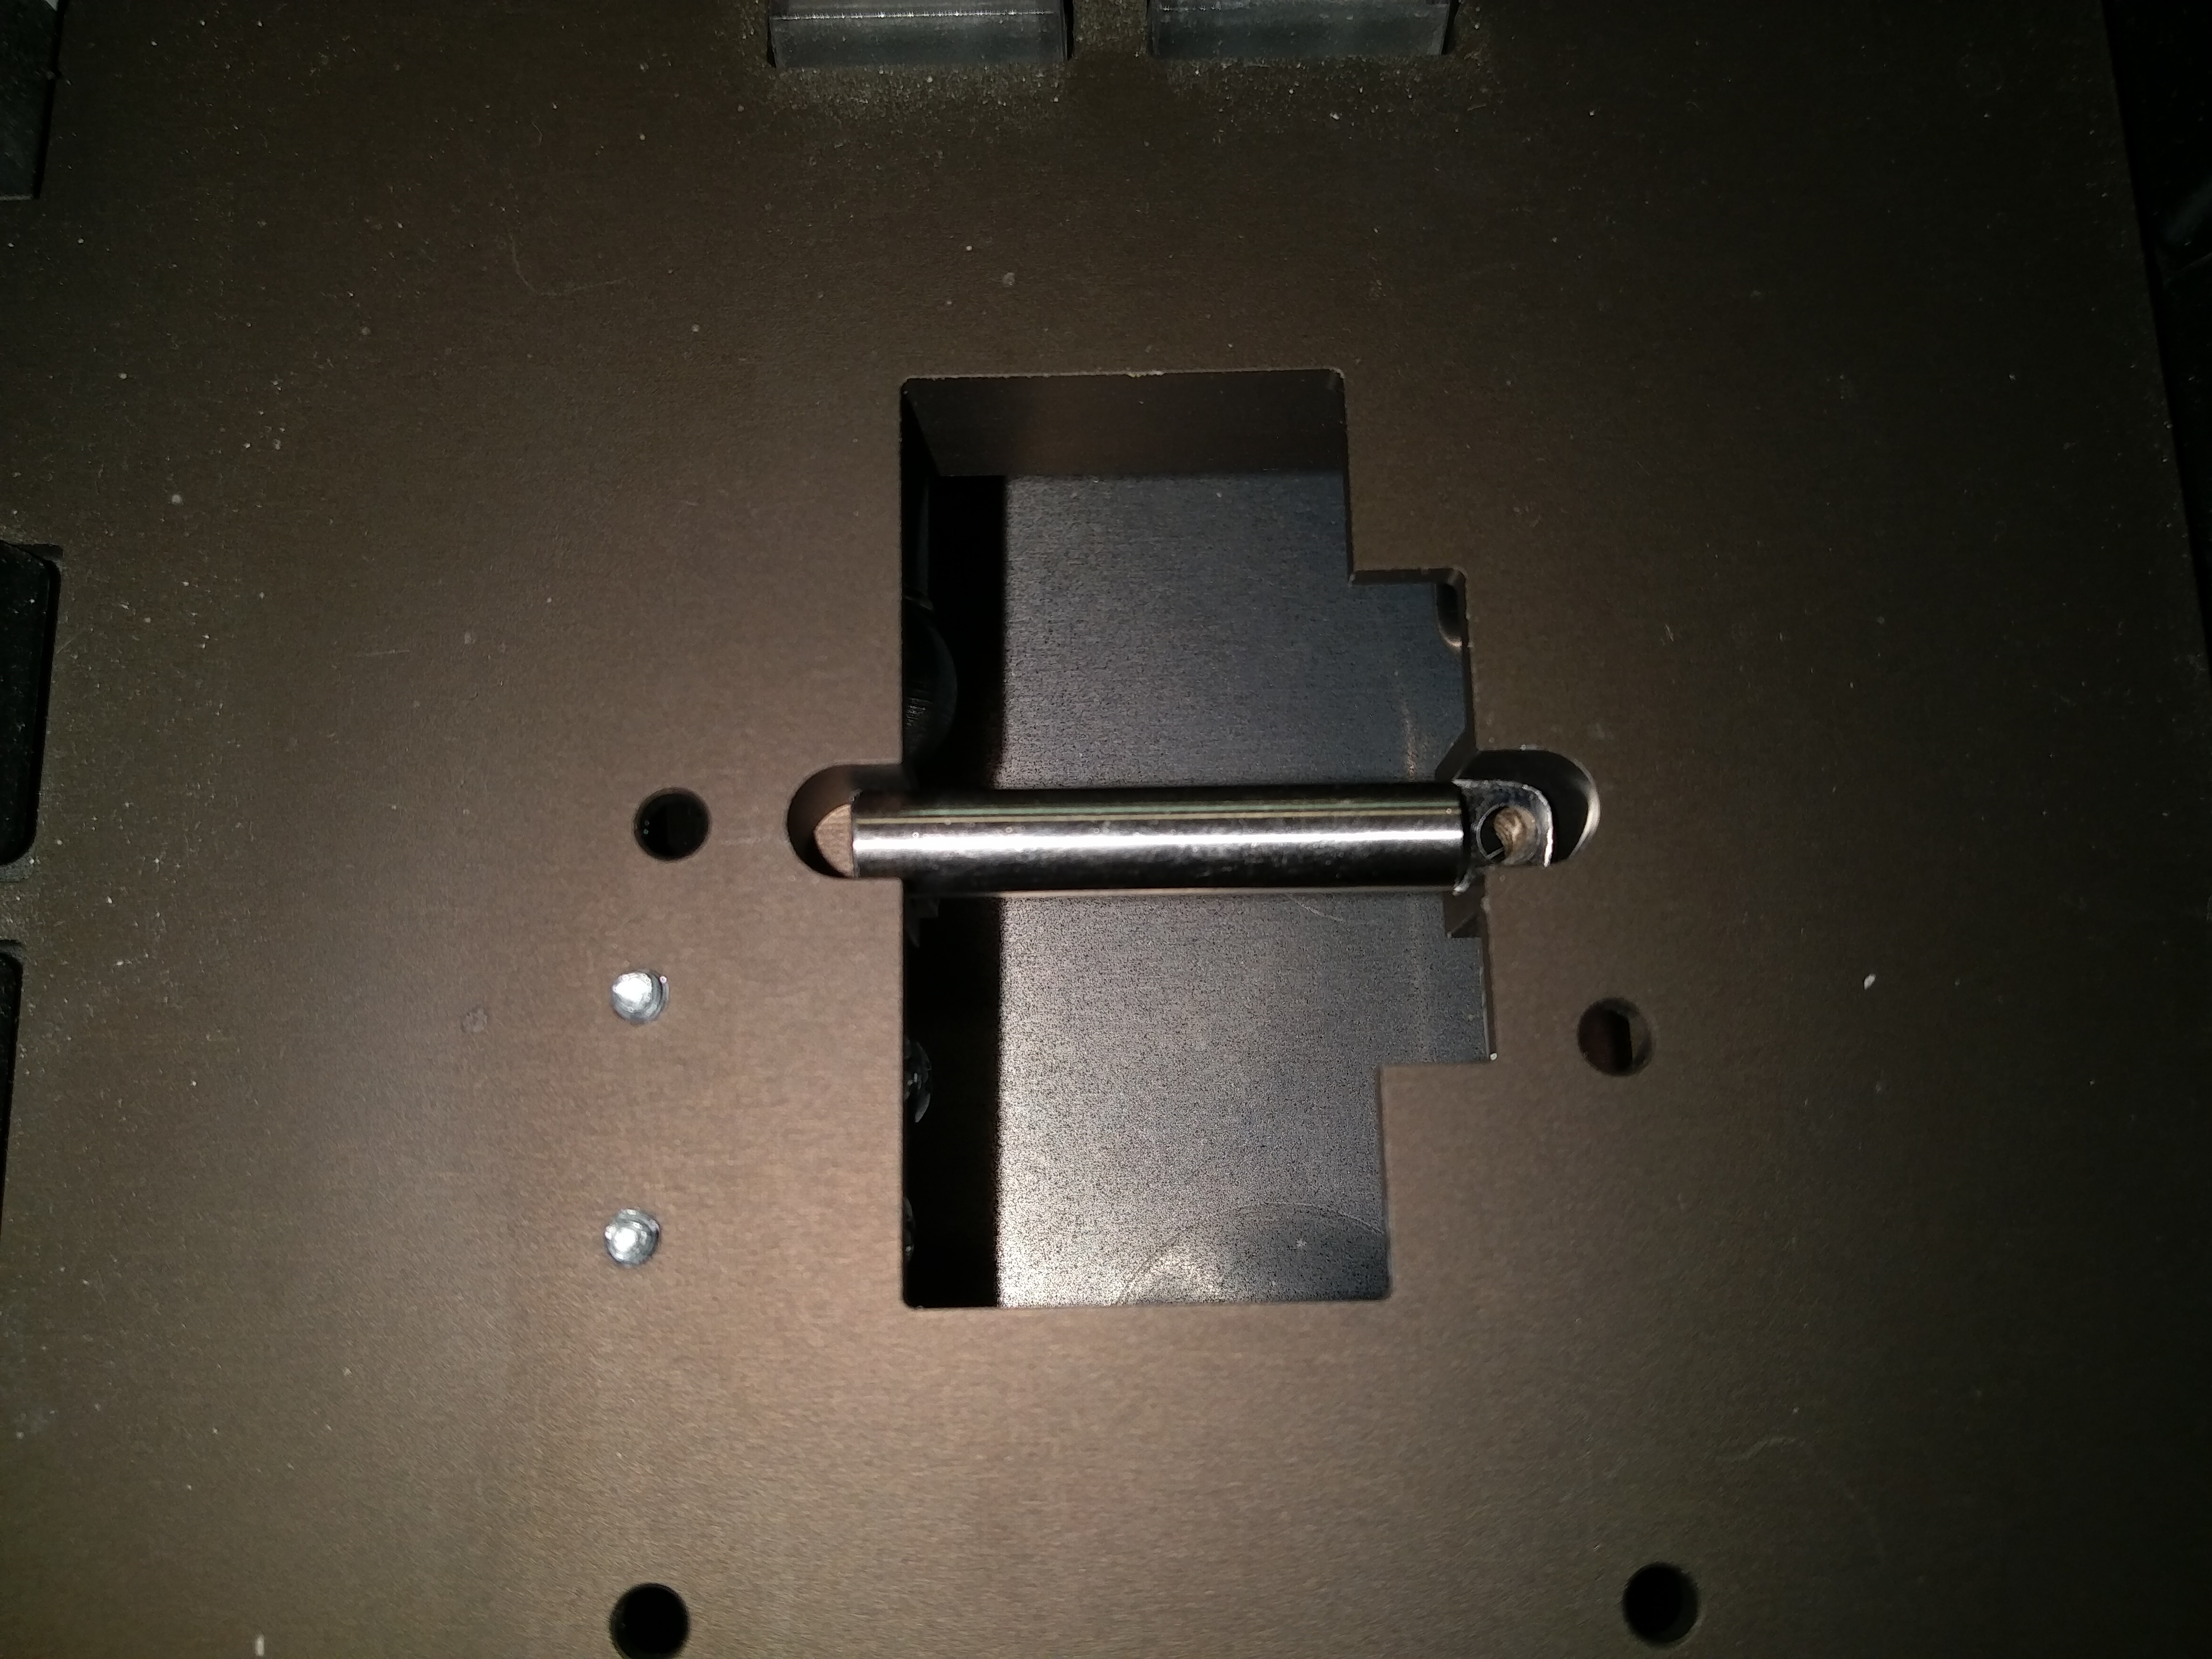
- Replace the level wheel shafts taking care to retain the brass sleeve and nylon washers on either side. You may need to clean and lube the inside of the brass sleeve for a smoother spinning wheel.
- Remove each level wheel shaft set screw using a 1/16" allen wrench.
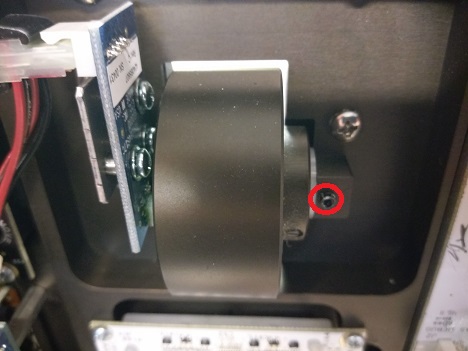
NOTE: If you have one of the very first releases of Gio you may not have a set screw, and the thumb rest screw holes may be too small for the new metric hardware. If so, you have 2 options:- Keep your old thumb rests and reinstall them as they were with the old level wheel shafts and screws.
- Install the new thumb rests with the old level wheel shafts. Unfortunately, this will make your level wheels a bit loose. The new thumb rest screws WILL fit through the smaller holes, but they will have to be forced to do so with a screwdriver. Be careful not to apply pressure on the hinges, and hold the facepanel from behind when applying pressure to start the screws. Once they catch, they will pull themselves through. Keep going until they bottom out and keep turning.
- Close the control panel and reinstall the level wheels with the new shafts and nylon washers on either side. Be sure the screw hole is on the right and the flat part of the shaft faces UP.
Using the supplied screw, attach the shaft to the panel screwing it into the newly vacated set screw hole. CAUTION: Do not overtighten as the aluminum will easily strip.If you do happen to strip the threads in the aluminum panel, we have included 2 nylock nuts that you can install on the shaft screws from the under side of the panel to secure them. They will stick out about 1/8" from the under side of the set screw hole, giving enough purchase for the nut.
- Install the new thumb rests using the supplied METRIC screws. Be careful not to over tighten.