Electronic Theatre Controls Inc

Replacing the Main Playback on Gio @5

Gio @5 Main Playback Replacement 

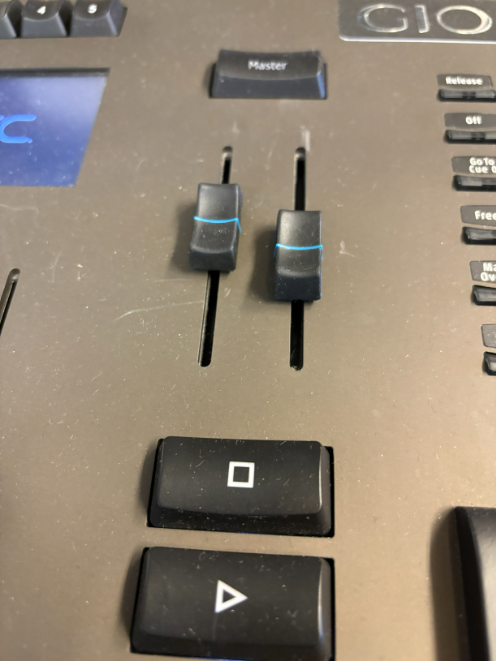
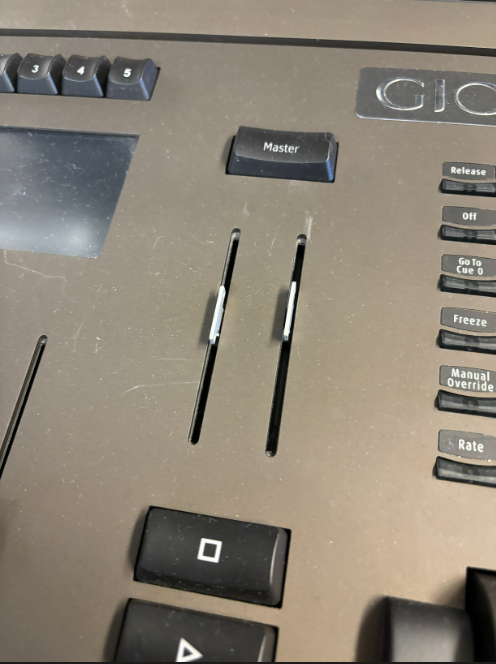
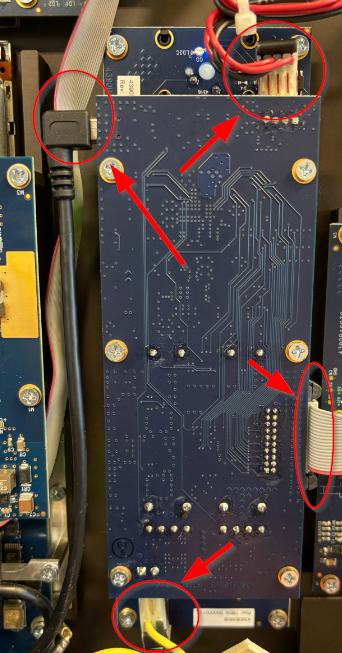
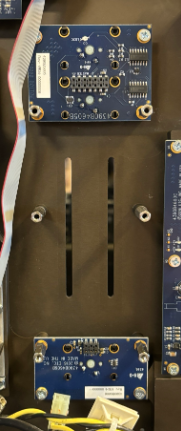
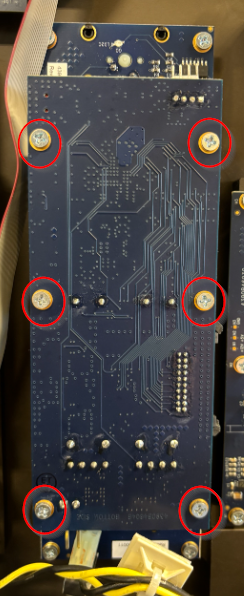
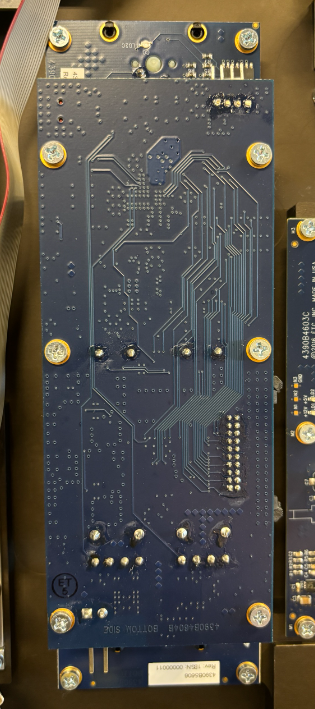
If instructed and given parts through Tech Services, here are the steps in replacing the Main Playback board on an Gio @5. 

Fix/Solution

  • Turn off the console 
   
  • Remove caps on faders
clipboard_e334a9f5d7d5dd5cc3ffb5d4327dafaf4.png clipboard_e73750b5a5720b59eaa355e53a6a036f2.png
  • Open Console
   
  • Remove cables going to the PCB
    • Remove ribbon cable on right going to the half moon keys
    • Remove connection to wheel on top
    • Remove USB connection on the top left
    • Remove power connection on bottom left
clipboard_e3f61df34eb49c0a36f78133ec92a7d5c.png clipboard_ebc8c5056bb8b932c67626576f0def520.png
  • Remove screws highlighted
clipboard_eb3179ebe2ff1aeb9bb692e7bd86e6a9a.png
  • Pull board straight out
clipboard_ecfbe1907c6e6174a5a98207a8fbde5f5.png
  • Place new board into location lining up pins on top and bottom
   
  • Replace Screws
clipboard_ed49649cc34b19d20e8bca84b98138a0b.png
  • Reconnect cables going to the PCB
clipboard_ed1f7a45ab6961cc43d82cd046bdb6027.png clipboard_e3f61df34eb49c0a36f78133ec92a7d5c.png
  • Close Console
   
  • Replace caps on faders.
clipboard_e73750b5a5720b59eaa355e53a6a036f2.png clipboard_e334a9f5d7d5dd5cc3ffb5d4327dafaf4.png

Related Links  

  • Was this article helpful?