How to Open Source 4 LED
The information in this post is provided to assist in troubleshooting. Perform work at your own risk. ENSURE ANY POWER FROM DEVICES HAS BEEN DISCONNECTED BEFORE SERVICING ANY EQUIPMENT. If you do not feel comfortable performing the work, please contact us or your local service center. Be aware that ETC and its Affiliates are not responsible for any damage or injury caused by service of our products by anyone other than us or our authorized service providers, and such damage is excluded from the product’s warranty.
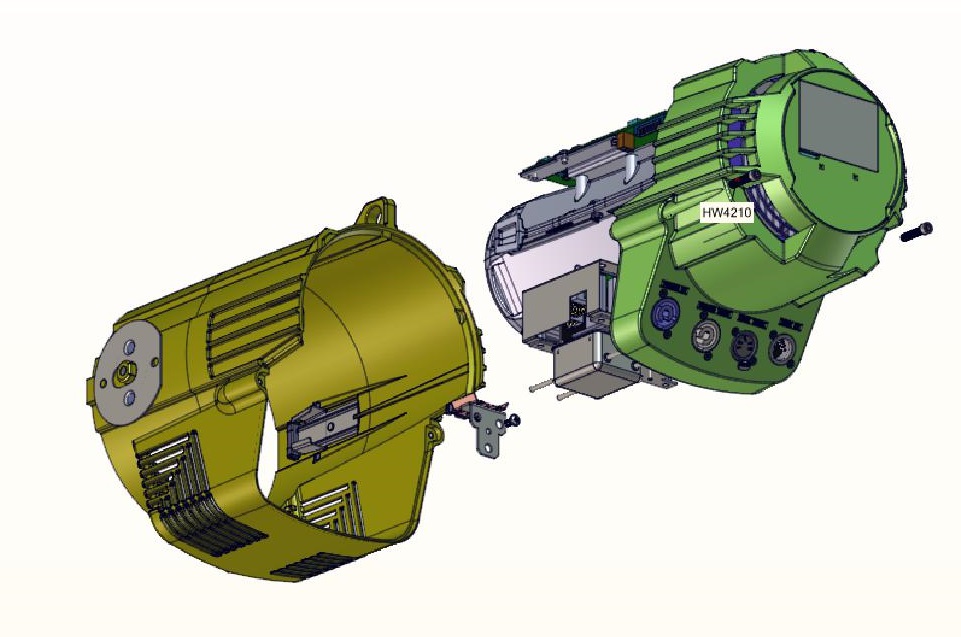
Accessing PSU and Control PCB
From the rear, using a 4mm hex key, remove the 2 bolts (HW4210).
Withdraw the rear section from the body
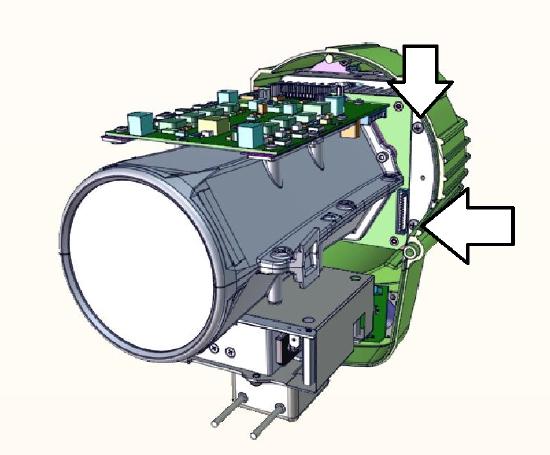
Accessing Fan, Display, PowerCon Connectors, XLR Connectors
Disconnect the display ribbon cable and the fan power connector from the control card
Remove the 4 screws (2 on each side) as show in the image.
Withdraw the lens assembly
Remove the 4 screws (HW1662) to release the intake cone (7460A4011). Note: this step releases several small components, including rubber bumpers not shown here. Take note of where these come from for reassembly. If in doubt, contact ETC Technical Services.
