SolaSeries Software Update Procedure via USB
Step One:
Obtain new released software files from the High End Systems Lighting Fixtures webpage at: https://www.etcconnect.com/Products/High-End-Systems/Lighting-Fixtures/
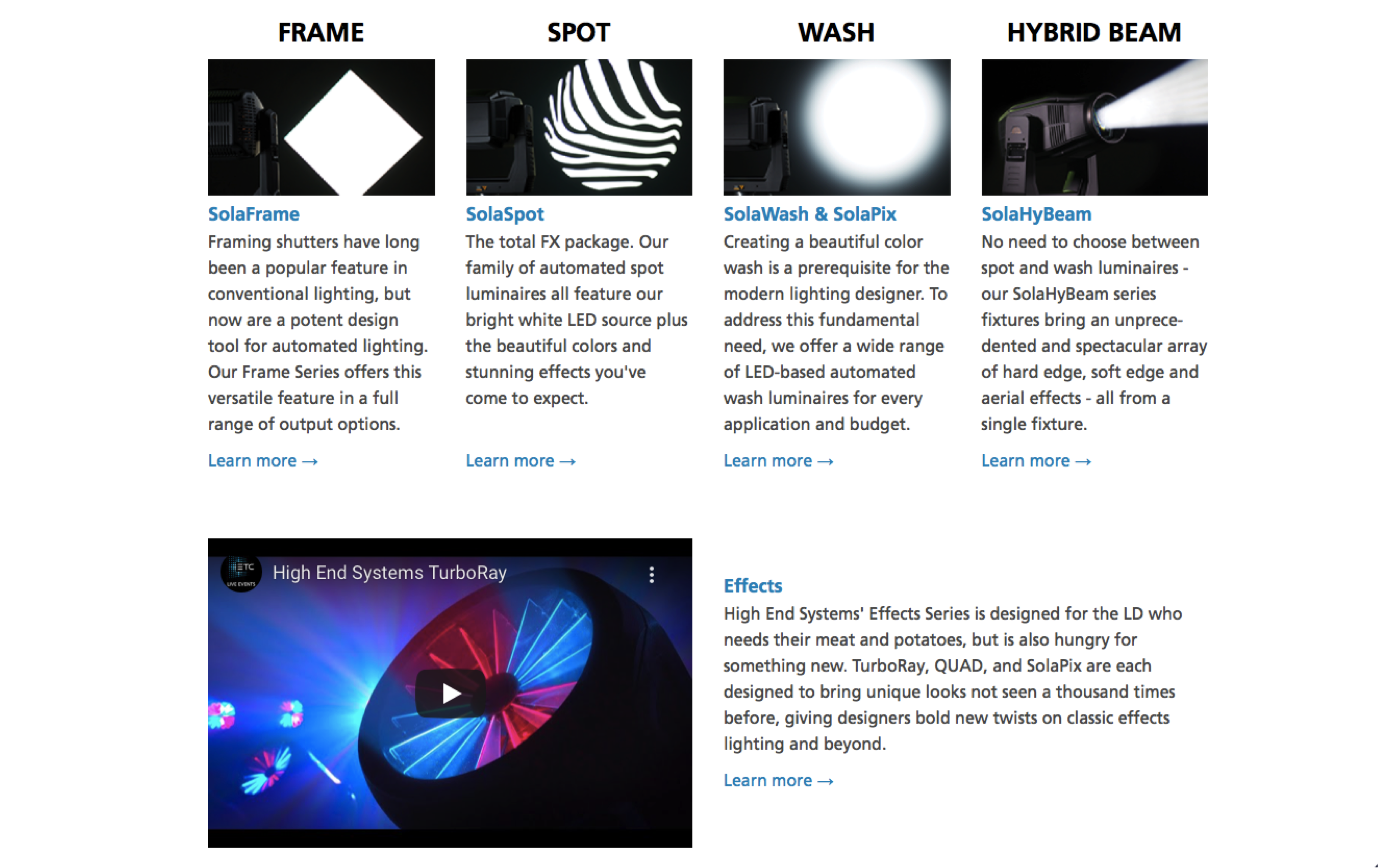
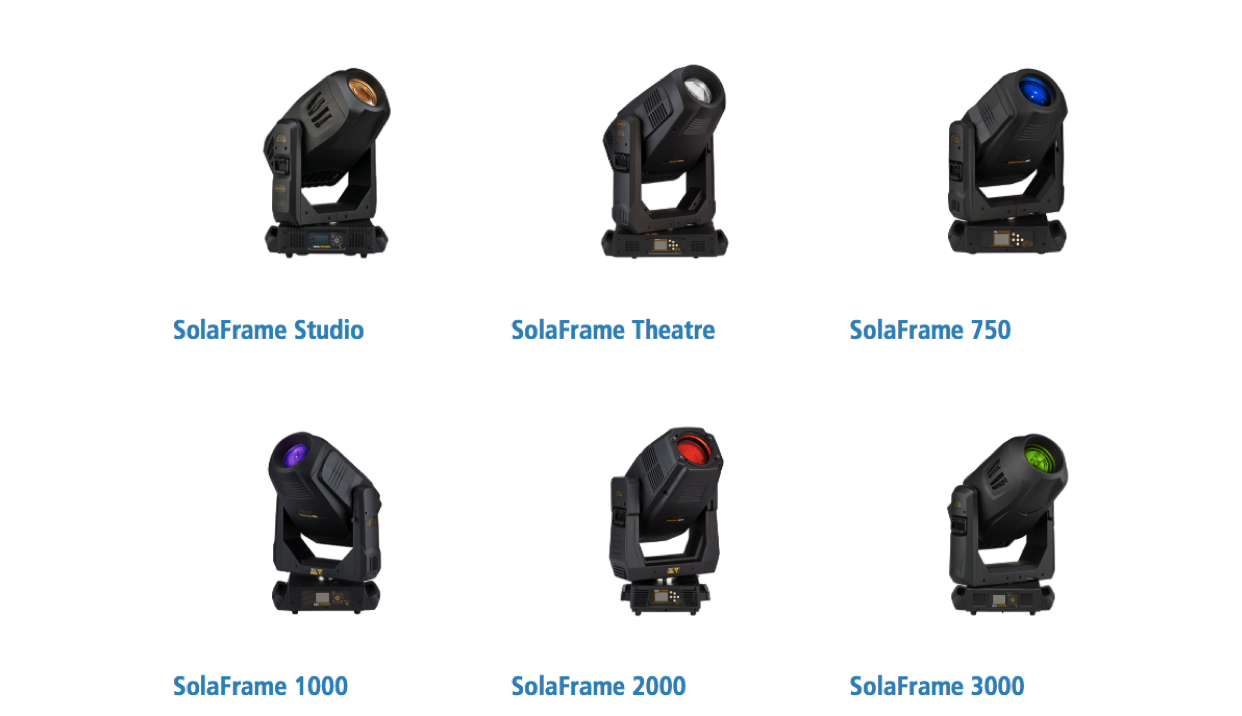
Navigate by fixture family (Frame, Spot, Wash, Hybrid Beam, Effects) to locate and select your product
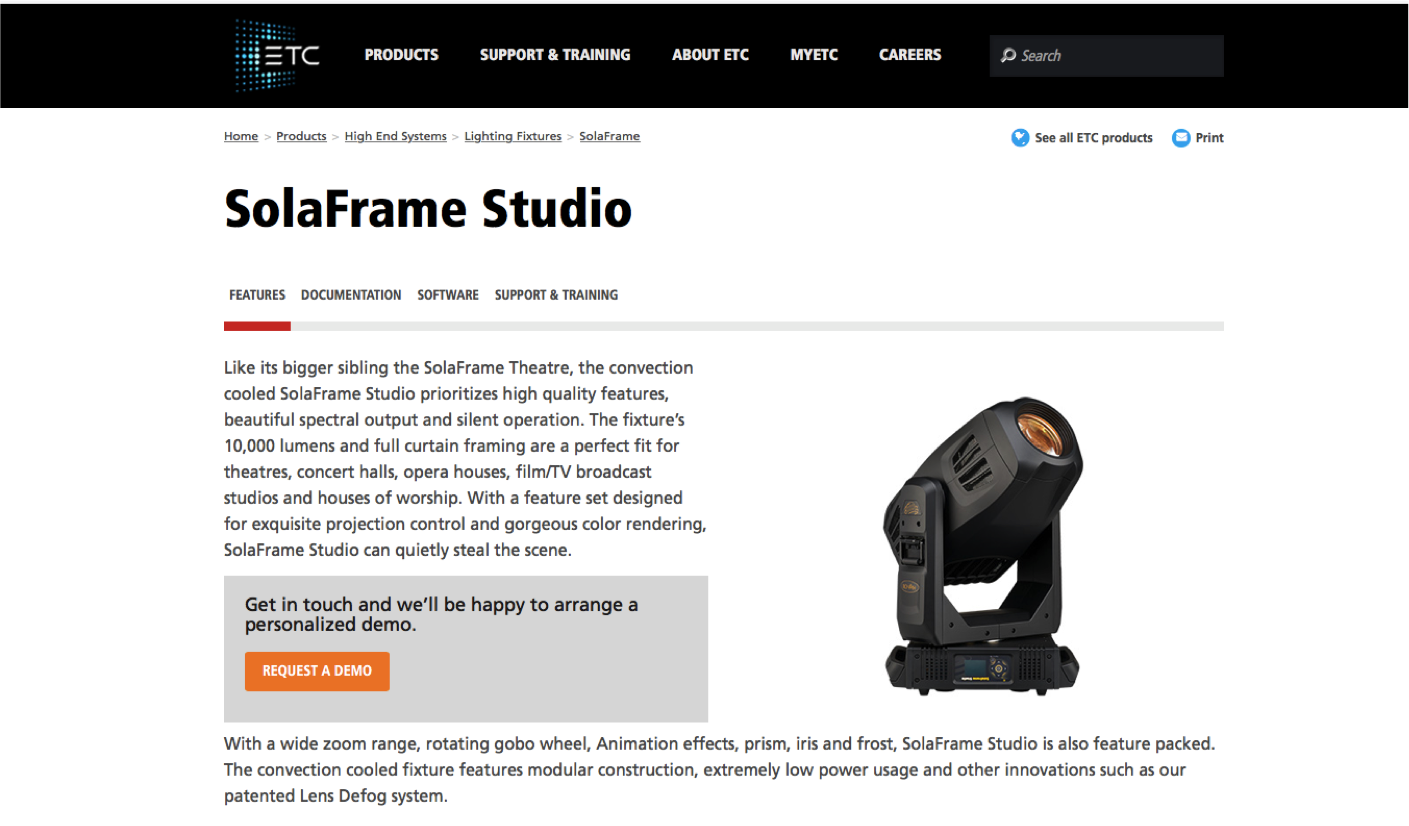
Click the Software tab at the top of the product page and click the highlighted software link to download to your computer
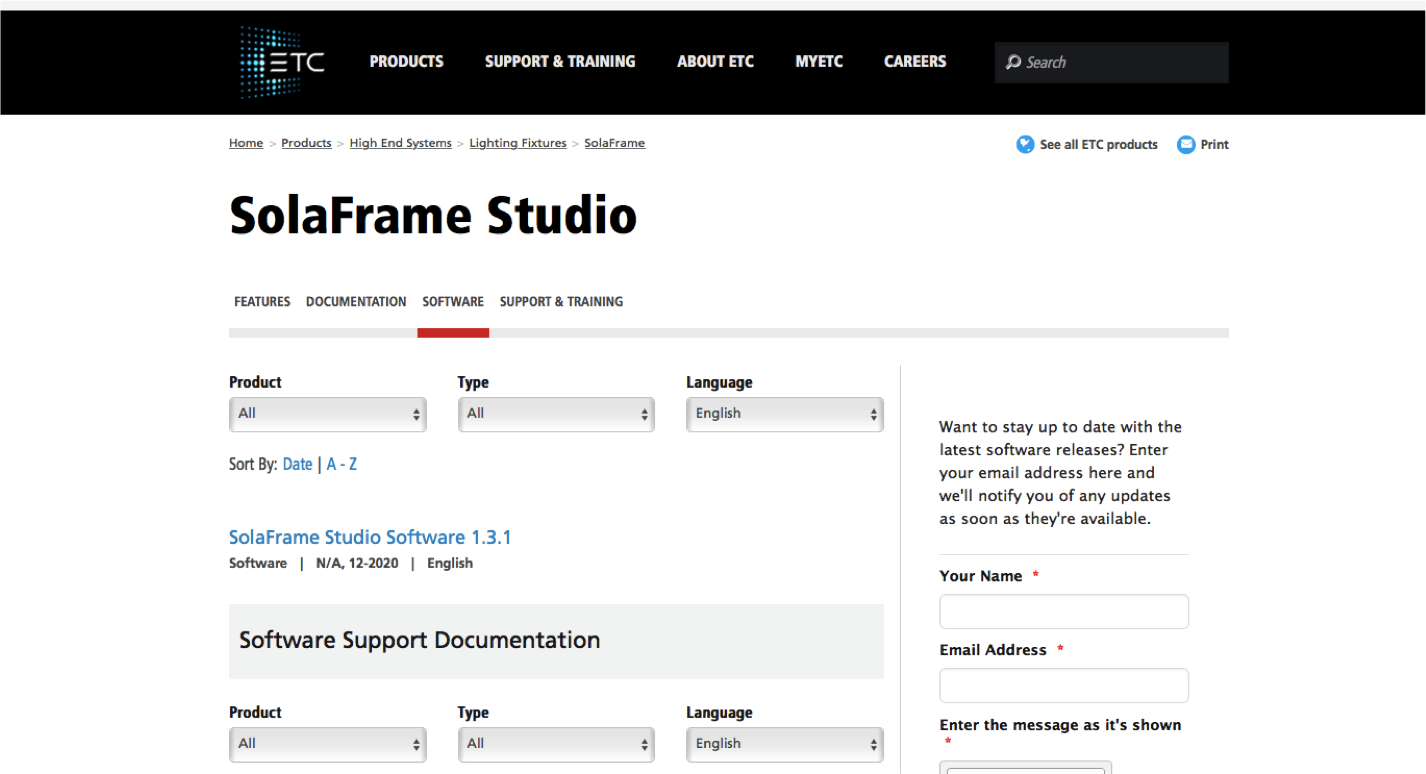
Pro Tip: There are several files within the .zip file. You will need to unzip the file you download
.GSD files are for individual PCB updates and will need to be accepted manually after each packet uploads
.HYD files are for all PCB updates and will automatically trigger the next packet upload when finishing the previous
.NCW files are for USB updates only and can only be used on fixtures that support the USB software install
Step One: Plug the USB into your computer with the downloaded software files & copy the .NCW file to the USB drive.
Step Two: Apply power to the fixture
Step Three: After fixture has homed, plug the USB drive into the USB socket on the fixture
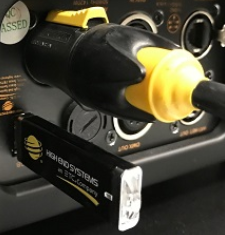
Step Four: Enter the menu system by pressing and holding the MODE/ESC button on the display of the fixture
Navigate to SET → USB Update and press the Enter button
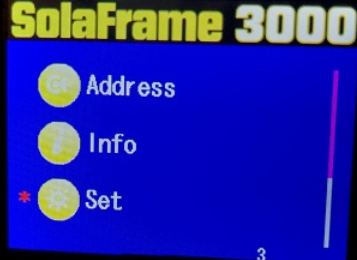
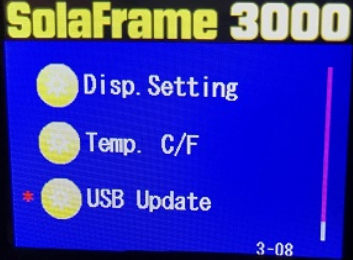
Use the menu buttons to select the proper *.NCW file and press the Enter button to select the file
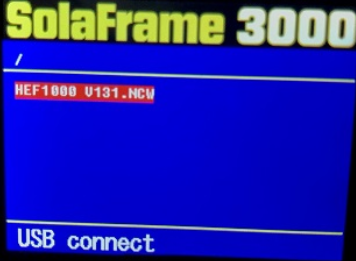
The "Update Fixture?" box will show on the display. Select YES and press Enter
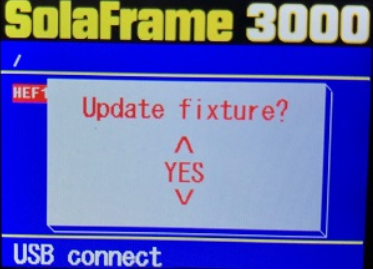
Do not remove the USB drive while the read LED is lit.
After updating all processors, the display will read SUCCESS and the fixture will reset
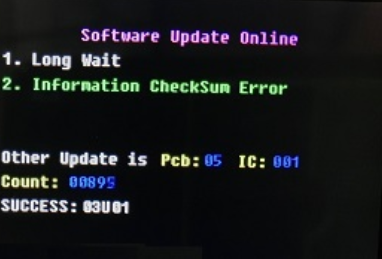
Step Five: Remove the USB drive from the fixture
NOTE: If the fixture update was a success, you will be able to verify the correct software version on each PCB by navigating to INFO > Software Version and scrolling through each PCB in the display menu of the fixture

