SolaFrame 3000 Tilt Lock Replacement Guide
- Last updated
- Save as PDF
Applies to: SolaFrame 3000, SolaSpot 3000
What you will need: New Tilt Lock, Phillips Screwgun/Screwdriver, 7mm Nut Driver, Needle Nose Pliers
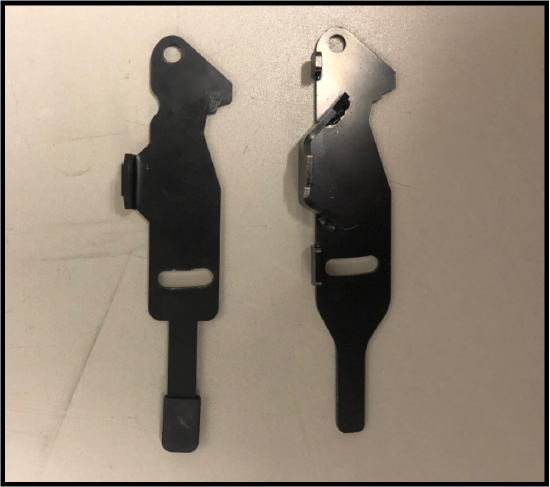
Old Tilt Lock New Tilt Lock
PN: 2581A3006
Step One: Remove Lock Side, Yoke & Arm Covers
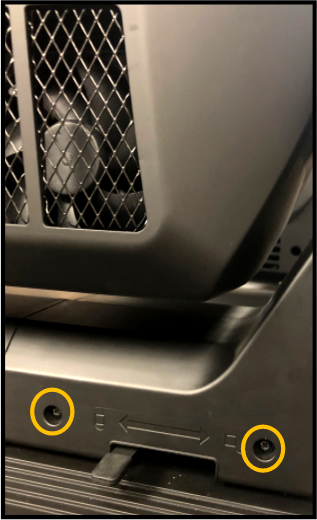
· First loosen the two semi-captive Phillips screws on the lock side arm cover
· Carefully remove cover
Be mindful that there are two tabs holding the cover in at the bottom of the arm
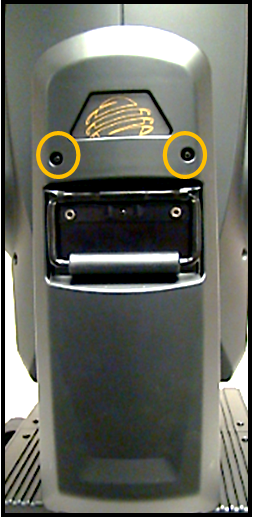
· Remove two Phillips screws on both sides of the yoke closest to the lock side
· Remove two Phillips screws holding yoke covers to arm
Step Two: Remove Metal Handle Assembly
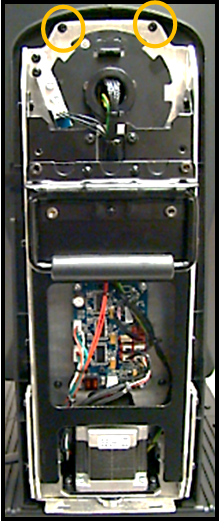
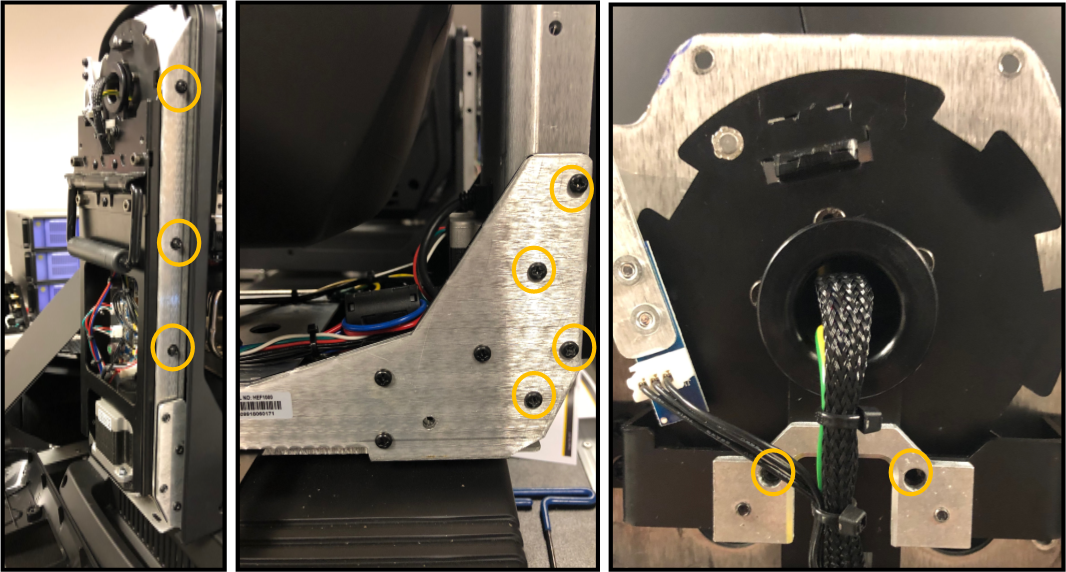
· Remove 3x Phillips Screws on each side of metal assembly
· Remove 4x Phillips Screws on each side of the yoke
Note that there are a number of different screw sizes/lengths
· Remove 2x Phillips Screws on the metal bracket that sits underneath the harness
Be careful not to damage tilt/main harness
· Carefully pull metal handle assembly out and set aside
Step Three: Remove Old Tilt Lock
· Using needle nose pliers, carefully remove tensioned spring from tilt lock
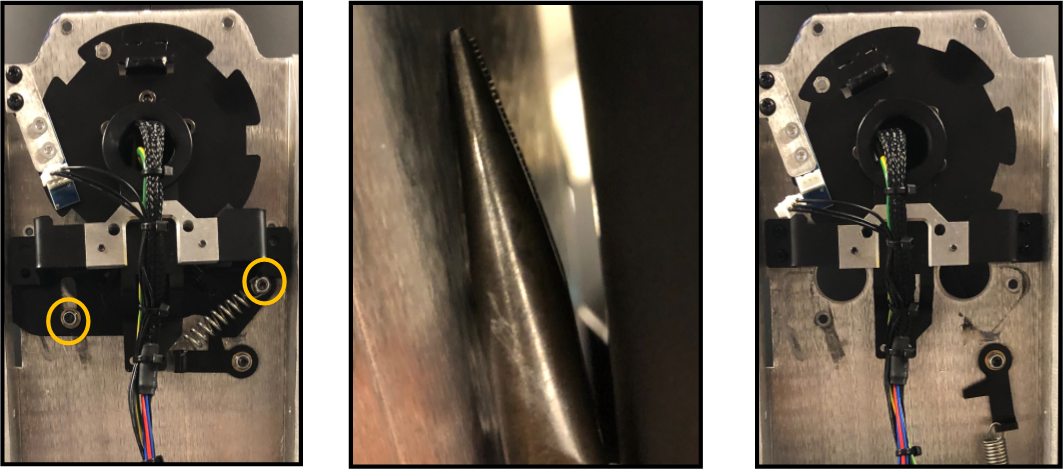
· Using a 7mm nut driver, loosen 2x silver nuts, 2x brass spacers and 2x screws
Note that you might need to hold the head of the screw with a pair of needle nose pliers to ensure it is not spinning in place
· Once nuts/spacers are removed, you can remove old tilt lock (see next page)
Step Four: Remove Tilt Lock Stop
· Using a 7mm nut driver, loosen silver nut, brass spacer and screw
Note that you might need to hold the head of the screw with a pair of needle nose pliers to ensure it is not spinning in place
· Set tilt lock stop aside
Step Five: Install New Tilt Lock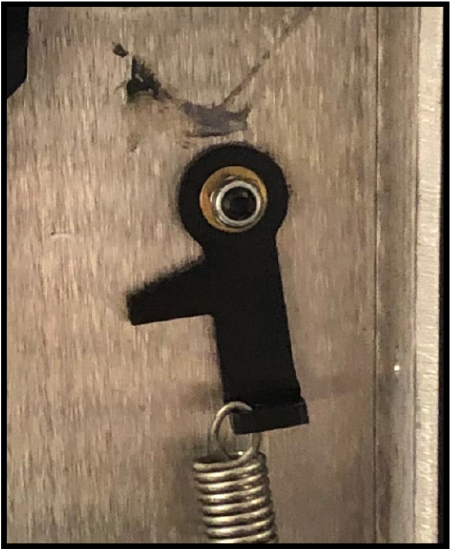
· Install new lock by following steps in reverse
Be sure that the tilt lock stop is tightened horizontally (see top left photo)
Note to use caution when replacing spring as the tension will be great
Remove rubber sleeve from the original tilt lock with caution as it may rip, if it does, use new rubber sleeve

