SolaFrame 750 Pan Motor Replacement
Issues
Pan motors seizing/binding/unable to operate correctly
Possible Causes
A bug found in software version 1.2.7 presents the opportunity for damage to the pan motor if the fixture continuously pans & tilt for an extended period of time (30 minutes or more). V.1.2.7 should no longer be used.
Other causes could be a faulty motor, a faulty pan/Tilt 2U PCB, faulty harness or damage to the motor by an external force
Solutions
If related to software bug in V.1.2.7- Update software using a HES Special Uploader and Replacement of Pan Motor if damage occurred
If related to faulty component- Begin by replacing one component at a time with a working part to narrow down what component is failing
Pan Motor Replacement
Step One: Remove both yoke arm covers by loosening 2x 1/4 turn Phillips screws
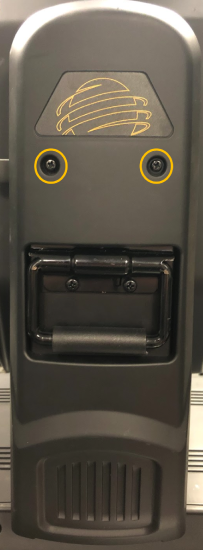
Step Two: Remove inner yoke cover screws 2x per side

Step Three: Remove 4x outer yoke cover screws and remove 4x yoke covers from fixture, set aside
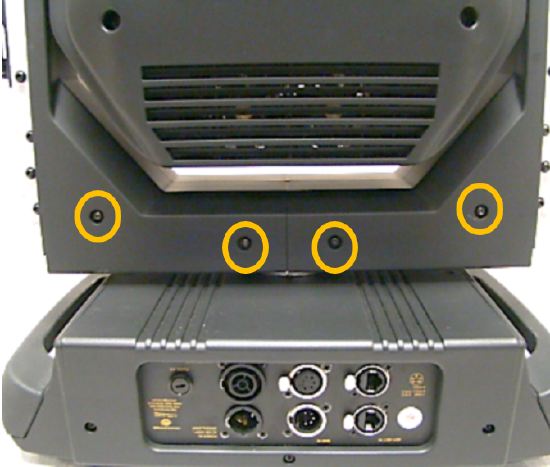
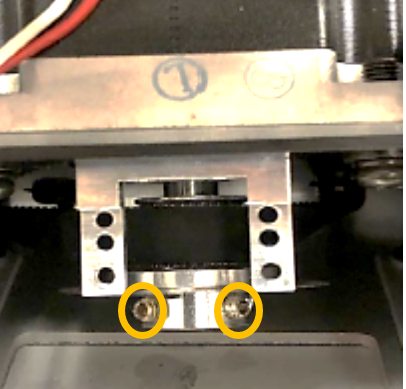
Step Four: Remove 4x screws on both sides
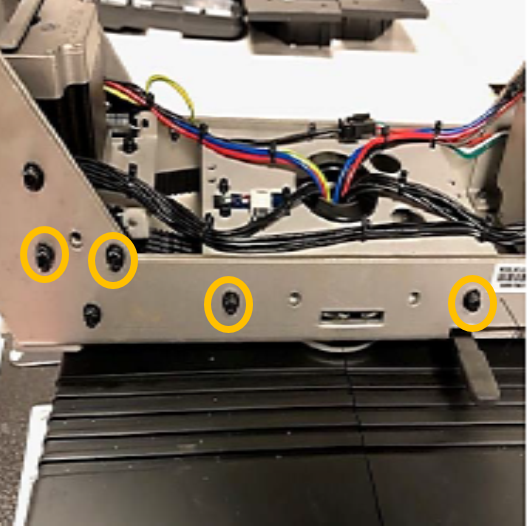
Step Five: Carefully cut wire tie on pan encoder sensor wire and remove 2x encoder mounting screws
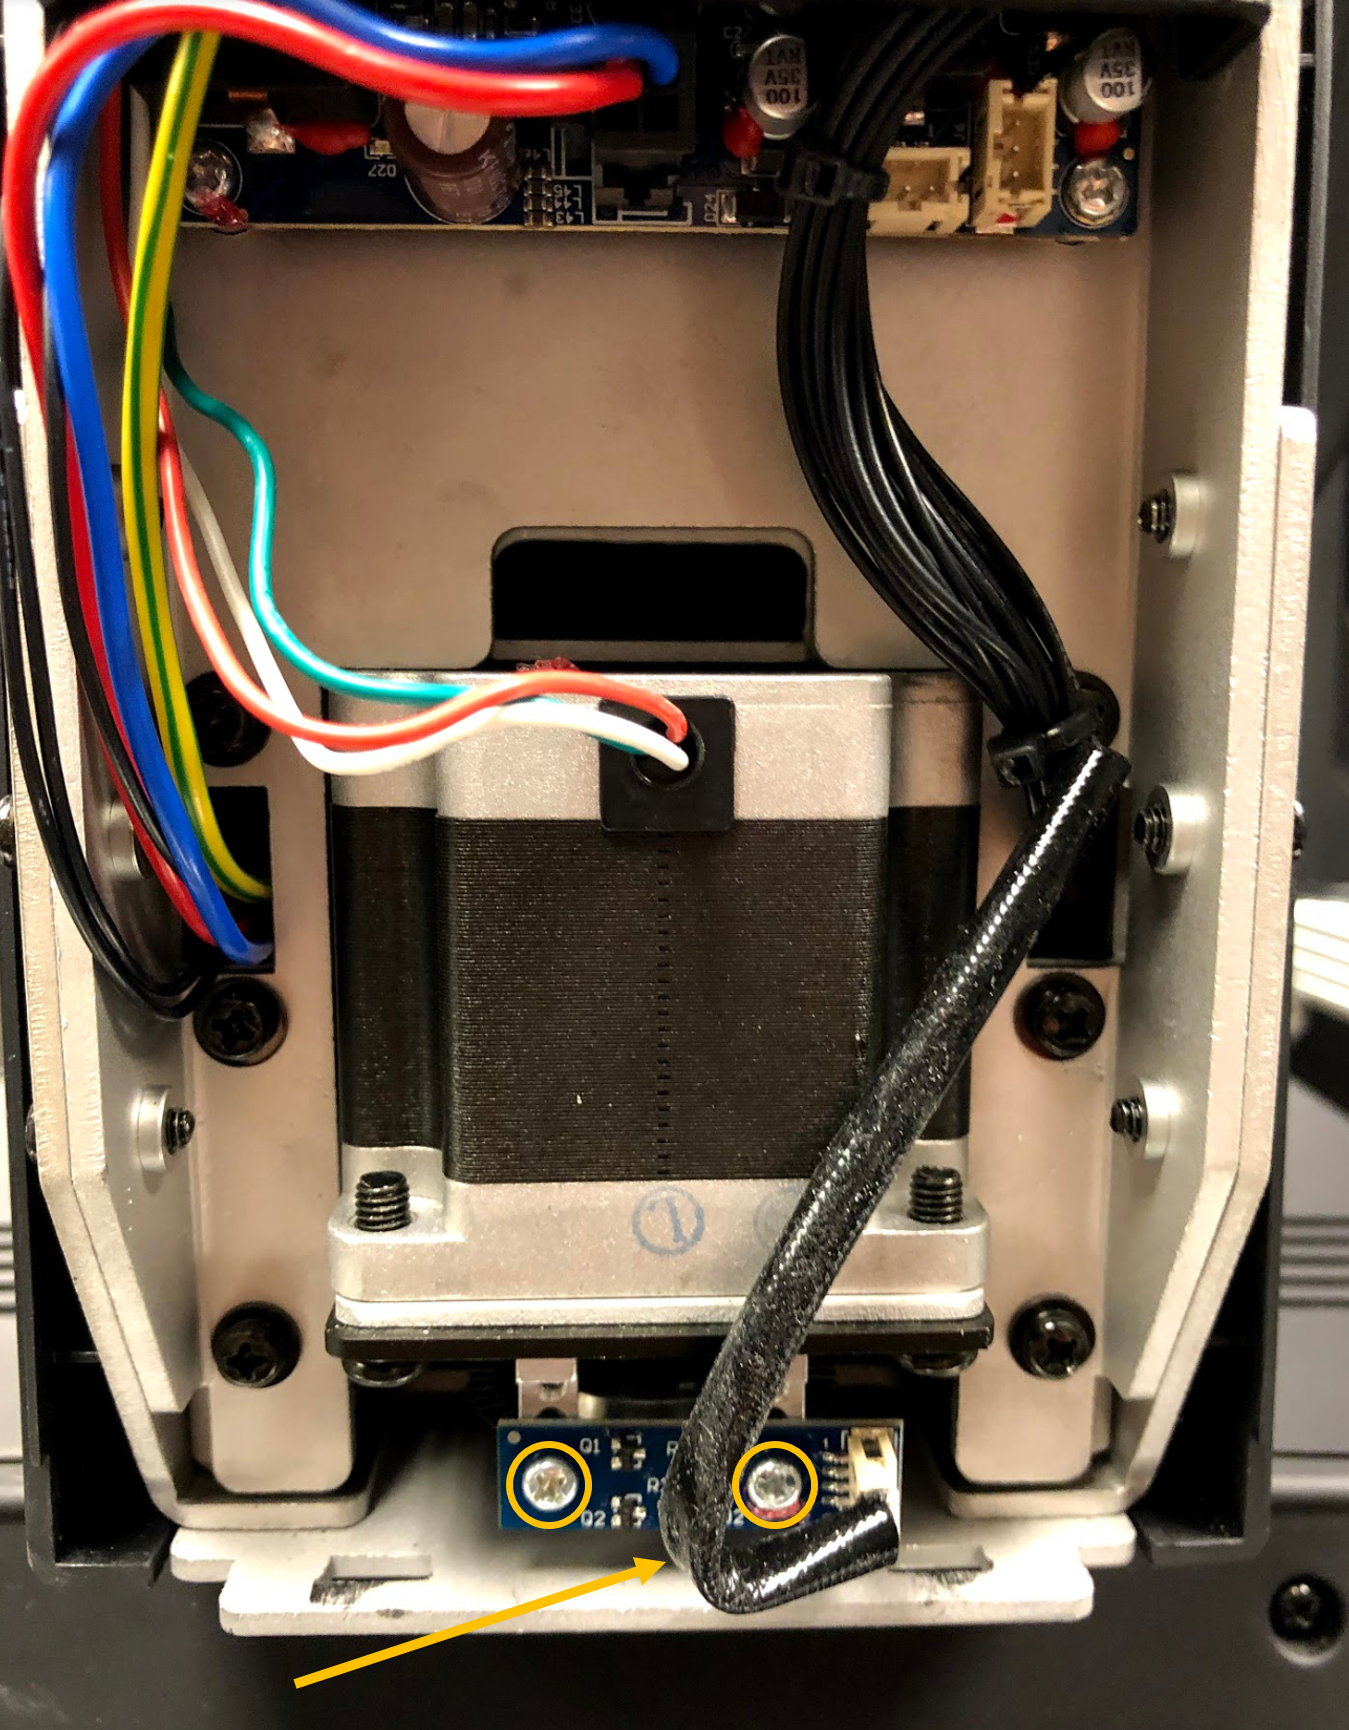
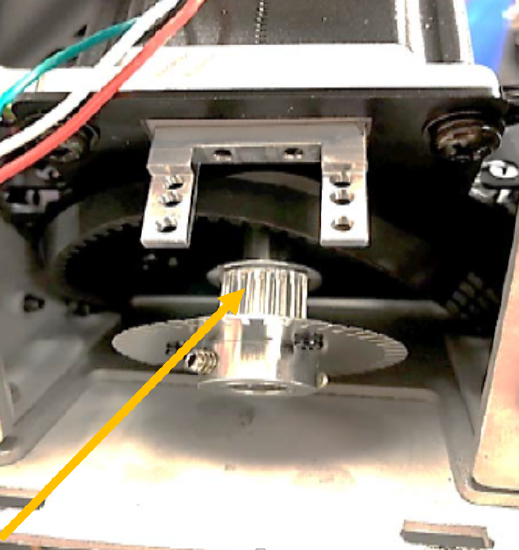
Step Six: Loosen 3x set screws on pinion gear using 2mm Hex tool
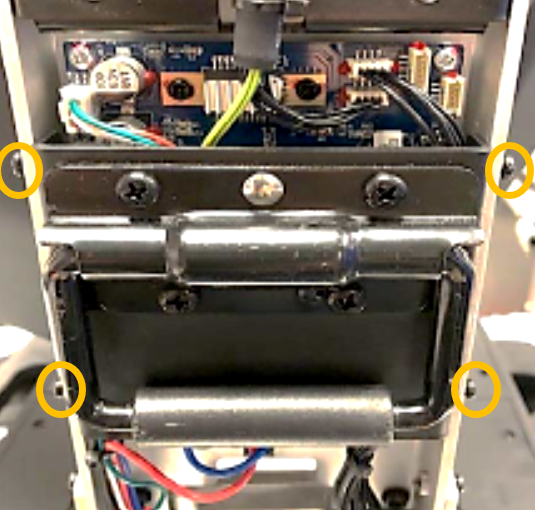
Step Seven: Remove 4x handle screws and remove handle
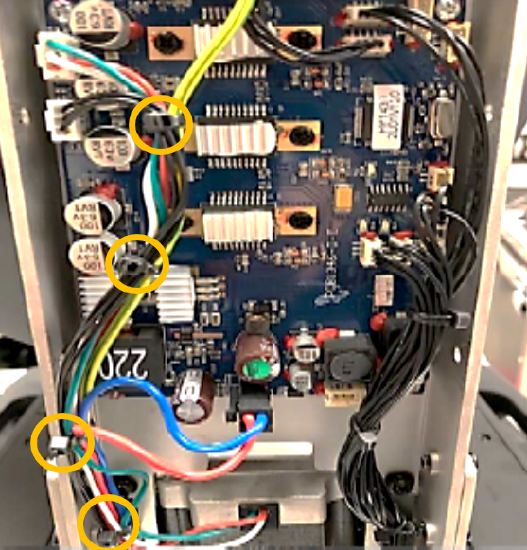
Step Eight: Unplug pan motor connection and carefully cut wire ties to free pan motor harness
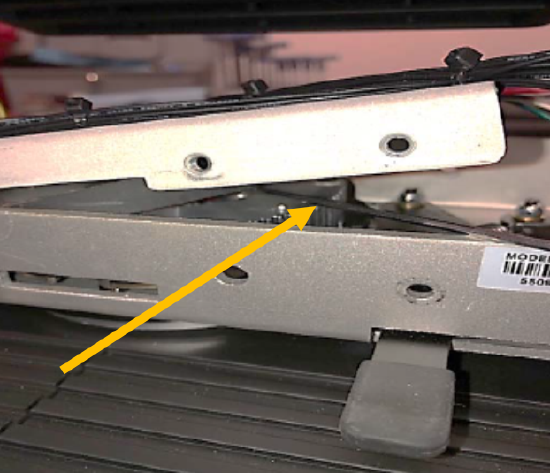
Step Nine: Carefully pry pan belt from gear
Step Ten: Angle pan motor to pass yoke cut out and be sure to mind the wire harnesses while working the motor out

Step Eleven: Remove pinion gear/encoder wheel from the pan motor shaft and be sure to mind the teeth of the encoder wheel while removing
Step Twelve: Pan motor can now be removed, but be sure to mind the harnesses when removing
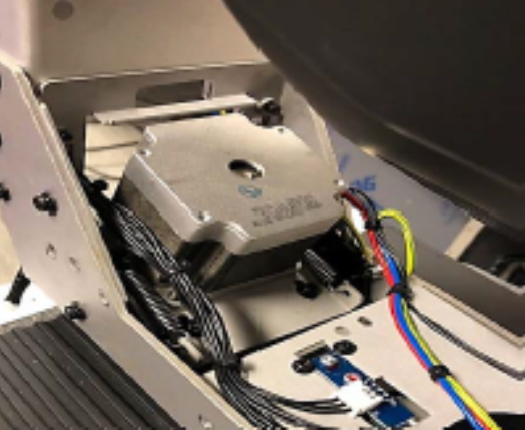
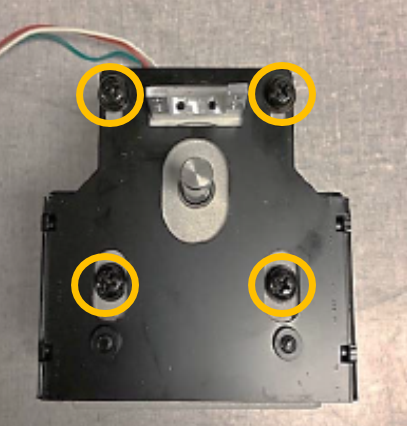
Step Thirteen: Remove 4x screws from pan motor mount and install new pan motor
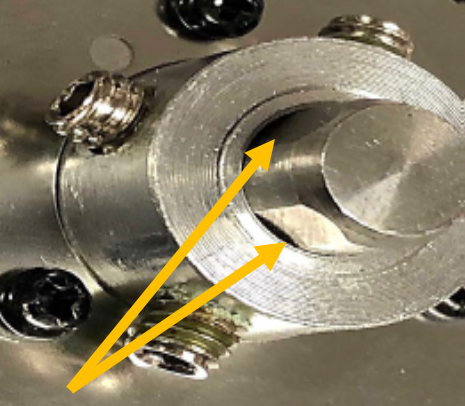
Step Fourteen: When installing the pinion gear/encoder wheel, 2x set screws must land on the 2x flats of the motor shaft
 \
\
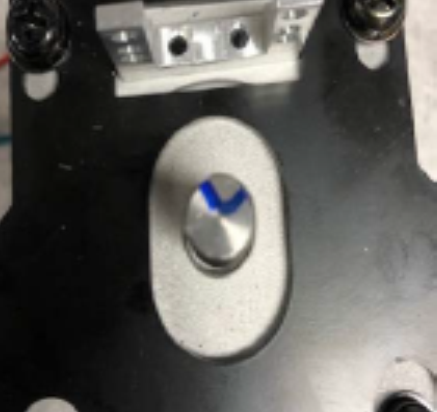
Step Fifteen: Sometimes marking the flats from the top view of the motor shaft will make installing easier
Use steps 1-15 in reverse order to install new motor.