Creating an EchoTouch USB Recovery Boot Stick
Requirements
- Blank USB Stick, between 500MB and 32GB in size.
- Windows PC with 7-Zip installed or a Mac.
This process will not work with version 2.6.0 or higher of EchoTouch due to the size of the image file.
- EchoTouch MK1 - If wanting to install version 2.6.0 or higher, create the recovery USB for v2.5.0 first, and then update the display to the desired version.
Version 2.5.0 can be found here: https://www.etcconnect.com/WorkArea/DownloadAsset.aspx?id=10737496564
- EchoTouch MK2 - If the bootloader version is 2.5, the below process works (to check bootloader version: [Setup] > [Settings] > "boot X.X"). If the bootloader version is v3.0 or higher the process is different. See EchoTouch MK2 for Bootloader v3.0
Procedure - Windows
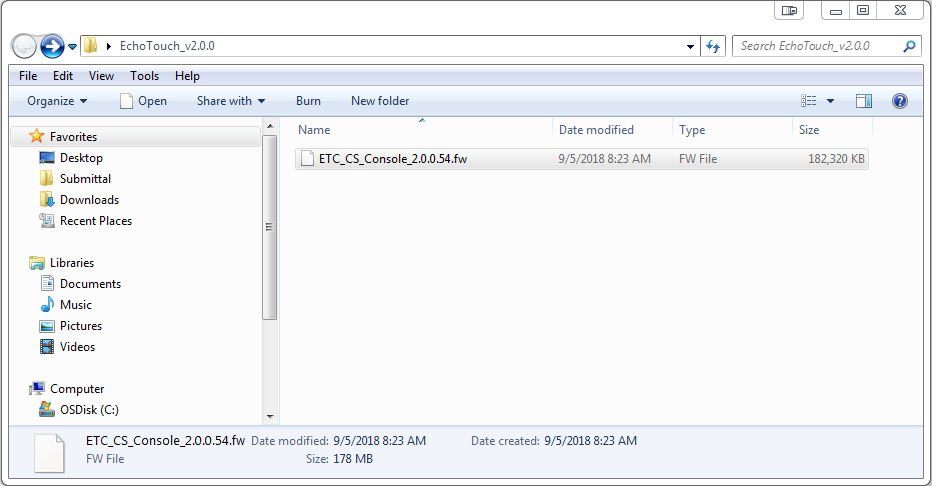
- Download the latest EchoTouch Firmware from the ETC website.
- Extract the contents of the ZIP somewhere on your PC: (this file will be called "ETC_CS"Console_x.x.x.x.fw")
- Right-click on the “ETC_CS_Console_X.X.X.X.X.X.fw” file and choose “7-Zip” > “Open Archive”:

- 7-Zip will open and show a list of files.
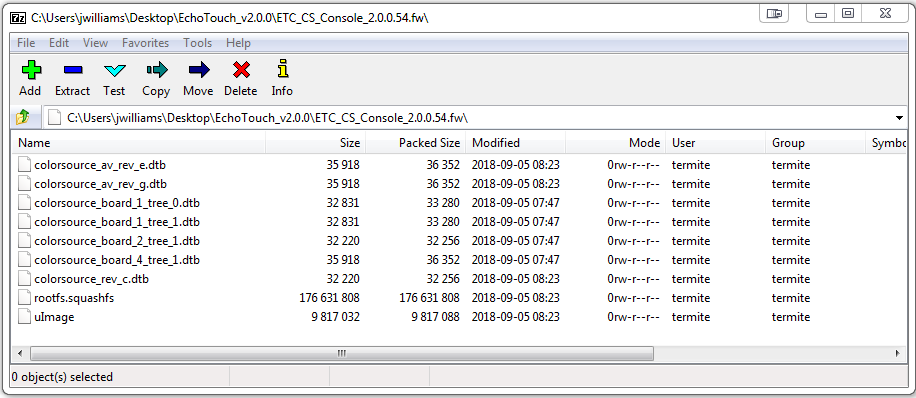
- Drag and drop all of these files onto the root of your USB stick.
- Once this finishes extracting and copying, close 7-Zip.
- Copy the “ETC_CS_Console_X.X.X.X.X.X.fw” file onto the root of the USB Stick
- Eject the drive and proceed to "Using USB Recovery Boot" below
Procedure - macOS
- Download the latest ColorSource Console Firmware from the ETC website
- Find "ETC_CS_Console_X.X.X.X.X.X.fw" from within the downloaded .zip file
- Duplicate the .fw file
- Rename the .fw file to "ETC_CS_Console_X.X.X.X.X.X.zip"
- When you rename the duplicated file to a .zip extension, Finder will show a warning. Click "Add" to confirm the change
- Double-click on the .zip file to extract its contents
- Open up the extracted folder and copy all of the files to the root directory of your blank flash drive
- Copy the original "ETC_CS_Console_X.X.X.X.X.X.fw" file to your flash drive as well
- Eject the drive and proceed to "Using USB Recovery Boot" below
NOTE: In emergencies, the USB Recovery Boot stick may be used to run the EchoTouch, for example to attempt to make last-second backups of showfiles from a console suffering a hardware failure preventing normal boot. To try this, go to Emergency Run From USB BEFORE proceeding to "Using USB Recovery Boot".
Using USB Recovery Boot
The USB Recovery Boot stick can be used to re-flash the console firmware onto the console as follows:
- With EchoTouch power disconnected, insert the USB Recovery Boot stick into a USB port on the back of the unit.
- Connect power.
The EchoTouch will start up in Test Mode - Touch “Service CAUTION!”
- Touch “Reload Firmware”
- Touch “Yes”
- Select the “ETC_CS_Console_X.X.X.X.X.X.fw” firmware file from the list
(You may not be able to see the full filename) - Touch “OK”
- Once this completes, touch “Ok” then “Exit Service”
- Unplug the console power
- Unplug the USB stick
- Power on the console
Emergency Run From USB
In emergencies, the USB Recovery Boot stick may be used to run the EchoTouch, for example to attempt to make last-second backups of showfiles from a console suffering a hardware failure preventing normal boot.
This may be of assistance in some circumstances until a more permanent solution can be found.
- With the EchoTouch power disconnected, insert the USB Recovery Boot stick into a USB port on the console.
- Connect power.
The EchoTouch will start up in Test Mode - Touch “Exit App”
- The EchoTouch will now start up into normal mode, running from USB.
This type of startup is very slow.
It may take several minutes to show the Language/Start screen.
Notes about this mode:
- The USB stick must NOT be unplugged.
- The on-device showfiles will usually be available, however the underlying reason for needing to boot this way may have caused them to become corrupted or unavailable.
- Export your important showfile(s) to USB as soon as possible!
EchoTouch MK2 with Bootloader v3.0
As of Bootloader v3.0, no longer will a download/extraction of the firmware file enter the Manufacturing Application. A custom image was created to get into the Manufacturing App. Contact ETC Technical Services for the files.