What Functionality do you get with ColorSource Amigo
Description
There are many different functions and controls you can achieve through using Amigo.
Listed below are all the features that Amigo provides for controlling the ColorSource Console AV.
Channel Intensity
In this screen, you can control individual channel levels using the virtual level wheel on the right hand side.
The layout here will match exactly how you have your channel boxes placed on the home screen.
Note that you can only manipulate intensity levels here.

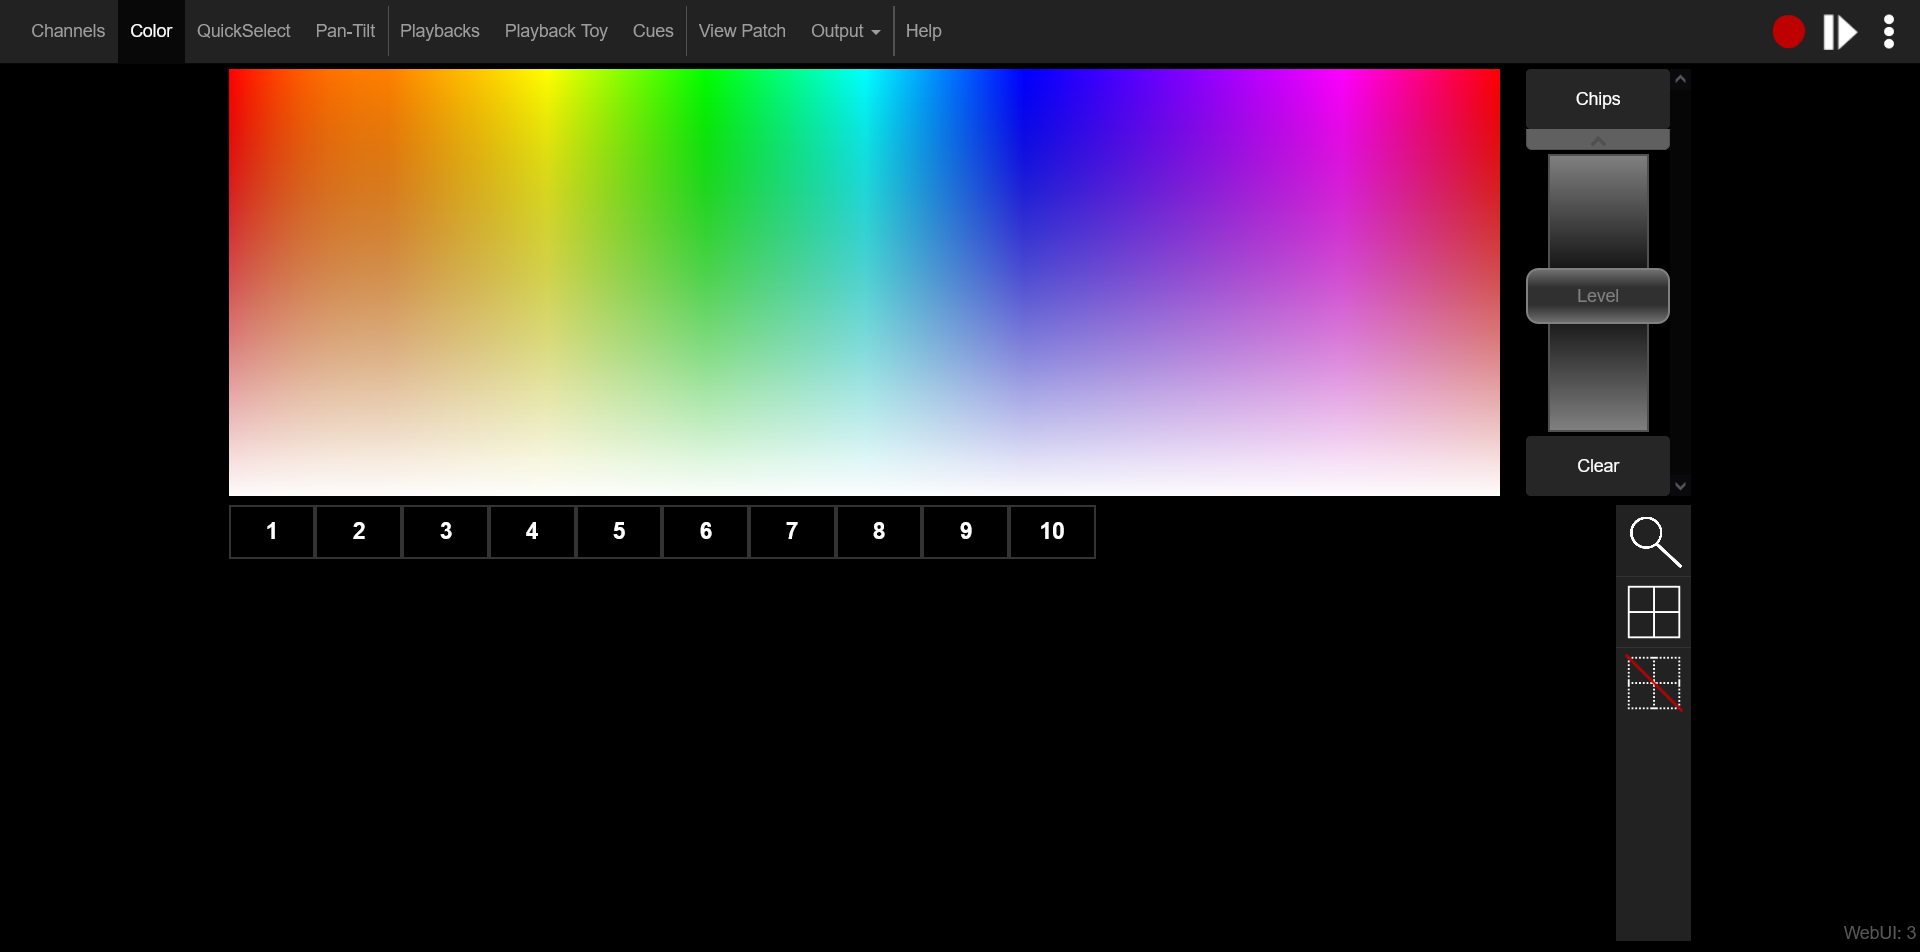
Color Control
On this page you can select and apply color values to channels which have the ability for color parameters.
You can also click on the "Chips" button to be able to select palettes, but you cannot record to them.
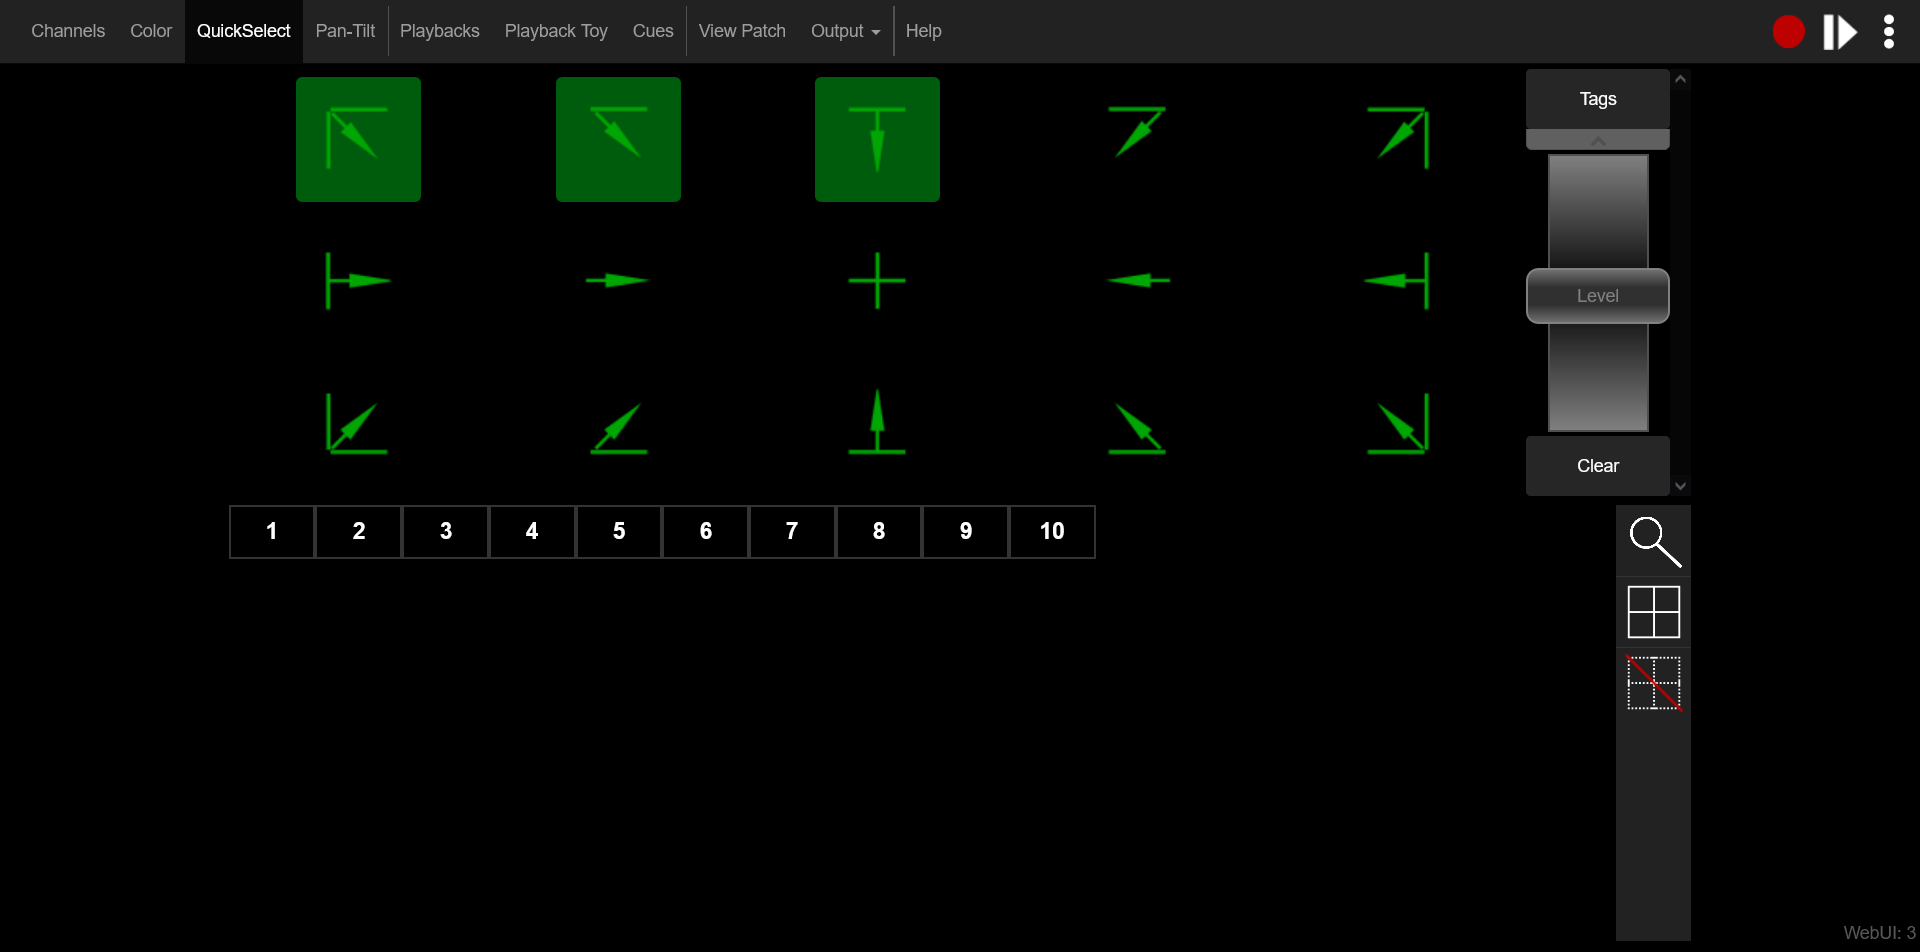
QuickSelect
With the QuickSelect screen, you can quickly select/deselect channels based on their layout on the stage map.
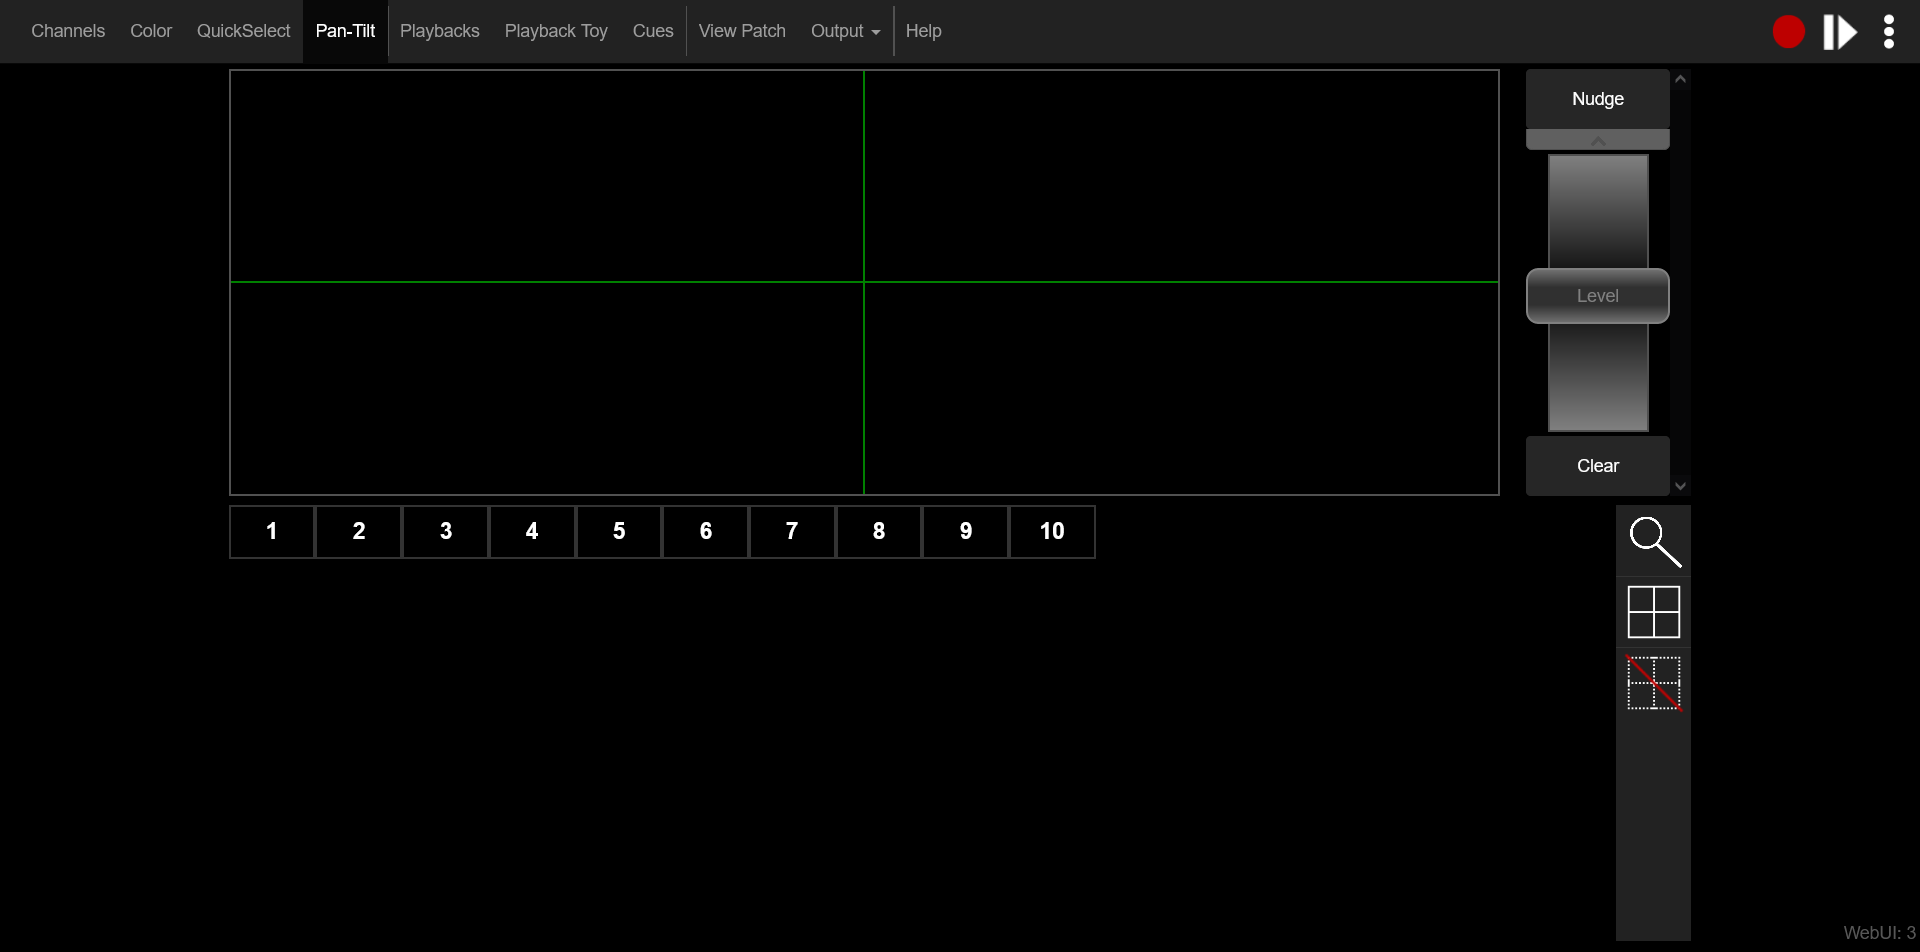
Pan/Tilt
On this screen, for devices that support it, you can manipulate the Pan and Tilt values of a fixture.
Note that you cannot click and drag on this screen, only click on certain spots in the grid.
Playbacks
On this screen, you can control your individual Playbacks and Sequences.
You can scroll through all your different fader pages by using the "+" and "-" buttons.

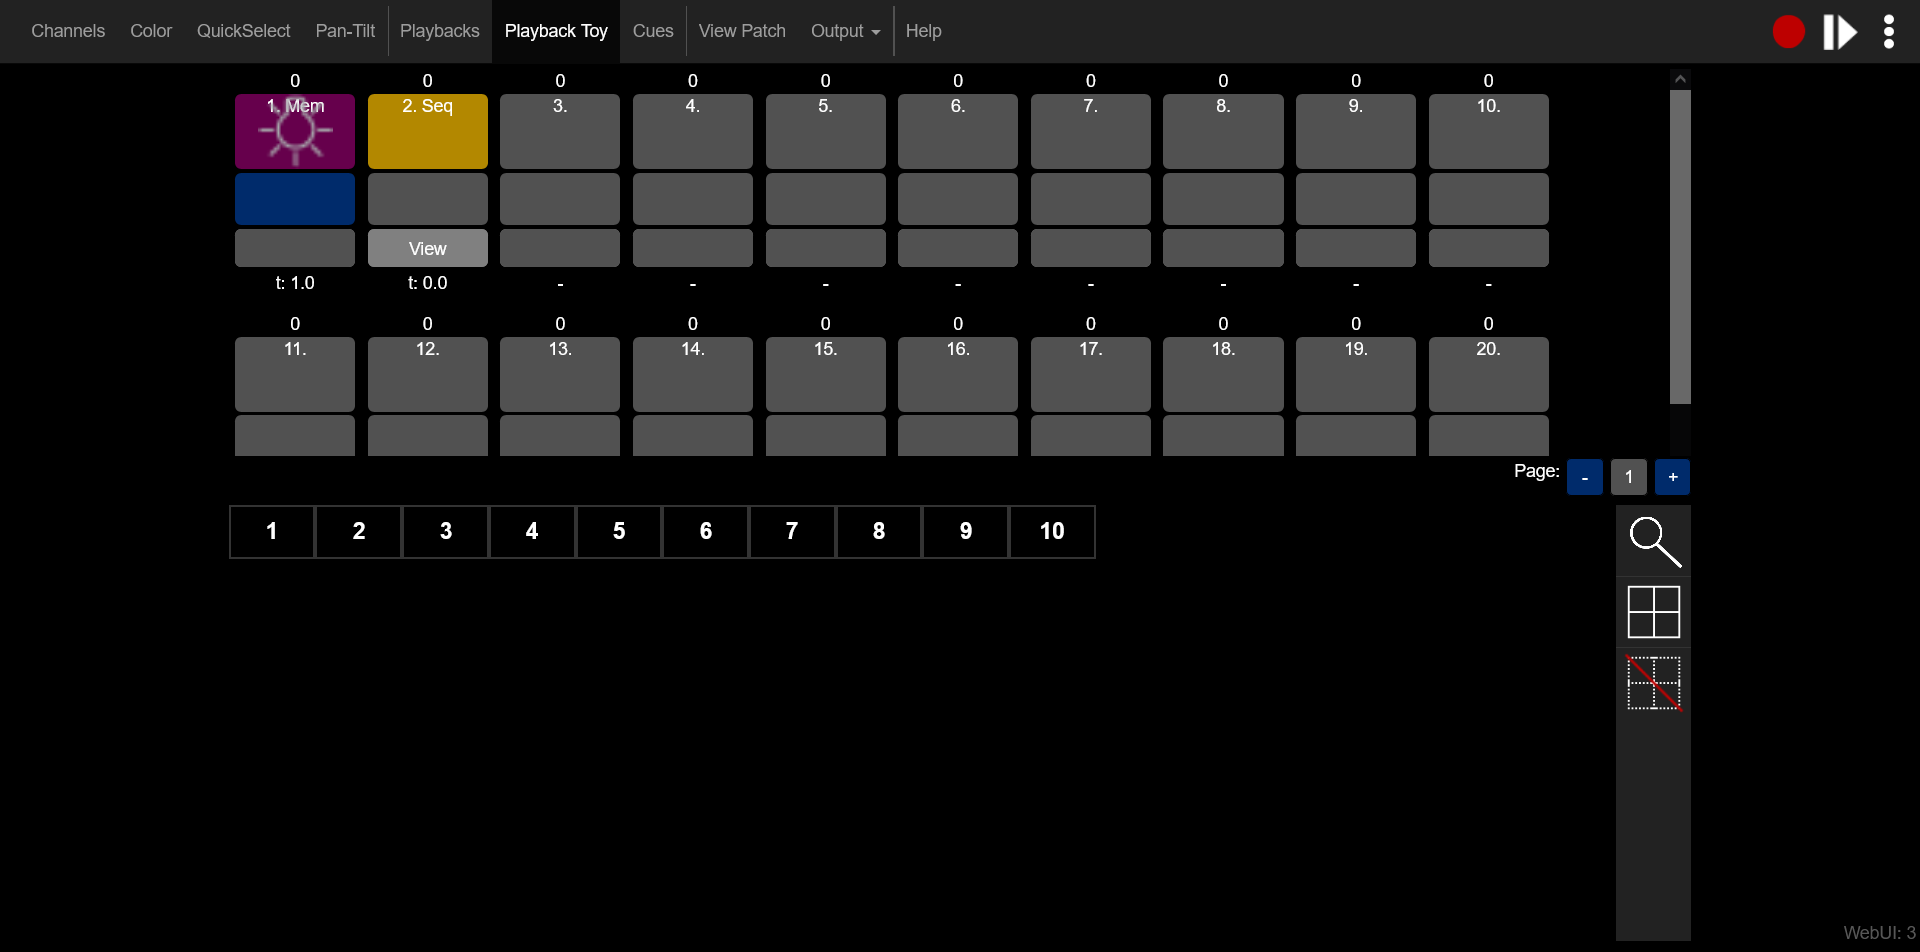
Playback Toy
Similar functionality to the Playbacks Page, this screen allows you to activate your Playbacks over a set timing.
Clicking "View" on a sequence will show you the steps recorded within the Sequence (shown below)

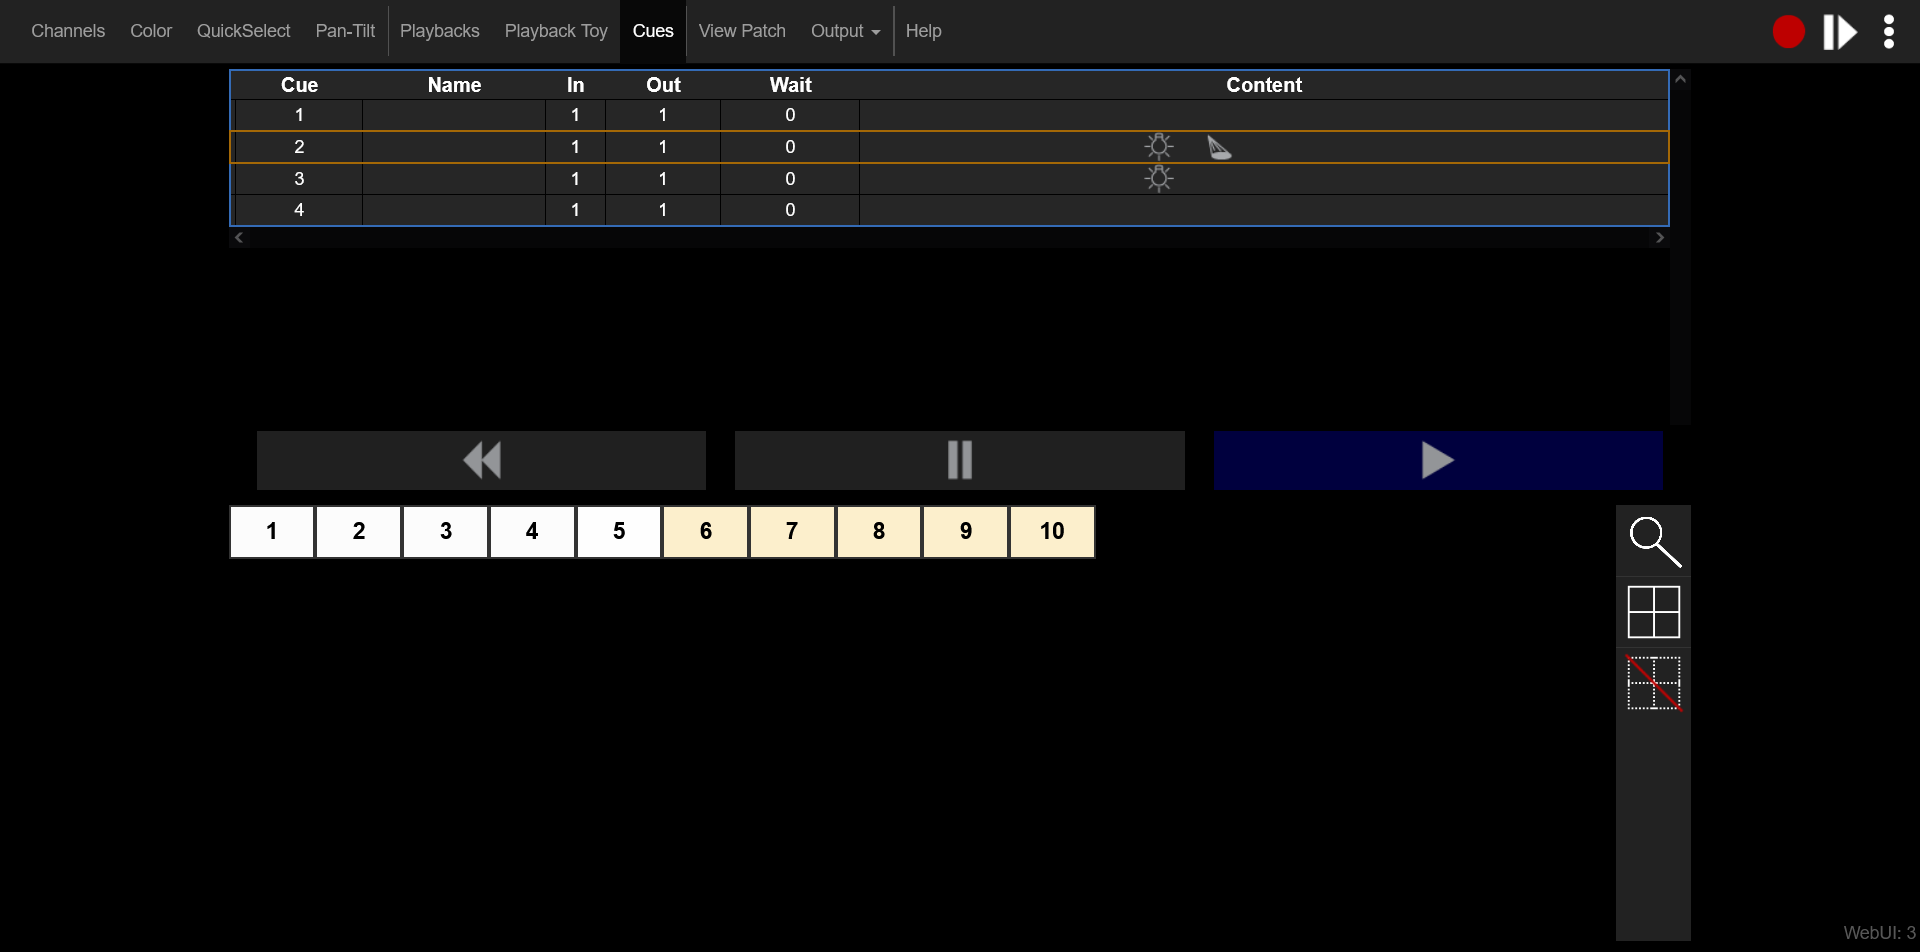
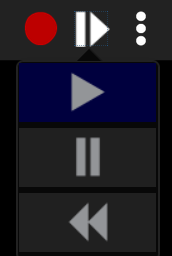
Cues
On this screen, you can play, pause, and reverse through a cue list.
Note that you cannot made any modifications to the Cue List, but you can see the order, name label, timing, and content that the cue affects.
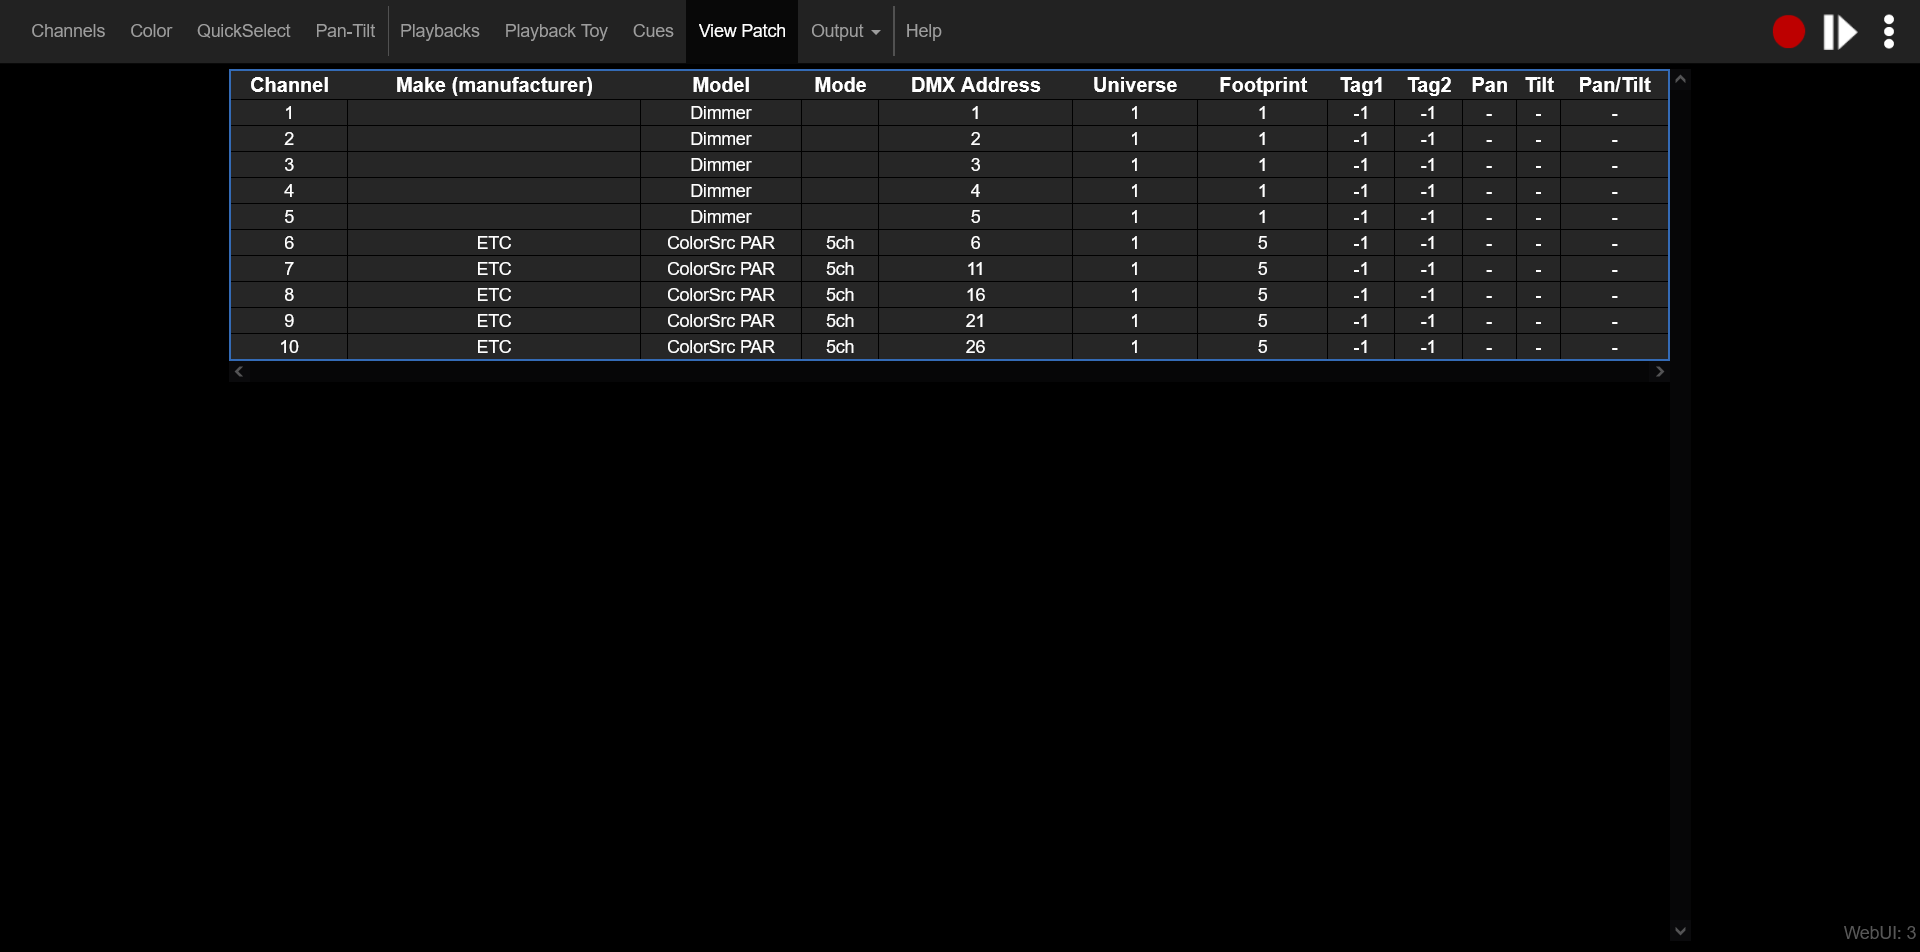
View Patch
In this screen, you can view the current patch on the console.
Note that you cannot modify the patch here, it is simply to see how things are laid out.
Output
In this screen, you can see what the active DMX output of your console is.
As this is an AV, when you select the Output tab, you can select Universes 1 through 5 to observe.

Help
Clicking on Help will open up the manual for additional information on how to operate the console.

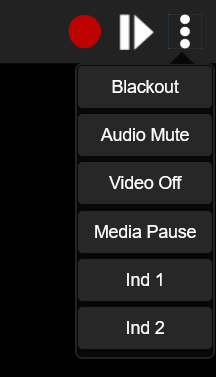
Shortcut Buttons
The shortcut buttons on the top right hand side of the page allow you to do different functions.
Pressing on the Red Dot allows you to record to the next available Snapshot or Cue.
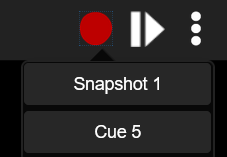
Clicking on the Pause/Play button will allow you to move through your cues.
Clicking on the three vertical dots will give you shortcut buttons to Blackout, Audio Mute, Video Off, Media Pause, and Independents 1 and 2.