Skip to main content
Backing Up Cobalt / Congo Data from Eos v3.x
- Last updated
-
-
Save as PDF
Switch from Eos version 3.x to Eos version 2.x
- The device will automatically boot into the Eos Family Selection Mode. Select {Eos ETCNomad}

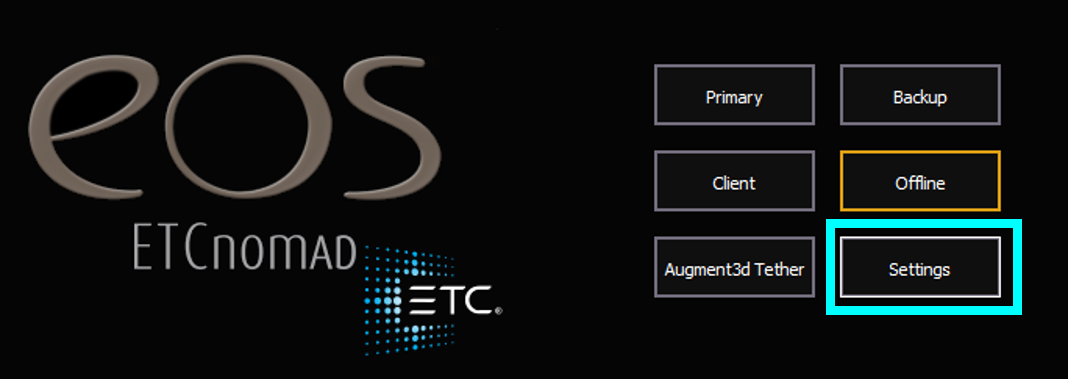
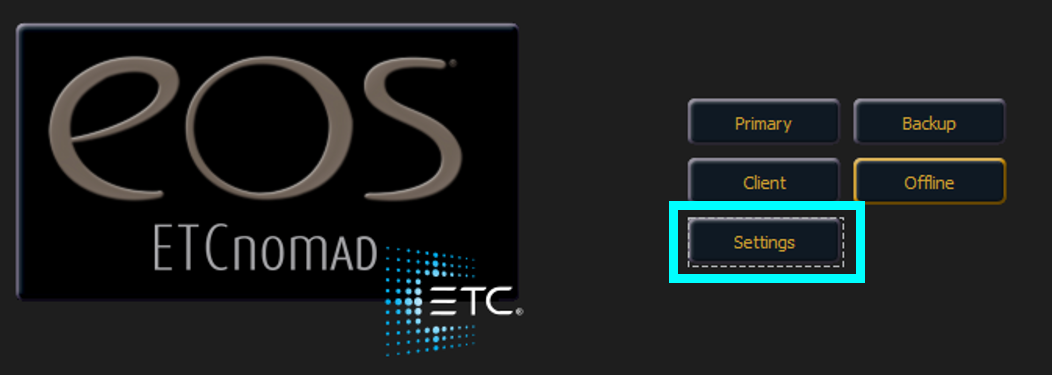
- On the Eos ETCnomad Welcome Screen, click the {Settings} button to open the Eos Configuration Utility.
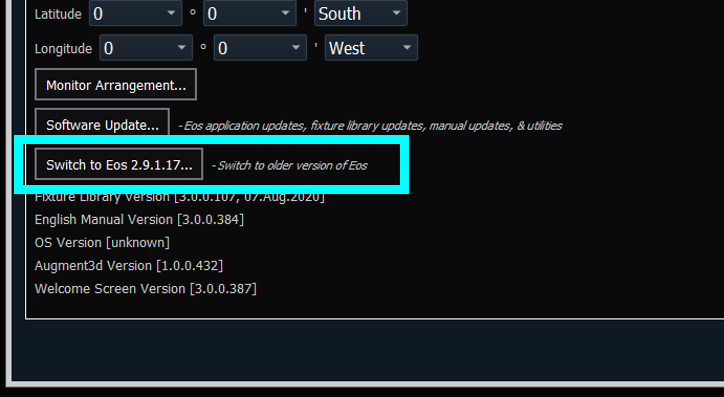
- In the Eos Configuration Utility, on the General tab, click the {Switch to Eos 2.#.#.##} button to switch from version 3.x to version 2.x
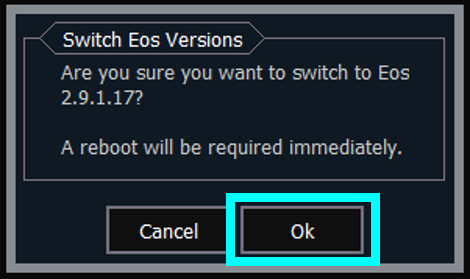
- Click {Ok} to confirm the switch.
Switch to Cobalt Mode from Eos
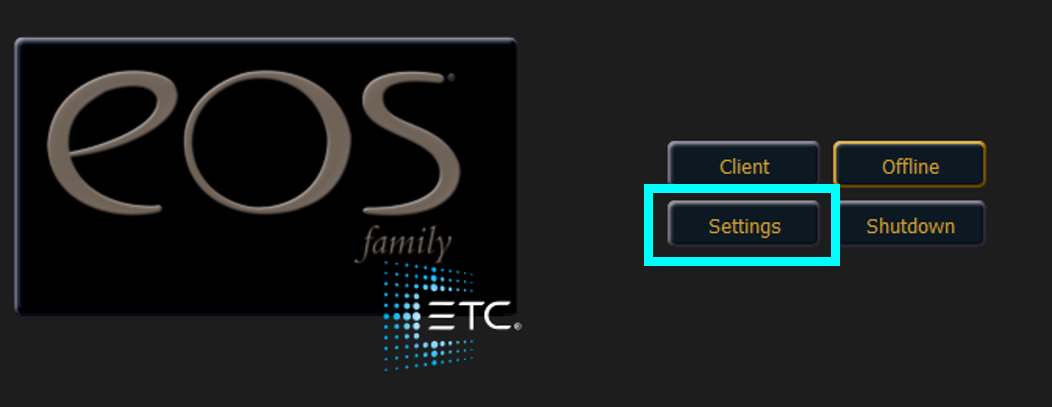
- On the Eos Welcome Screen, click the {Settings} button to open the Eos Configuration Utility
or
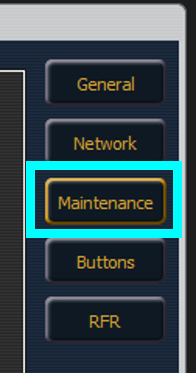
- In the Eos Configuration Utility, click the {Maintenance} button.
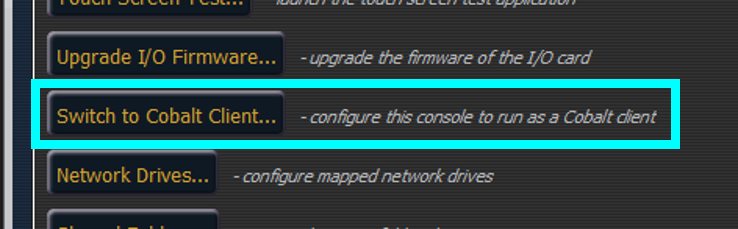
- Scroll down, then click {Switch to Cobalt Client}
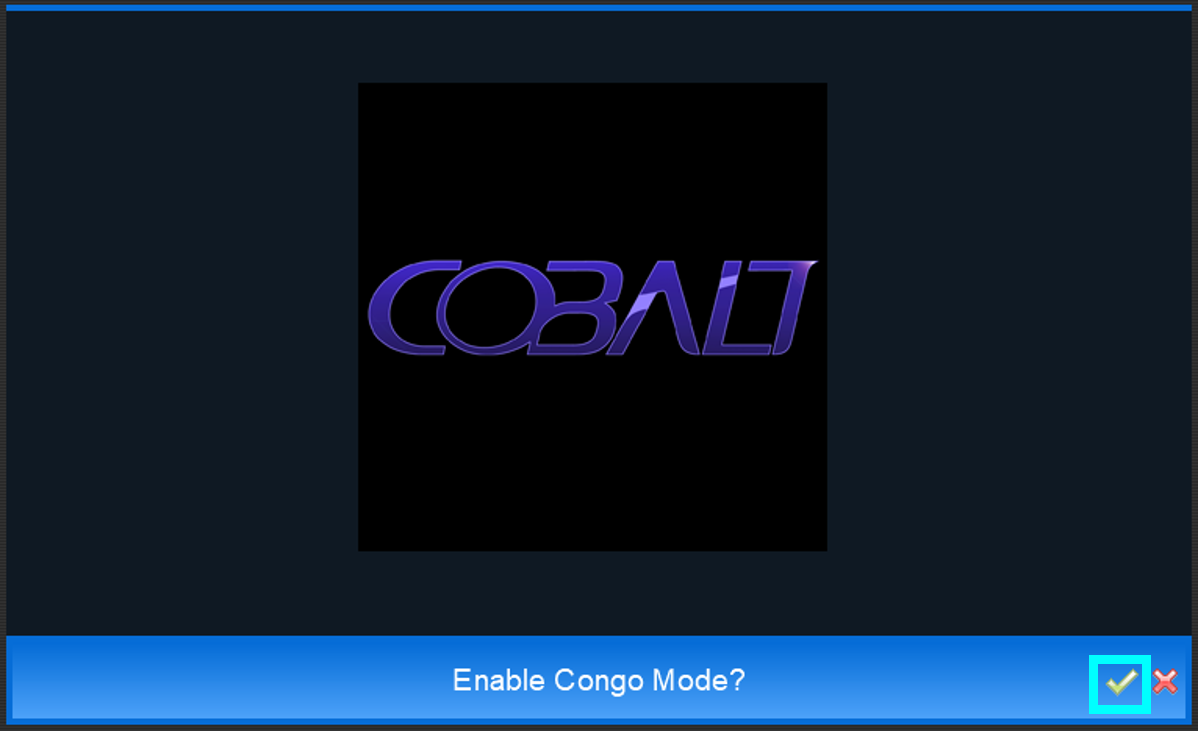
- On the following popup, click the {Green Check Mark} to enable Cobalt Mode.
- The device will shut down and reboot into Cobalt Mode.
Backup the Current Show Archive
- In the Browser, save the current show and then Exit to System Settings.
- Insert a USB drive into the console. This will need to be a different drive than the one used to re-image the console.
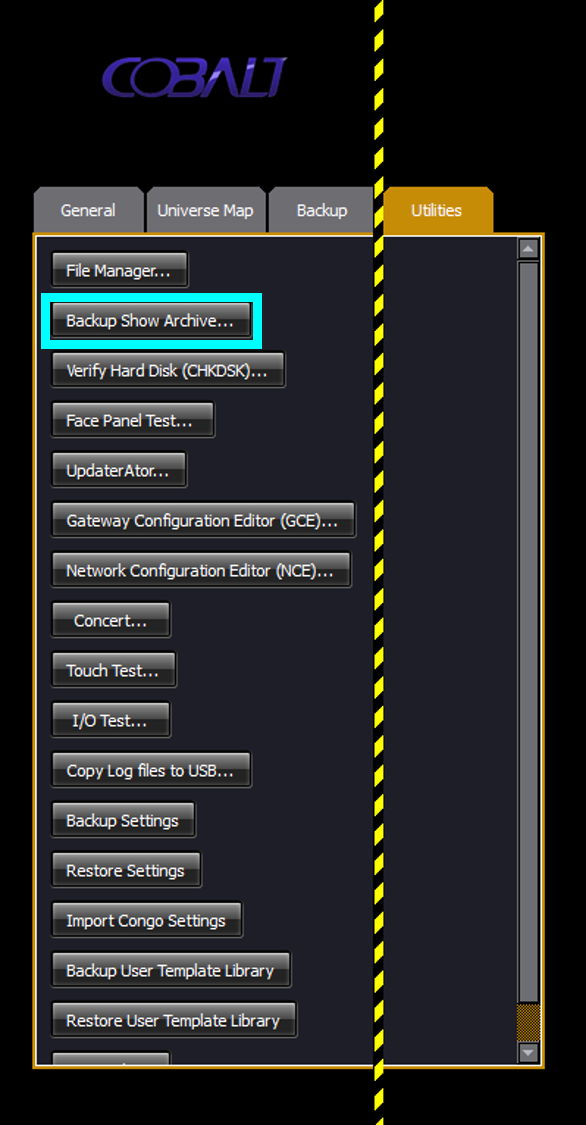
- Navigate to the {Utilities} tab.
- Select {Backup Show Archive}.
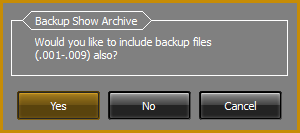
- You will be prompted if you would like to include the backup files (.001-.009).
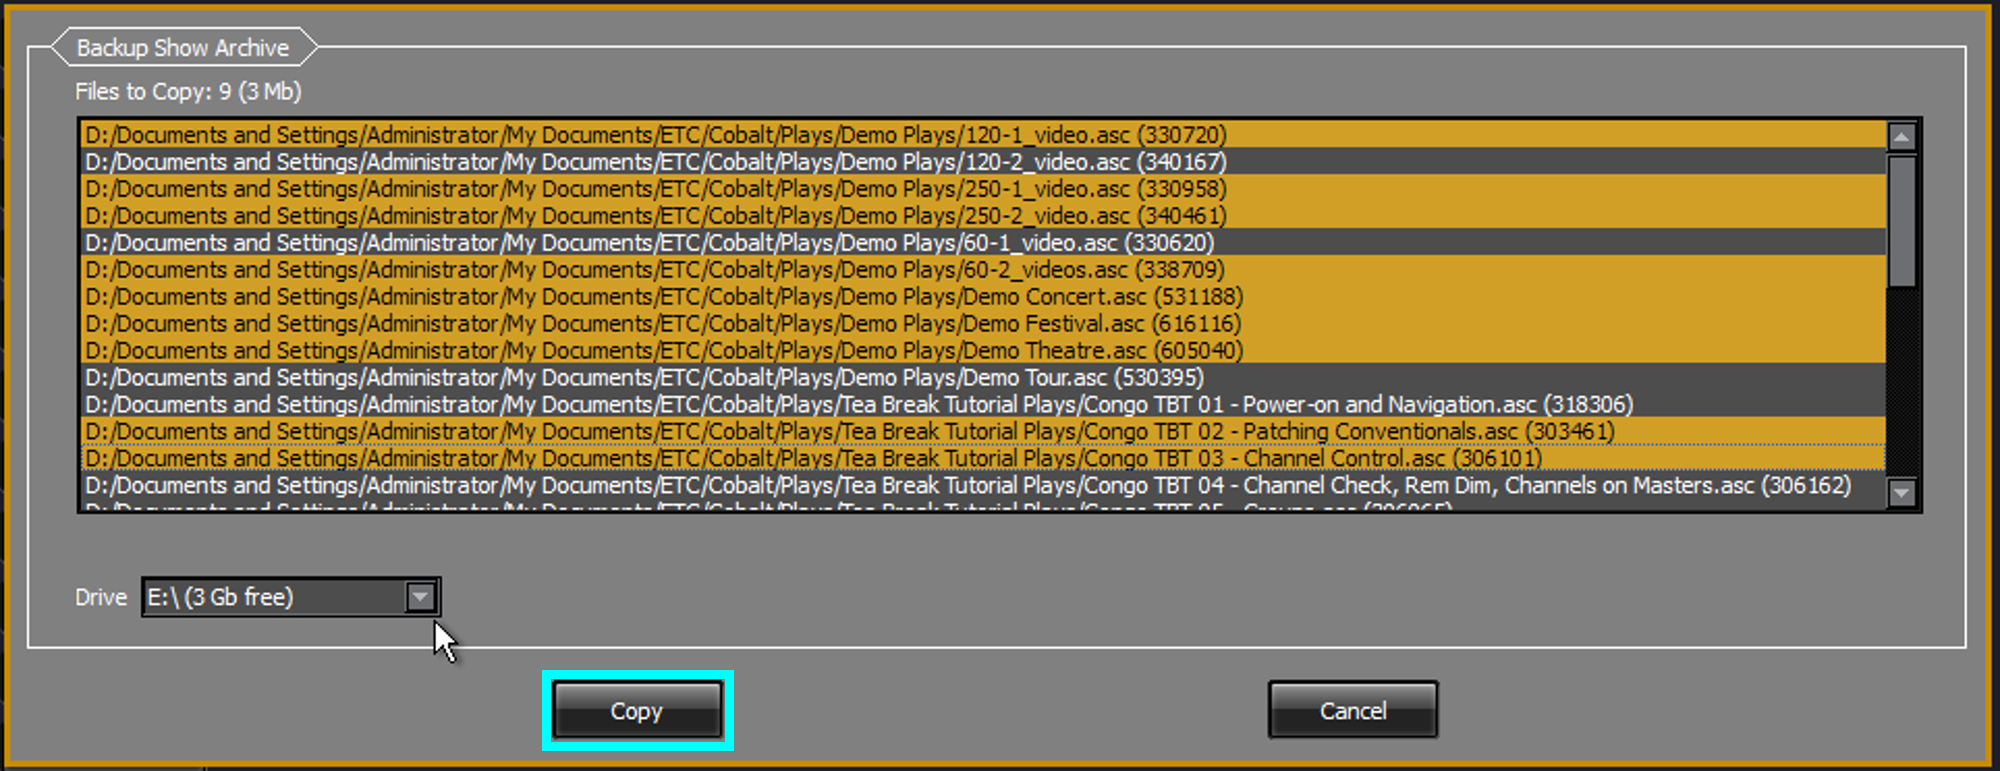
- Select the drive from the drop down menu. Highlight all of the files to be saved to the
thumb drive by clicking on them and then press {COPY}. This will back up the selected
show files.
Backup Settings
- In the Browser, save the current show and then Exit to System Settings. (Skip to 3a if continuing from previous section)
- Insert a USB drive into the console. This will need to be a different drive than the one used to re-image the console.
- Navigate to the {Utilities} tab.
- Select {Backup Settings}.
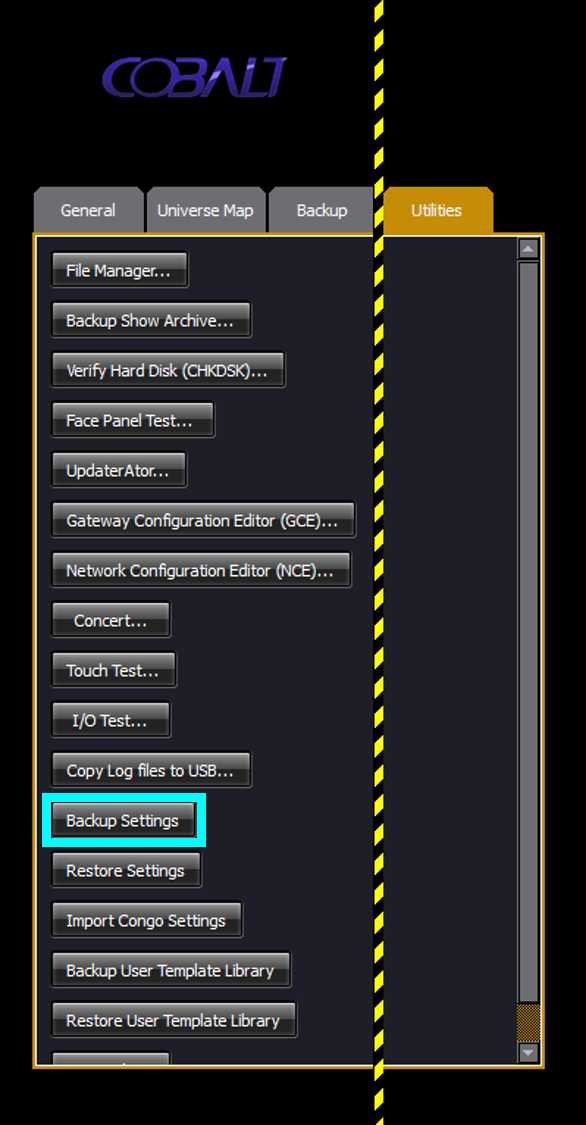
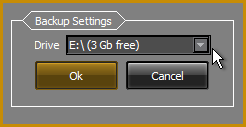
- Select the drive from the drop down menu. Then, press {Ok}.
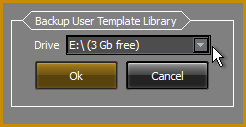
Backup User Template Library (v7.1.x or later)
- In the Browser, save the current show and then Exit to System Settings. (Skip to 3a if continuing from previous section)
- Insert a USB drive into the console. This will need to be a different drive than the one used to re-image the console.
- Navigate to the {Utilities} tab.
- Select {Backup Settings}.
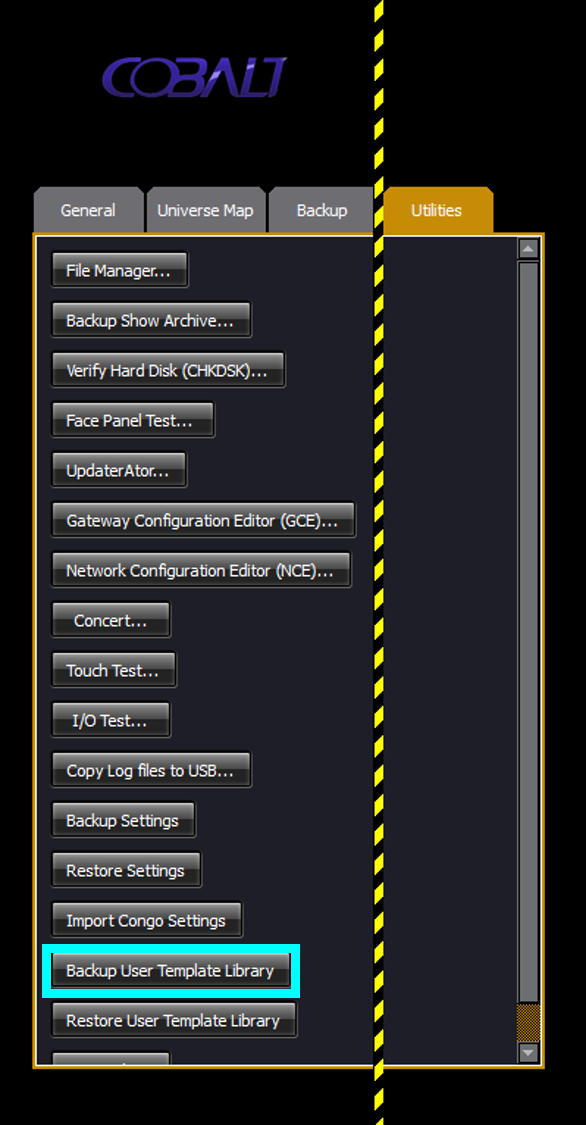
- Select the drive from the drop down menu. Then, press {Ok}.