Re-Image Instructions | Eos Classic | No Backup/Restore
- Last updated
- Save as PDF
|
Want a printable PDF of these instructions?
Click the PDF Icon above the Table of contents! |
Required Materials
- USB Re-Imaging Drive
- (provided by ETC)
- This should have a label of 4250D1014-x.x.x
- This typically ships as part of the 4250K1007 - EOS FAMILY XPe IMAGE UPGRADE KIT
- A separate USB Drive
- Used to backup show files and existing settings
- USB Keyboard
- USB Mouse
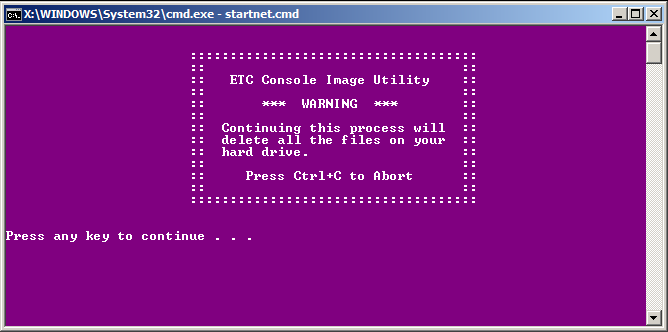
This process will completely wipe your console's hard drive. It will not be possible to restore shows or settings.
Re-Image Your Console
Adjust Boot Priority and Boot into ETC Console Image Utility
|
 |
||
|
|
Change Boot Settings in BIOS
|
 |
|
  |
Re-Install the Disk Image
|
|
|
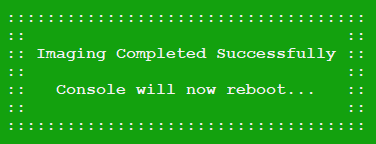 |
Change Boot Settings Back in BIOS
|
|
|
  |
The USB imaging drive should remain in the console for installation of software. Do not remove it until the process is complete.
Restore Boot Boot Priority
|
 |
Automated Console Setup Utility
|
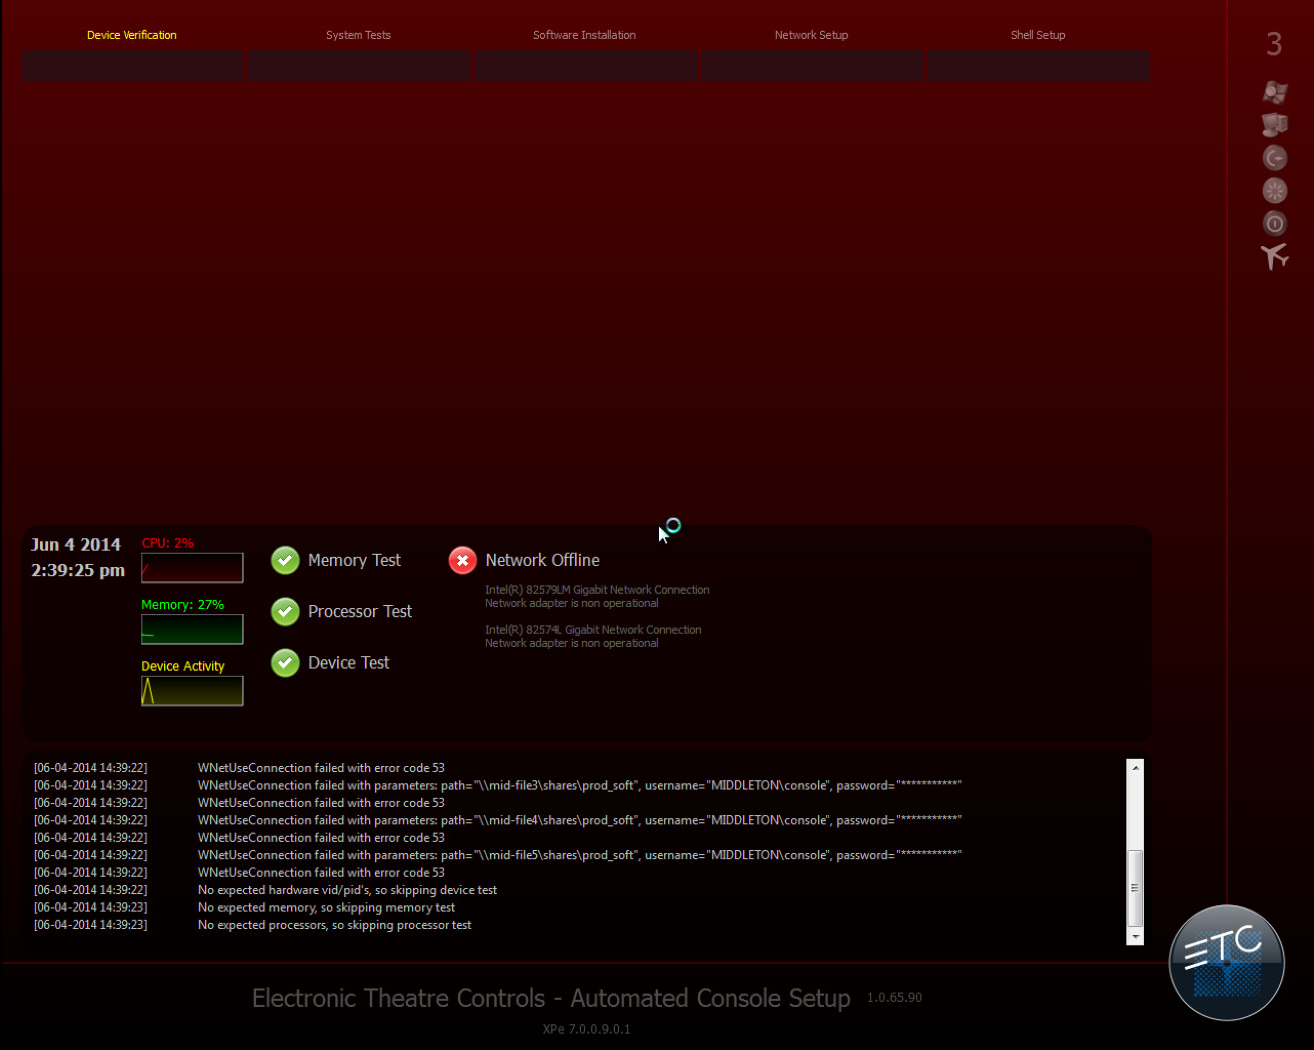 |
|
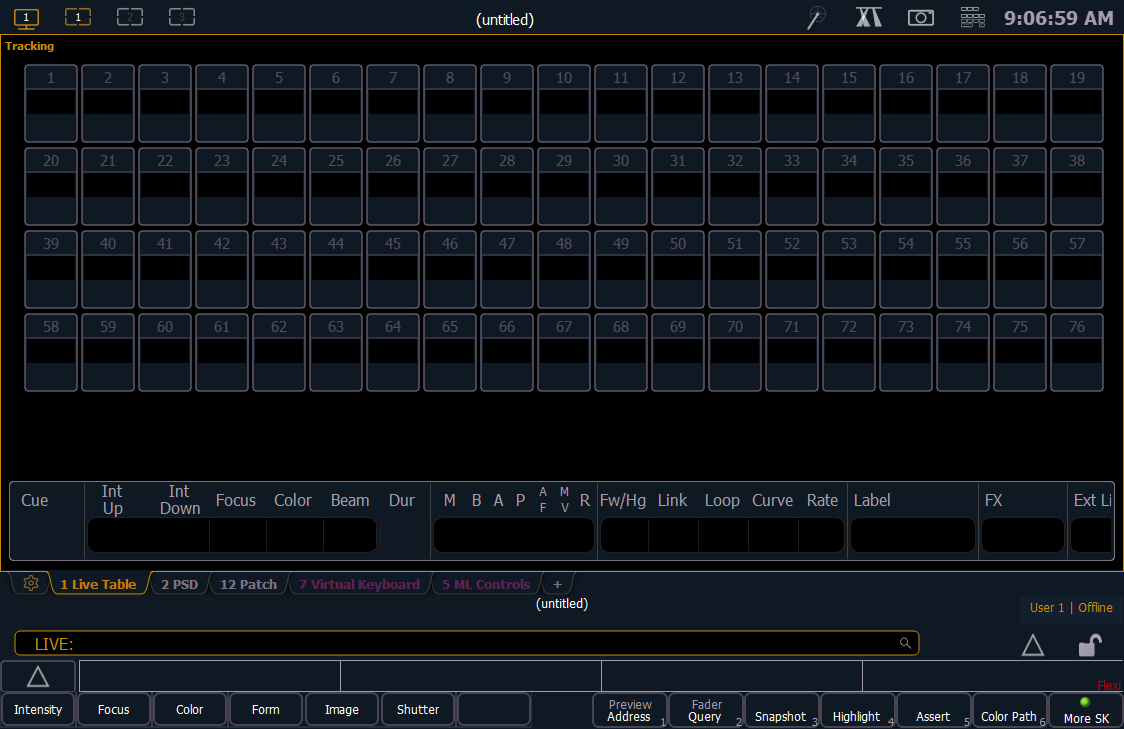 |
|
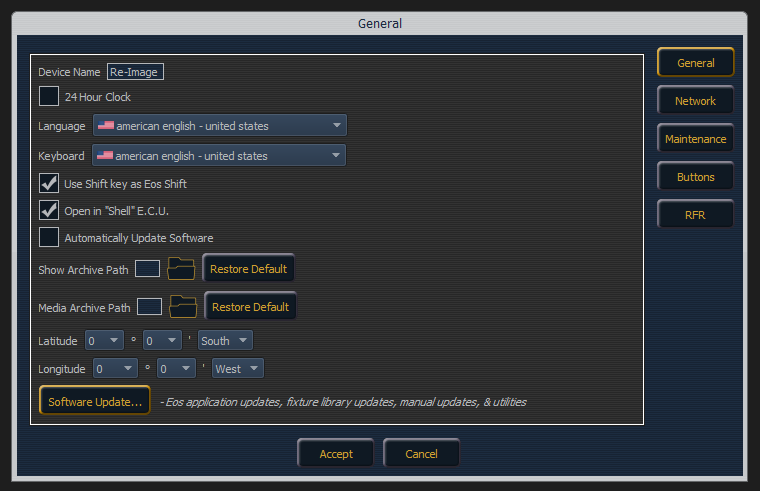 |


