Re-Image Instructions | Net3 RVI with Dual-DVI Splitter| From Version 2.6.4 and Earlier
|
Want a printable PDF of these instructions?
Click the PDF Icon above the Table of contents! |

1) Backup Your Data
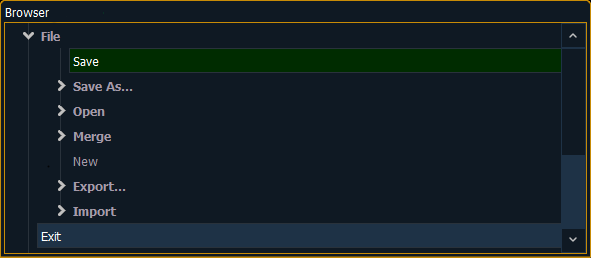
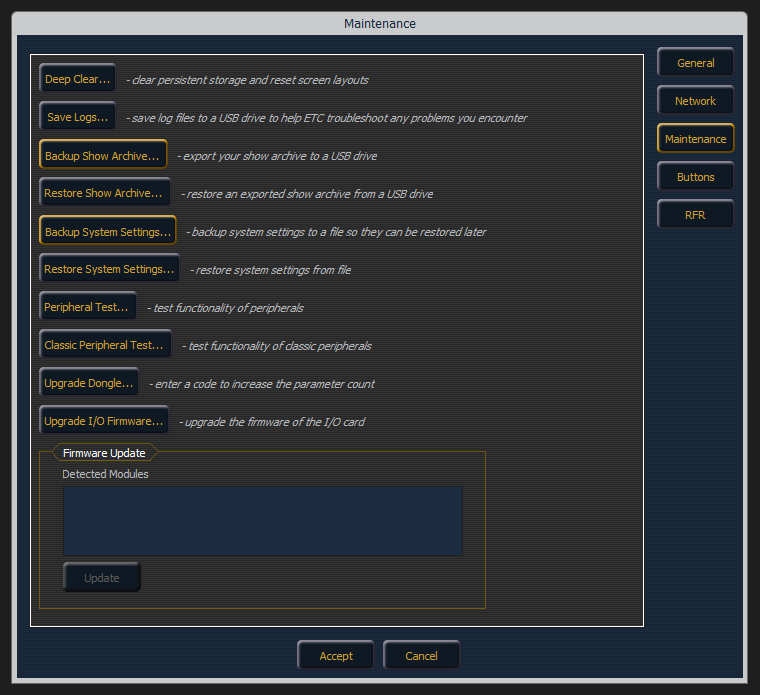
Backup Settings and Show Files
Additional Required Materials
In addition to the materials previously listed above, you will need to download and print out the Eos Family Settings Spreadsheet.
|
 |
|
 |
|
 |
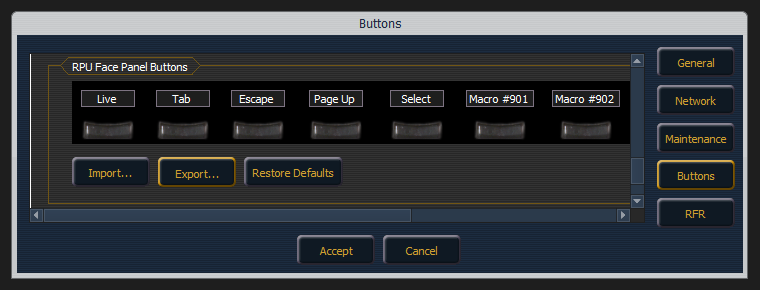
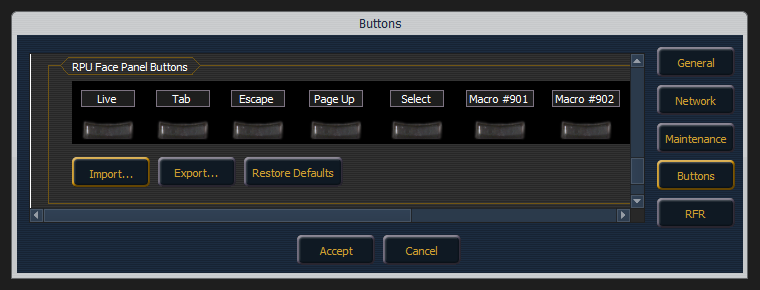
Export Button Configuration
|
 |
Do you use Cobalt or Congo on this device as well as Eos? If so, you will need to backup your Cobalt/Congo data using the instructions below:
2) Re-Image Your Console
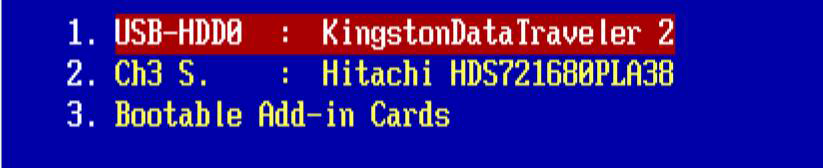
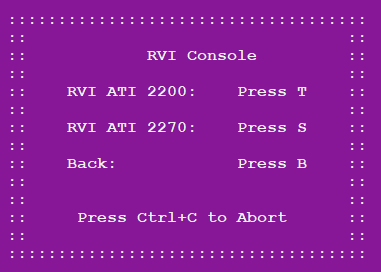
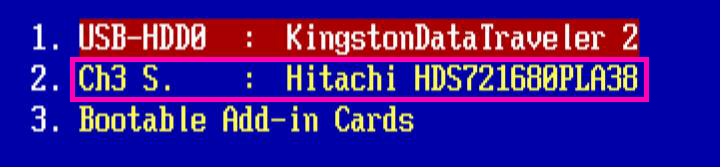
Adjust Boot Priority and Boot into ETC Console Image Utility
|
 |
||
|
|


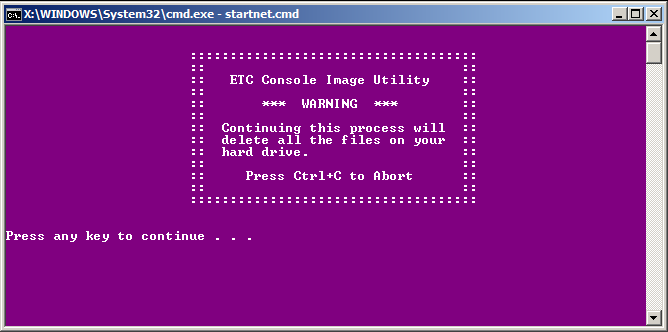
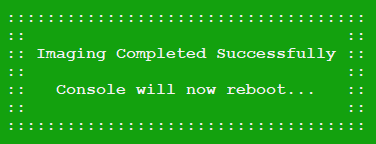
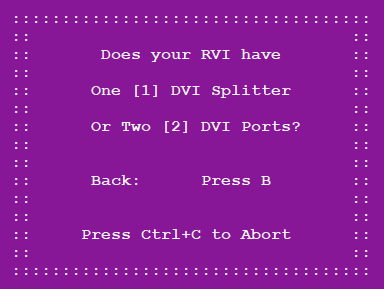
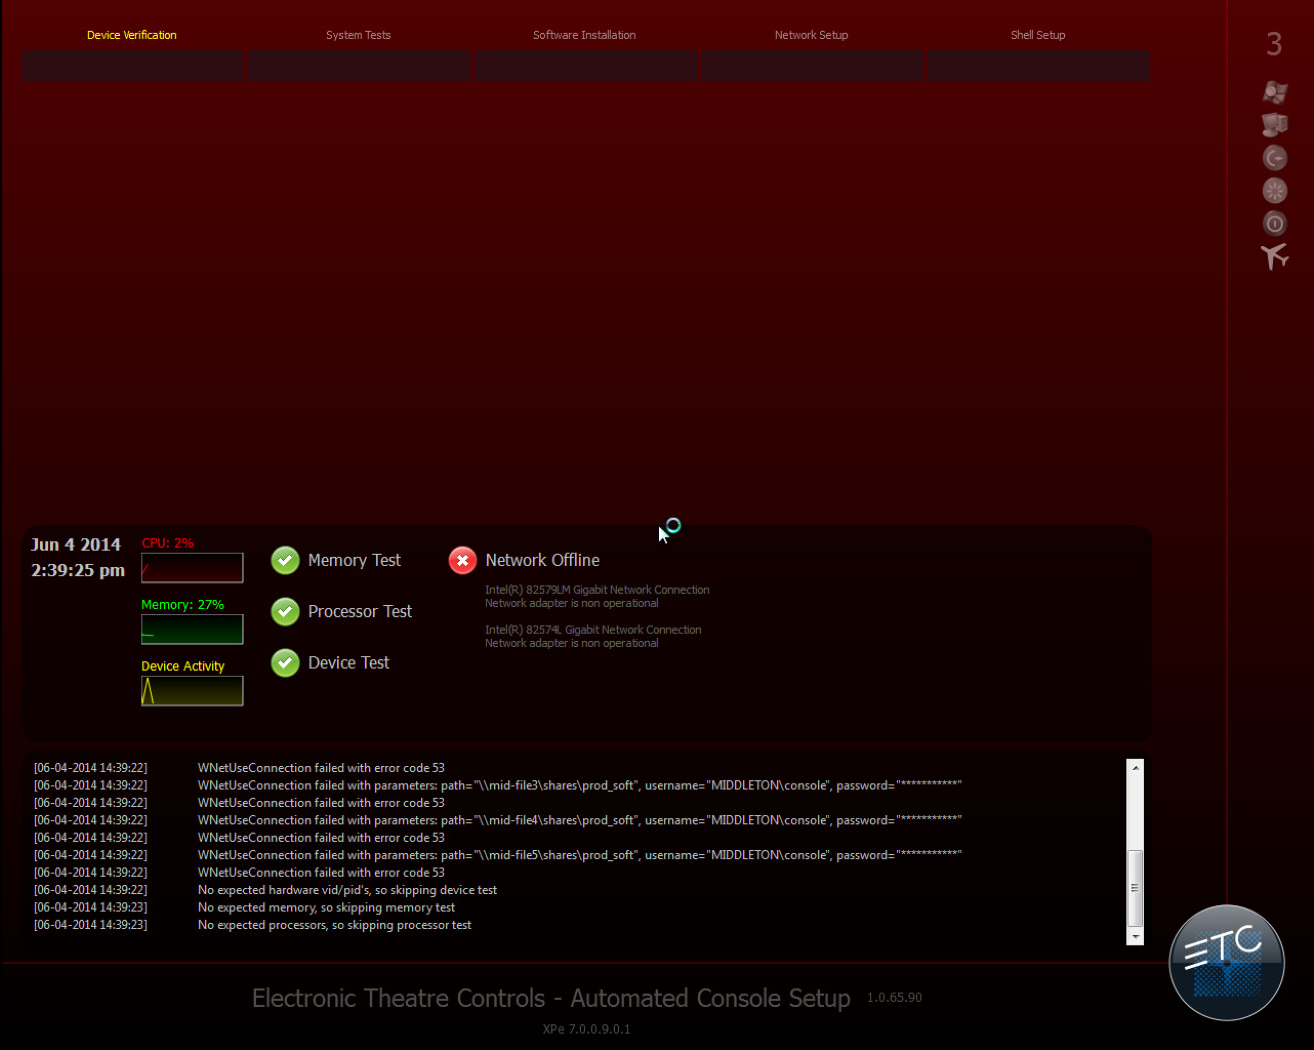
Re-Install the Disk Image
|
|
|
 |
The USB imaging drive should remain in the console for installation of software. Do not remove it until the process is complete.
Restore Boot Boot Priority
|
 |
Automated Console Setup Utility
|
 |
|
 |
|
 |
3) Restore Your Data
|
 |
|
 |
Import Button Configuration
|
 |
If you previously backed up your Cobalt / Congo data, use the instructions below to restore it now: