Encoder Replacement for Ti


Things you will need.
#1 Phillips screwdriver
#2 Phillips screwdriver
Flat head screwdriver
Crescent wrench
1/16 allen wrench
4300A2002 Haptic Encoder Assembly
Let’s get started.
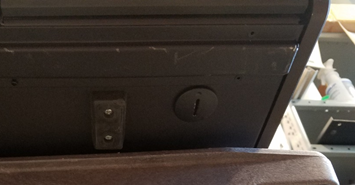
To open the unit, please turn the two locks on the bottom front a quarter turn clockwise with a flat head screw driver.
Next, remove the cables from the encoders by pressing on the tab.
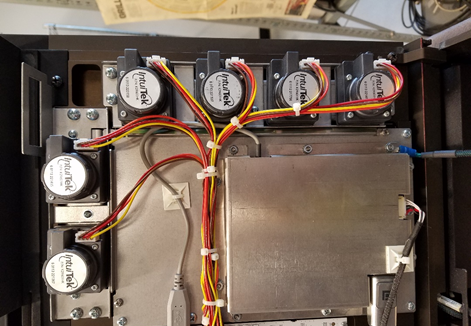
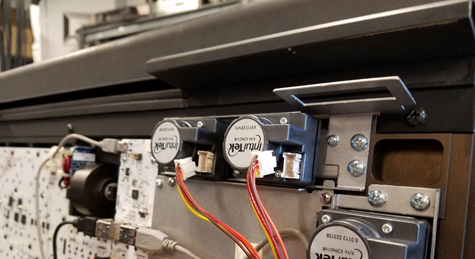
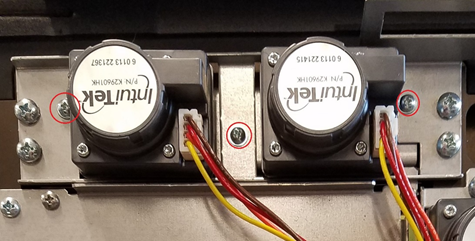
There are two metal brackets that hold the encoders in place. To remove the knobs, remove the 3 marked screws.

Push on the bottom of the encoder. This will reveal the set screw that holds the knob from the side. Use the 1/16 Allen wrench to loosen up the screw to remove the knob.
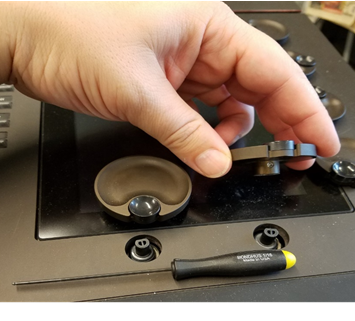
Now that the encoder knobs are removed, you will be able to remove the encoders from the face panel. Take the #2 phillips screw driver and remove the 4 screws that hold the bracket in place.
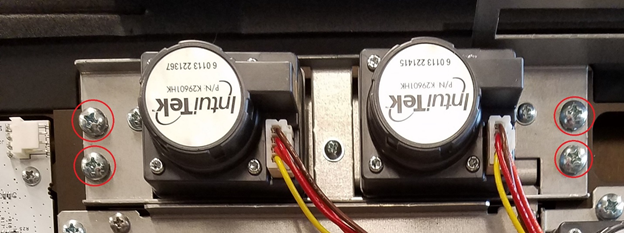
Make sure you keep it all together at this point. There will be two metal plates. One plate holds the encoders in place and the other is what the encoders are attached to.
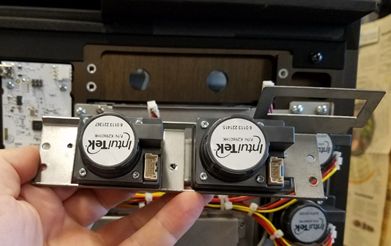
Set the encoders down with the shafts facing the table. Remove the top bracket.
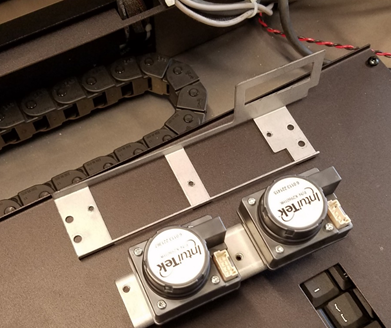
You will have to make sure you put this back in the same orientation as you removed it. Now you can use the crescent wrench to remove the nut that holds the encoder to the metal bracket.
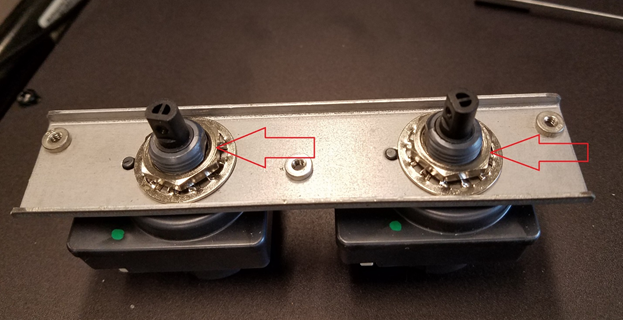
Make sure the locking tab is sitting in a hole in the bracket.
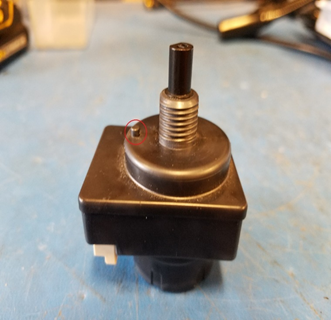

To put it back, follow the steps in reverse.
