Question
How do I save a back up of all of my show files or my system settings?
How do I transfer my show files or systems settings form one Eos family console to another?
Explanation
Step 1: Complete the following steps on your original console
Backup Show Files and System Settings
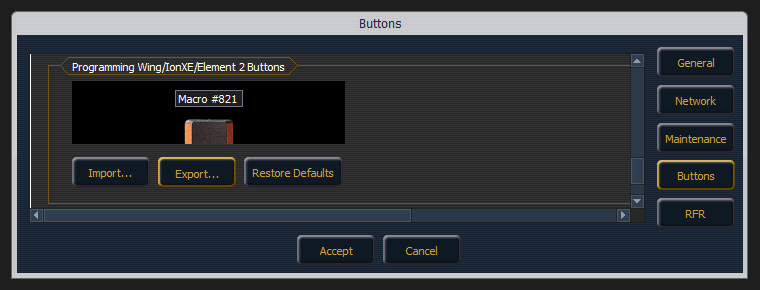
- Tap {Buttons} on the right side of the Shell.
- Scroll to the bottom of the section titled "Programming Wing/IonXe/Element 2 Buttons" and tap {Export}.
- You will once again be prompted to choose which drive to export to. Be sure to select your flash drive and not the ETC Re-Imaging Drive. Tap {Accept}. Then tap {Ok}.
|
 |
Step 2: Complete the following steps on the console you're transitioning to
- Exit out to the Shell.
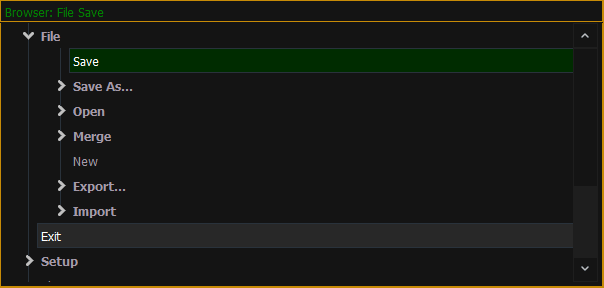
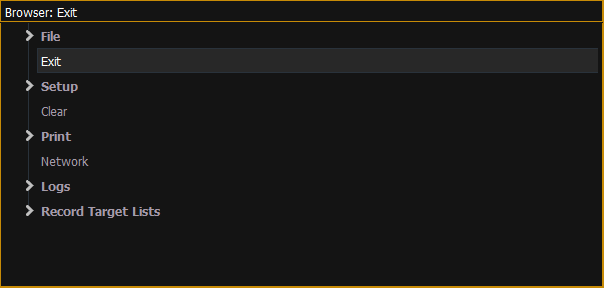
- Double-tap the [Displays] key to open the Browser and double-click the line that says Exit.
- Tap {OK} when prompted.
|
 |
- Plug in the flash drive you originally used to back up your data.
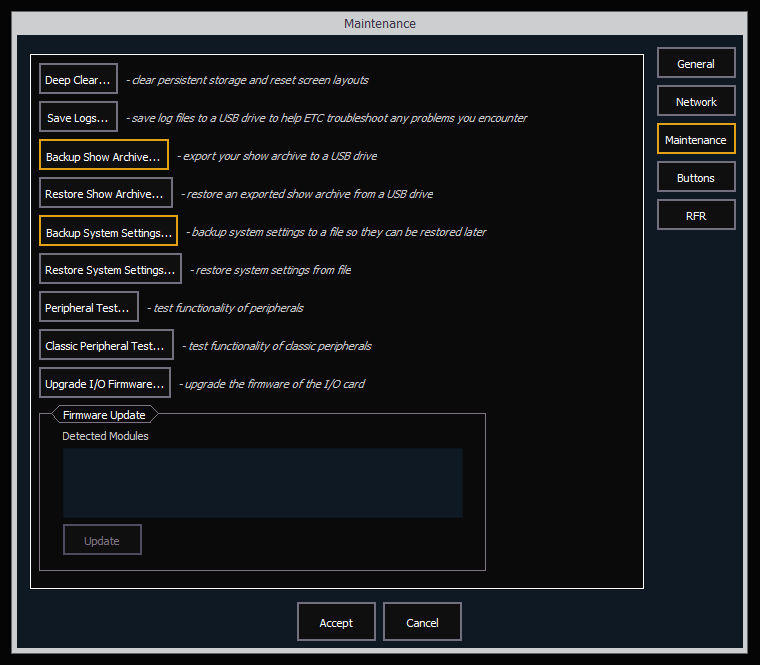
- Once in the Shell, tap on {Settings} and navigate to {Maintenance} on the right.
- Restore your Show Archive from your flash drive.
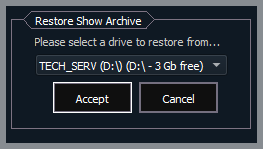
- Tap {Restore Show Archive}.
- You will be prompted to choose which drive to import from. Be sure to select the flash drive you originally used to back up your data. Tap {Accept}.
- You will be prompted to choose the "Latest" show files or "Everything".
- Choosing {Everything} will restore all versions of each show from your flash drive while choosing {Latest} will only restore the most current version of each show.
- After making your selection, you will be presented with a prompt to select the shows you wish to restore. By default, all shows will be selected. Tap {Save}.
- You will be presented with a prompt explaining your files have been successfully processed. Tap {Ok}.
- Restore your system settings from your flash drive.
- Tap {Restore System Settings}.
- You will be prompted to select the .ini file you originally backed up to your flash drive. Once selected, tap {Ok}.
- You will be presented with a prompt explaining the system settings have been restored. Tap {Ok}.
|
 |
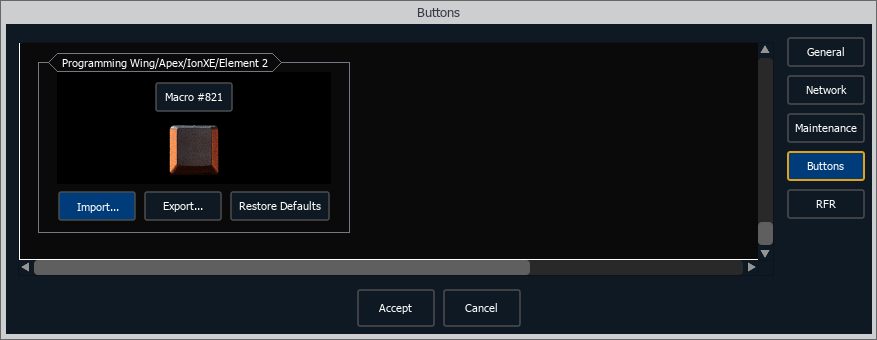
- Tap {Buttons} on the right side of the Shell.
- Scroll to the bottom of the section titled "Programming Wing/Apex/IonXe/Element 2 Buttons" and tap {Import}.
- Eos should automatically detect the button settings on your flash drive. Tap {Yes} to confirm import, then tap {Ok}.
|
 |