Ion, Element, Ion RPU, and Net3 RVI Monitor Arrangement After v.1.9.5
If the software on your console is earlier than version 1.9.5, please see this article regarding monitor arrangement: Before v.1.9.5
If you have two monitors plugged into your Element, Ion, or RVI (either two DVIs on the splitter or one DVI and one VGA), you may need to go through these steps to use both monitors.
- If you are in the Ion, Element, or RVI application, you will need to exit. On Ion and RVI, press [Displays] (F9) and select {Exit Ion}. Click {OK}. On Element, press [Browser] and select {Exit Element}. Click {OK}.
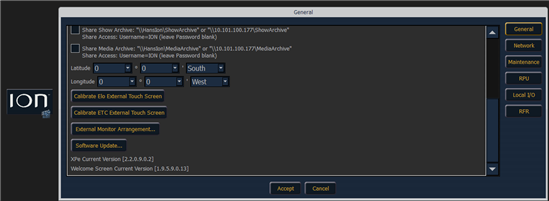
- In the Shell, select {Settings}. The shell will look different depending on the type of device you have, but they all will have the settings button.
- Go to the {General} tab and click on the {External Monitor Arrangement...} button.
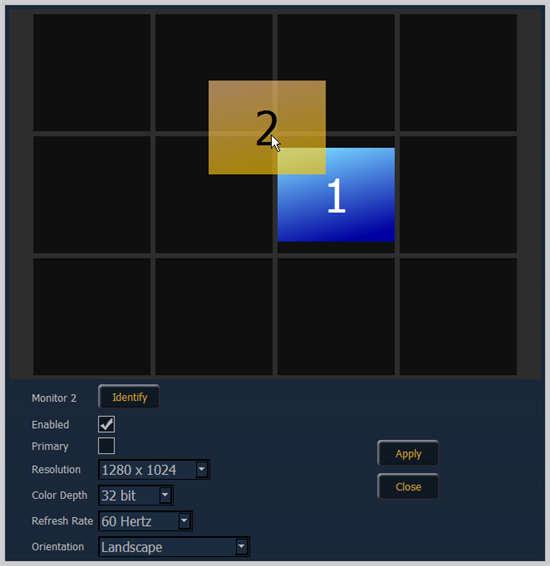
- The External Monitor Arrangement tool will open with a virtual layout of the monitors for the console. A yellow monitor indicates that it is selected, a blue monitor indicates that it is enabled but not selected, and a gray monitor indicates that it is disabled and not selected.
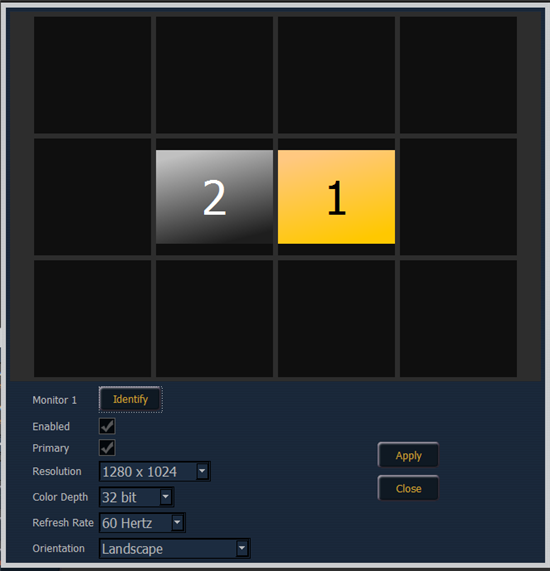
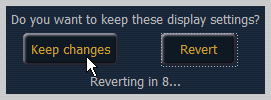
- To enable a monitor, click on it and check the {Enabled} box. Hit {Apply}. A dialog box will appear, asking if you would like to keep changes. It will automatically revert in 15 seconds if the {Keep Changes} button isn't pushed.

NOTE: When the second monitor is enabled, the screen will activate but will be blank. Move the mouse to the second screen to confirm its functionality. If there isn't a second monitor attached, the second monitor will stay grayed out, and the Enabled box will be unchecked.
- If desired, you may also click and drag the monitors into the desired layout, as illustrated below. You must hit {Apply} for these changes to be saved.
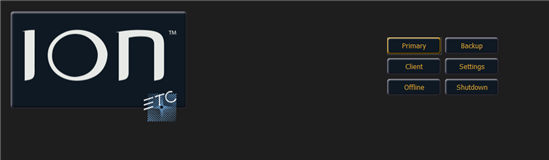
- When you are finished, press {Close} and then {Accept} to leave the Settings utility. You can then enter into the console application by selecting the correct mode for the console. For single-console systems, press {Primary} or {Start Element}. Otherwise, select the mode appropriate for your system (Primary, Backup, Client, Offline, Start Element).