The Best Way to Make a Multicell Fixture in Eos
What is the best way to create a Multi-cell fixture in Eos software?
It is possible to create Multicell fixture profiles in Eos using the Fixture Editor. The process should be done in a certain order to avoid errors.
The following process works well in Eos Family Software v2.9.x - v3.x.
- Navigate to the Fixture Editor: Patch > {Fixtures}
- Press the + in list of fixtures to create a new fixture that will be the cell.
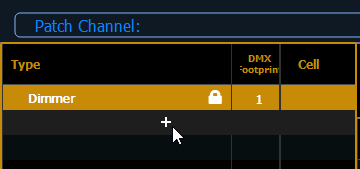
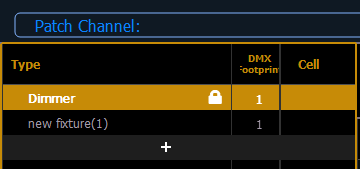
- Modify the cell profile as needed. In this example, the cell has three parameters of Red, Green, and Blue and was renamed "RGB Cell":
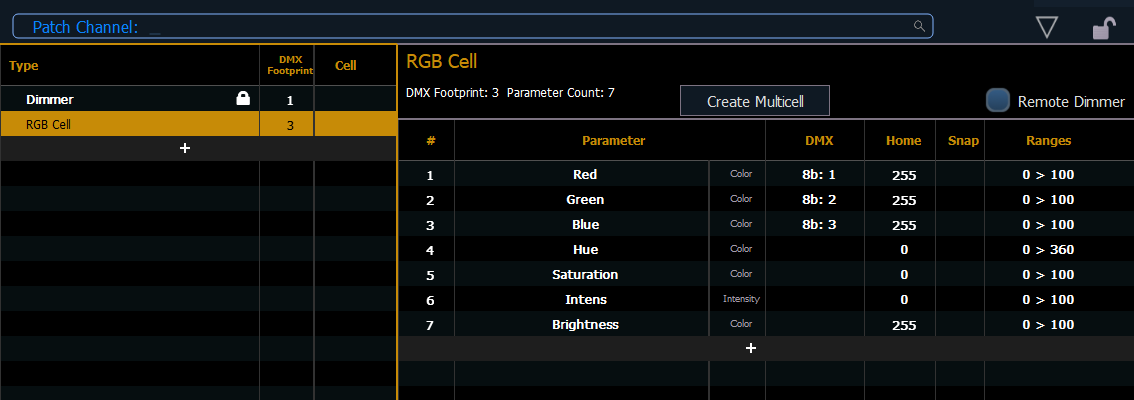
- Add another new fixture to be the Master. This example, it is mastering the Intensity output of the complete fixture, so it has only a single parameter of Intensity:
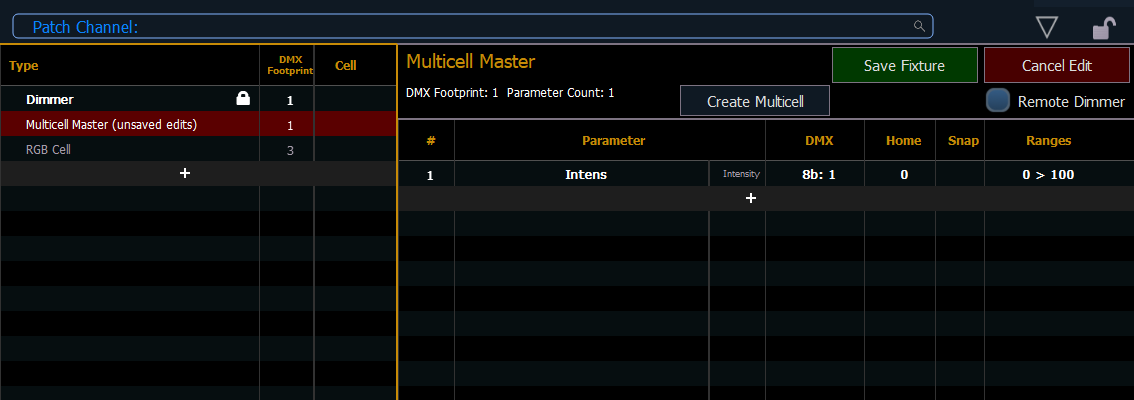
- With the Master selected, press "Create Multicell". This will open a popup editor:
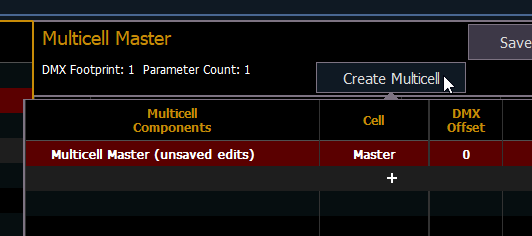
- Press the '+' button to add the first Cell. The Cell you created will be found under "All Show Fixtures"
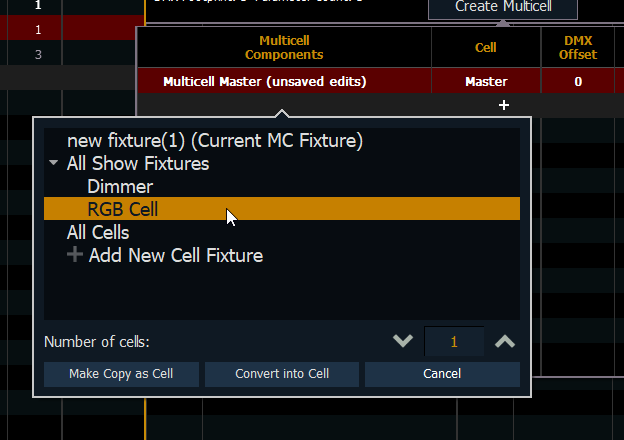
- Click on "Convert into Cell". This will add the cell.
- Press the '+' button to add additional cells. Note that your Cell will now be found under "All Cells". Use the "Number of Cells" popup to add several of the same type at once.
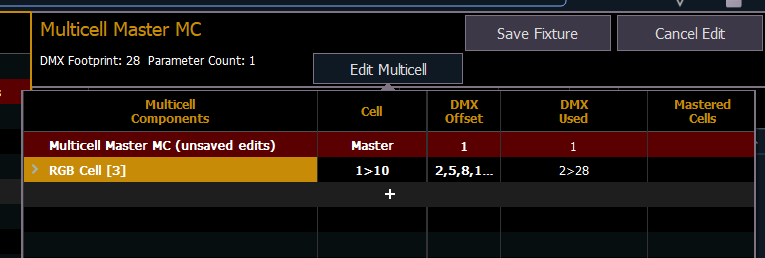
- Now, change the Master's DMX Offset to "correct" (in this case, it is set to 31)
Then, manually change the starting offset of each of the cells
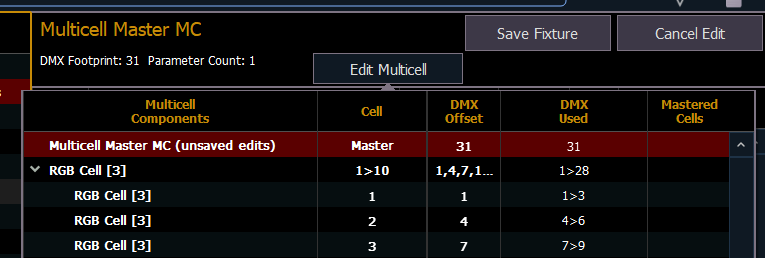
Unfortunately there is no way to renumber the cells all at once. - Save the fixture.
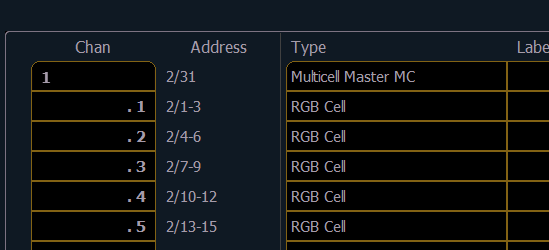
The fixture is now patchable as expected.
Note: to create a Multicell fixture where the Master Intensity is Virtual, you must create the fixture in the same way as above. After step 8, Save the fixture. Then, modify the Master's Intens Parameter to have DMX Offset 0. This will cause it to go blank (in v2.9.x) or display 'Virtual' (in v3.x). It will then Master the Intensity of the cells.
