Can't Set IP Address on Windows 11
Symptoms/Issue
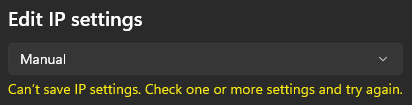
When attempting to assign a static IP address for use with a lighting network from the Settings -> Network and Internet menu, Windows may display the following error upon clicking "Save":
Description/Explanation of Issue
In the Windows 11 Settings menu, you must have valid primary and secondary DNS server IPs assigned for each network interface for Windows to consider the configuration valid. A DNS server translates URLs (i.e. support.etcconnect.com) into an IP address that a computer can communicate with. Since, in most cases, there is no access to the Internet on a lighting network, no DNS server is required. However, since the Windows Settings menu for configuring IP addresses requires it, we need to assign one manually.
Certain versions of Windows use "Subnet Prefix Length" instead of "Subnet Mask" in this menu, and this error can also be the result of the incorrect value being input into that field. The default ETC subnet mask is 255.255.0.0, and the equivalent prefix length is 16. For a detailed explanation of the difference between these two terms, see here.
Alternatively, the older Control Panel network adapter configuration tool allows an IP configuration with no DNS server, but is buried deeper in the OS. If you have experience setting the IP address for Windows versions prior to 10, this may be a more familiar method. Instructions for both approaches are below.
Solution (Windows Settings)
While it is not necessary to point Windows to an active DNS server on a lighting network, and any arbitrary IP can be used for the primary and secondary addresses, you may wish to assign a valid server in case you'd like to use a static IP address on your network adapter for Internet access later. There are many public DNS servers available. A few popular DNS providers are:
| Provider | Preferred | Alternate |
|---|---|---|
| 8.8.8.8 | 8.8.4.4 | |
| Cloudflare | 1.1.1.1 | 1.0.0.1 |
| OpenDNS | 208.67.222.222 | 208.67.220.220 |
Fill in the above addresses in the Preferred and Alternate DNS Server fields, and the menu will allow you to save the new configuration.
These DNS server addresses are provided as examples only. ETC does not endorse any specific DNS provider.
Solution (Control Panel)
- Press or click your Windows Start Menu and type View Network Connections.
- You can also get to the same place by going to Control Panel > Network and Sharing Center > Change Adapter Settings.
- Select the Ethernet connection you wish to edit (default names are using "Ethernet" with a # suffix.

- Right Click in the Ethernet Connection and select Properties.
- You can also get to Properties by double-clicking the connection (or right clicking > Status > Properties.
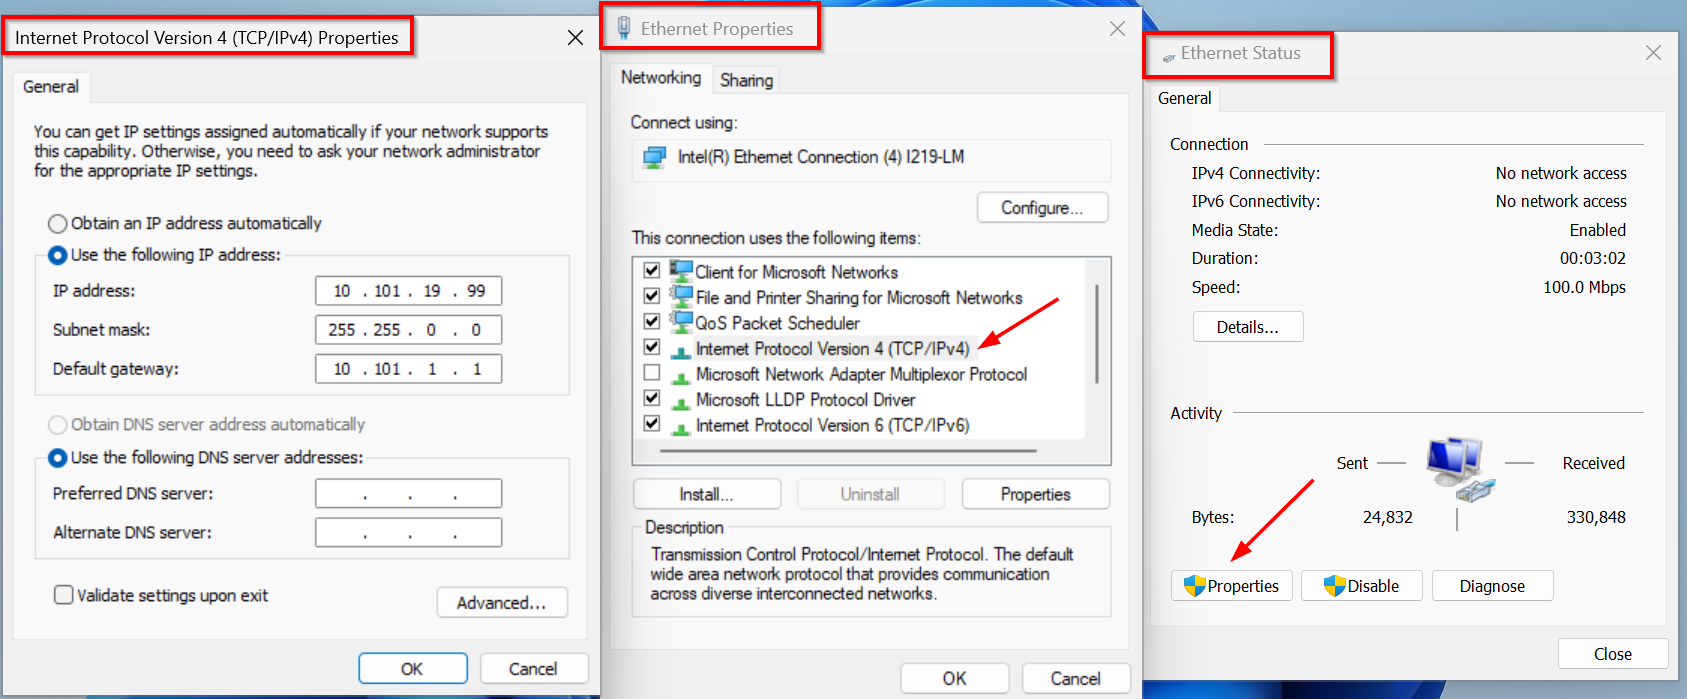
- The Properties window is shown the center of the screenshot below.
- The Status window is shown in the right of the screenshot below.
- You can also get to Properties by double-clicking the connection (or right clicking > Status > Properties.
- Under the Networking Tab of the Ethernet Properties window, search for Internet Protocol Version 4 (TCP/IPv4).
- Double-click to enter TCP/IPv4 properties or select it and then click Properties.
- In the Internet Protocol Version 4 (TCP/IPv4) Properties window, check the box for Use the following IP address:.
- Enter the static IP address, Subnet mask, and Default Gateway.
- DNS will change to Use the following DNS server addresses:
- Leave those fields empty. They will be accepted blank.
- When done, Click OK to close TCP/IPv4 Properties.
- Click OK again to close Ethernet Properties.
- Cllck Close to close Ethernet Status.
- Click OK again to close Ethernet Properties.
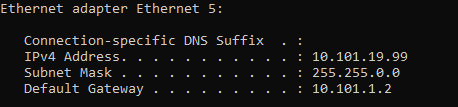
- To verify the IP address has been accepted. You can use the cmd prompt.
- Press or click your Windows Start Menu and type Command Prompt.
- Type ipconfig and press enter.
- The adapter settings will appear. The fields should match the numbers that were previously entered.