Configuring a CEM+ (Sensor+) Processor with Concert
Introduction
CEM+ must be running at least v3.1.0 to be discovered and configured using Concert. Use the facepanel to navigate to About, then hit the Enter [✓] button. In the following menu, hit [+], then read the version from (About Software). If the version is lower than 3.1.0, use UpdaterAtor to update the software.
Concert is best for editing existing systems. If a system needs to be configured from scratch it's recommended to generate defaults in totality on the rack(s) and then edit to the desired settings in Concert. Alternatively generate the configuration in DimStat and further edits can be made in Concert
Ensure Concert Network Settings are Correct
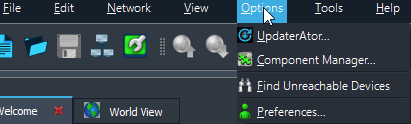
With Concert open, click Options > Preferences in the toolbar menu.
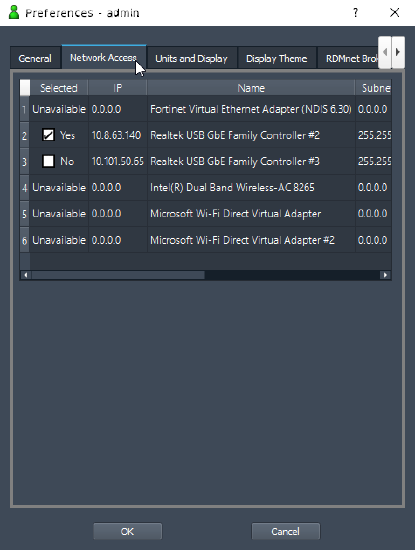
In the Network Access tab, make sure the network you're using is enabled. After confirming settings, click [OK] at the bottom. Concert will need to restart if you made any changes.
Discover and configure the CEM+
After confirming network settings and opening Concert the CEM+ processor should show up in the Discovered Devices dock. Drag in the device to the World View. If there is more than one rack in your system, make sure you add all racks to the World View, and after that only edit the rack that needs changes.

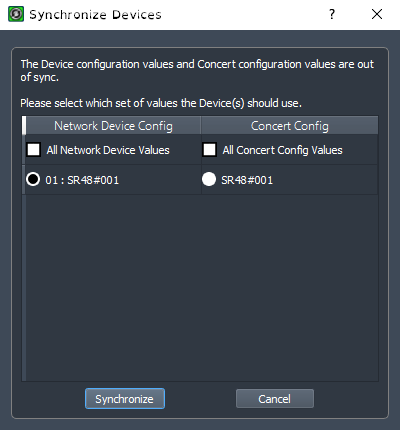
The Synchronize Devices popup may display upon dragging the device into the World View. Ensure the rack(s) under "Network Device Config" is selected to import the current settings from the CEM+. Otherwise, you'll be starting from a default config.
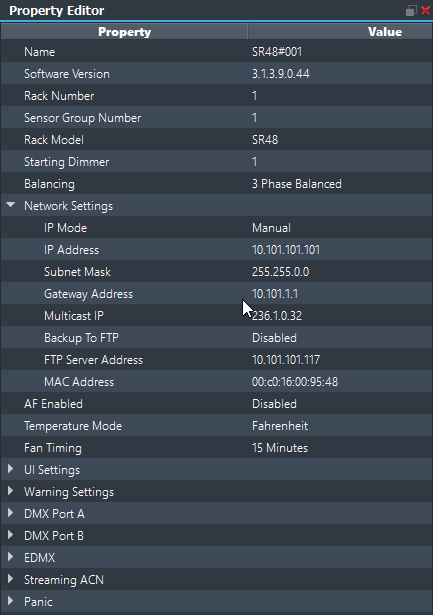
Confirm the rack settings in the Property Editor. Some notable ones follow (also refer to image below):
- Balancing: Affects circuit and patch numbering of your rack. 3 Phase indicates the rack takes in three hot phases of power (most common), and 1 Phase means it takes two hot phases. Straight means the numbering runs straight down from 1 at the top, and Balanced rotates numbering through each phase so from top to bottom the numbering is non-sequential (usually 1, 2, 7, 8, 13, 14, 19, 20, etc.)
- DMX Port A and B: the rack has two DMX ports. Make sure they're enabled if they have cable run to them. 'DMXB Output' must be enabled if the CEM+ is sending data to another device like a SmartSwitch. These settings are most likely correct if you selected Network Device Values above.
- EDMX: Also called ETCNet2, an ETC-only network control protocol. This may need to be enabled for older systems with Legacy Unison CMEi processors or Net2 consoles (such as Emphasis). This should also be correct if you selected Network Device Values above.
- sACN: Current ETC standard for network control. This should also be correct if you selected Network Device Values above.
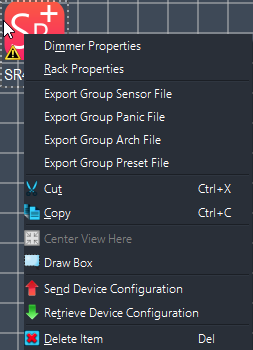
After confirming the settings above, double-click on the SR+ icon in the World View (or right-click and choose Dimmer Properties), which will open up the Dimmer Properties editor. This is where you'll set the module types, circuit numbers, patch information, and other data for all of your dimmers. Each physical module will have its type listed on the right-hand side between the signal lights. Once finished, click [Apply Changes].

After confirming all of the above, right-click on the device icon and click 'Send Device Configuration'. You will receive a pop-up; select Yes.
Once the progress bar has finished and the circle in the bottom right is green, your config is sent. Head to your typical controller (such as a lighting console or architectural system) to confirm functionality.

