How To Replace A DMX Chip In A Response 0-10v Gateway
Perform repair work at your own risk. ENSURE ANY POWER FROM DEVICES HAS BEEN DISCONNECTED BEFORE BEGINNING ANY REPAIR WORK. If you do not feel comfortable performing the repair work, please contact ETC or your local service center. Be aware that ETC is not responsible for any damage or injury caused by repair or service of ETC Products by anyone other than ETC or its authorized repair agents and such damage is excluded from ETC’s warranty.
Tools Required
- Phillips Screwdriver
How to
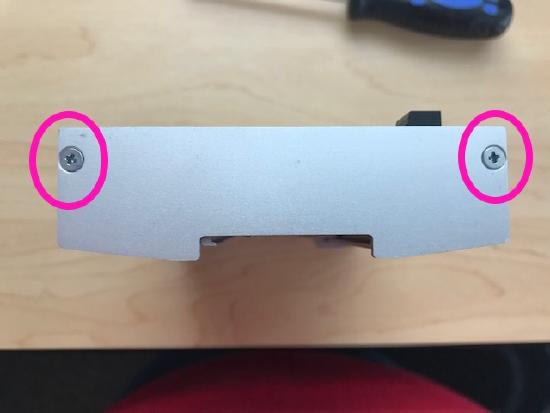
- Remove the (4) screws securing the left and right faceplates to the assembly.

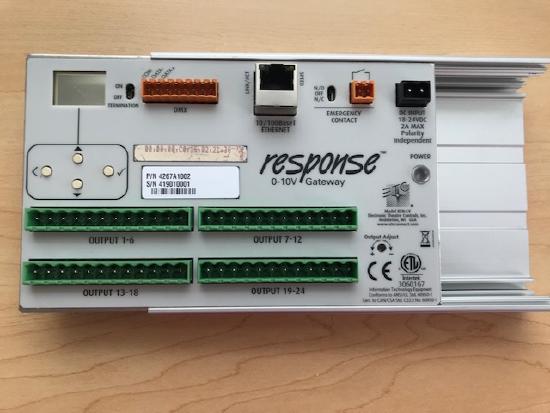
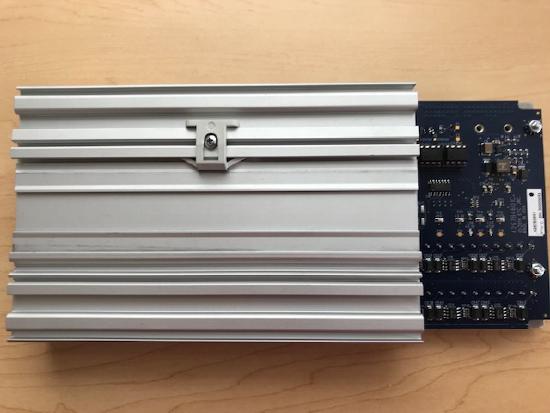
2. Slide the gateway off of the DIN rail enclosure by pushing it to your left or right.


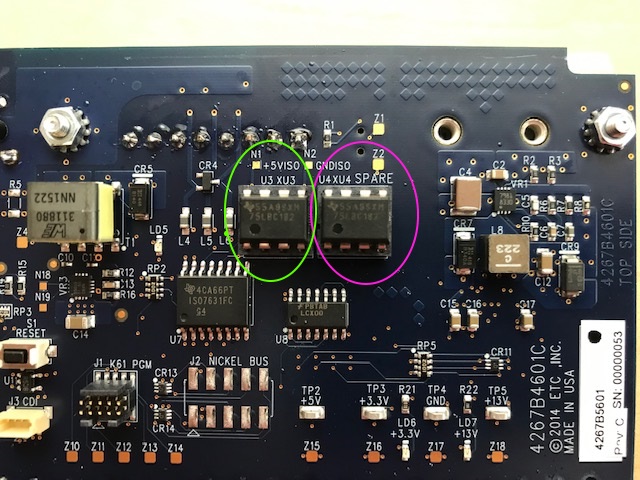
3. Locate the socketed DMX chips at U3 (circled in green) and U4 (circled in pink) on the PCB.

4. Swap the chip in U4, which is the SPARE, into the socket for U3. Make sure the orientation of the chip stays the same when it is moved.
5. Reassemble the gateway by following the instructions above in reverse.
