How to Set a ColorSource Wireless Relay to DMX Mode via an Eos Family Console
Explanation
This support post will walk you through the steps to switch a ColorSource Wireless Relay to DMX mode using the Eos software. This post assumes you already have Enabled RDM on your console.
Steps to Solution
- Make sure your ColorSource Transmitter is plugged into an RDM-enabled port on a Net3 Gateway or your console's local DMX ports.
- Hop into Patch (Tab 12) on your Eos Family console.
- With a clear command line, tap {Device List}.
- Tap {RDM}.
- Tap the {Device Discovery} tile in your CIA to set it to Enabled.
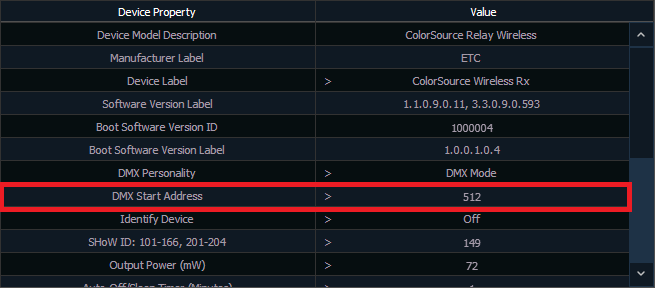
- Once Device Discovery is enabled, you should see the list of devices appear in the 12 Patch (RDM) tab. To select your device, type it's address then tap Enter. In this example, you would type [0][Part][2][Enter] to select the ColorSource Wireless Relay.

- Tap {DMX Personality}, then select {2 DMX Mode}. Tap {OK}.

- When you switch the Relay to DMX mode, it will appear as a different address in the 12 Patch (RDM) tab. You'll need to select it again.
- Tap the {Reload RDM Data} tile.
- After reloading RDM data for your selected device, there should now be a new "DMX Start Address" personality. Click that field to change its DMX address.