Replacing the Main Playback on a Element 2
Element 2 Console Main Playback Replacement
If instructed and given parts through Tech Services, here are the steps in replacing the Main Playback board on an Element 2 Console.
Fix/Solution
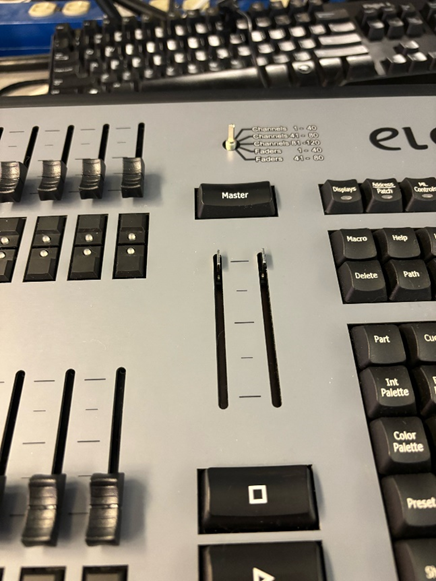
| 1) Remove the Encoder wheel and fader caps. | 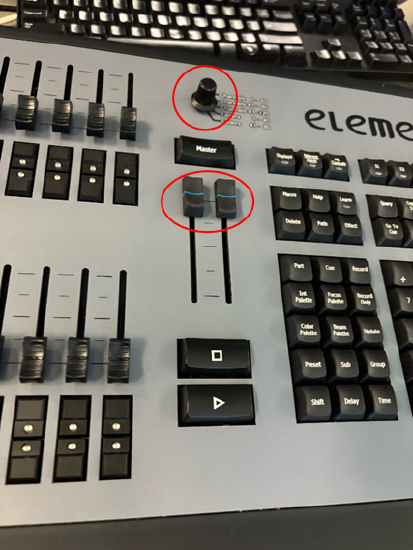 |
 |
| 2) Open up the console per: How to Open an Element 2 | ||
| 3) Clip the two cable ties that are keeping the cable bundles in place. | 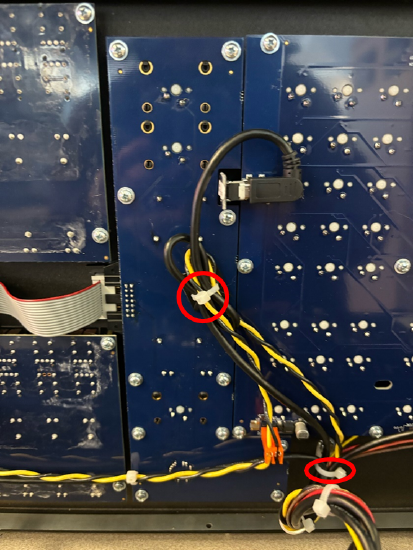 |
|
| 4) Disconnect the gray ribbon cable by unlocking the tabs on top and bottom and pulling straight out. |  |
|
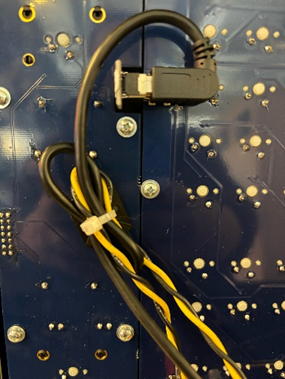
| 5) Disconnect the black USB and unplug the yellow and black cable to get them out of the way. | 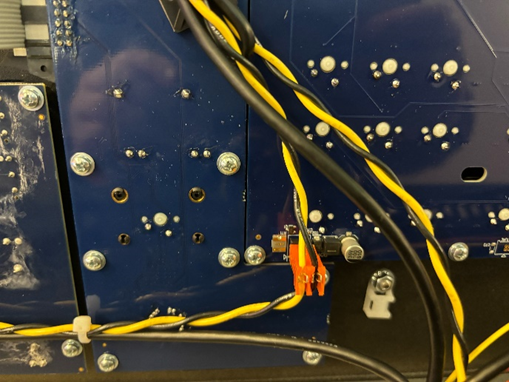 |
 |
| 6) Remove the Philips head screws lining the perimeter of the main playback board. | 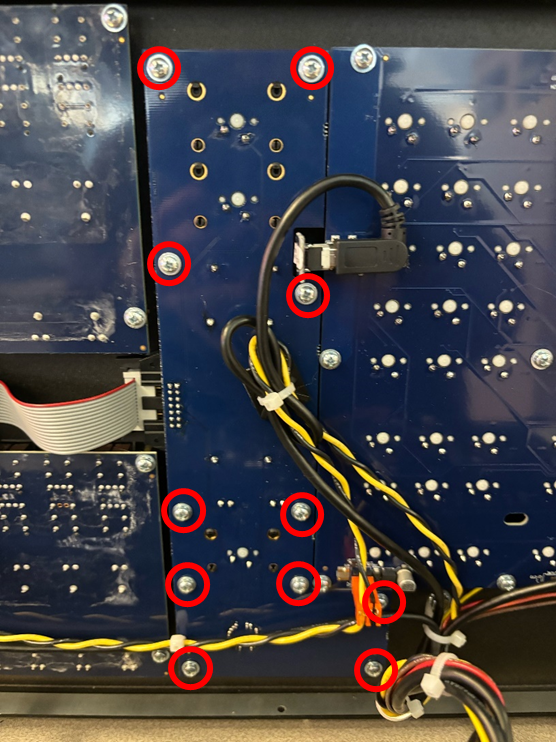 |
|
| 7) Pull the circuit board straight towards you to remove it. | ||
| 8) Push the new board into place. | ||
| 9) Restore the screws. | |
|
| 10) Plug the 3 cables back in, making sure the locks close around the ribbon cable as it goes back in. | 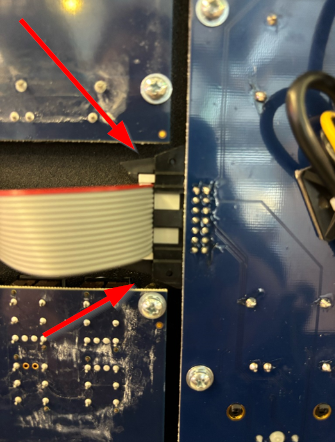 |
|
| 11) Restore the cable ties. | ||
| 12) Close the console back up. | ||
| 13) Pop the fader caps and encoder wheel back on. | |
|