Apex 5 10 and 20 Power Supply Replacement
Replacing Power Supply on Apex 5, 10, and 20 consoles
This guide will show you how to replace the PS508 ATX power supply on an Apex 5, 10, or 20 console.
Required Tools
Long 7mm nut driver or socket, wrench, and extensions.
Phillips 1 screwdriver
Instructions
Unscrew the following hardware. Remove all 3 covers.

Remove the 2 nuts that are holding the gadget garage down.

Lift the gadget garage up and drape it over the back of the console.

Remove the following screws holding the power supply in.

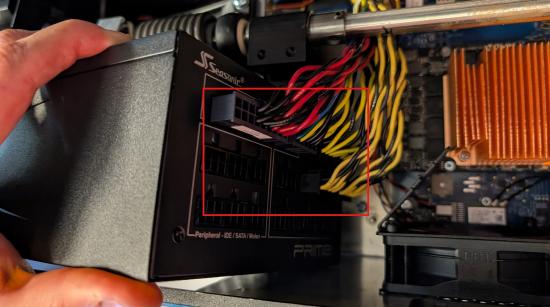
Tilt the power supply up to make the cables more accessible. Remove all the cables.

Lift the power supply up a little bit. Pull back on both sides of the red tab and detach the AC power cable. Remove old power supply.

Insert new power supply. Insert the AC cable. (Pulling the red tabs is not necessary.)
Tilt the power supply up to make the cables more accessible. Reinsert the power cables. (It is ok if each cable that gets plugged into CPU/PCI-E slot did not get plugged into the exact slot it was plugged in before.)

Attach power supply to chassis.
Reattach nuts. Utilize some tape on the end of your nut driver to keep the nut from dropping out.

Replace all 3 covers. Rescrew the following hardware.