Adding USB 3.0 Brackets to Eos Apex Consoles
USB 3.0 Bracket Instillation
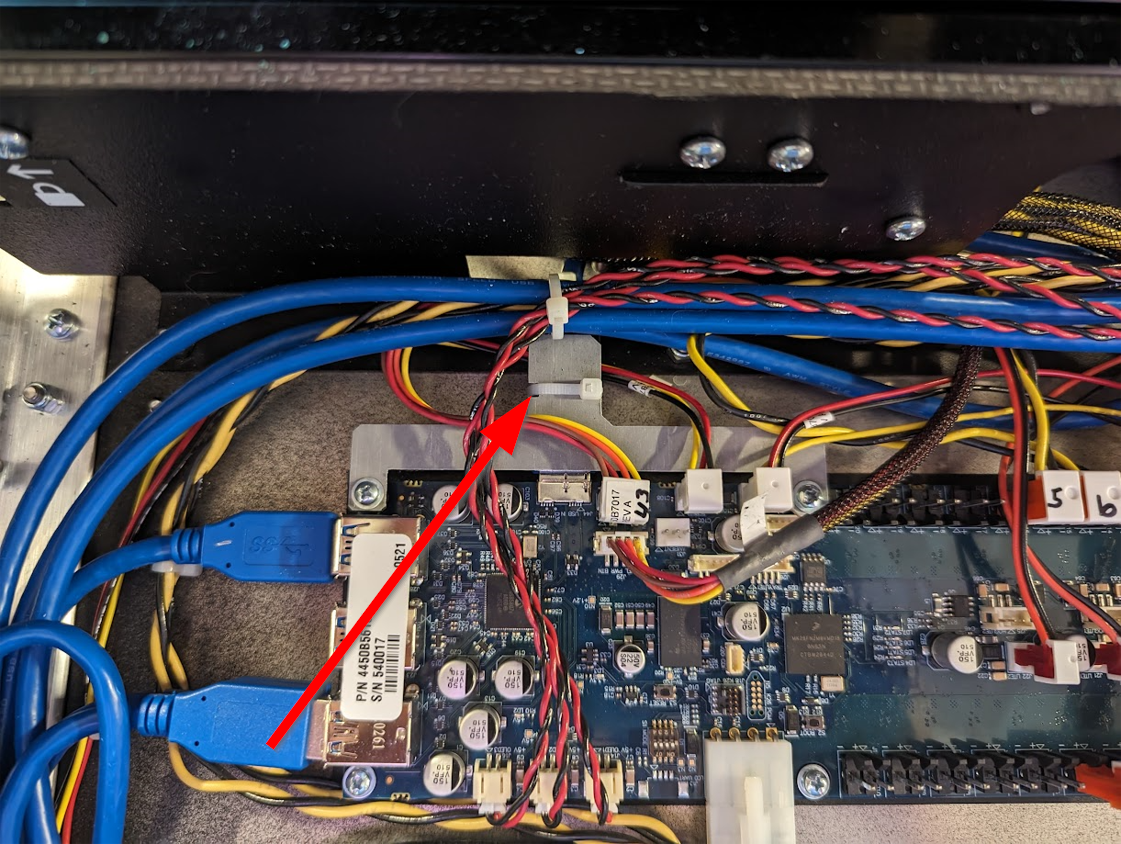
If instructed and given parts through Tech Services, here are the steps to install the USB 3.0 brackets on Apex Family consoles. This bracket is intended to further secure the blue USB 3.0 cables into their respective locations by providing a new point to zip-tie too.
Apex 5 consoles will do projects 1 and 2
Apex 10 and 20 consoles will do all projects 1 through 4
Full list of parts with images will be at the end of the article.
All screws and standoffs should be hand tightened with hand tools
Tools Required
- Number 1 Philips Screwdriver
- 4.5mm Hex Driver
- Snips to cut zip-tie access
Location of Projects
| Apex 5 | Apex 10/20 | ||
 |
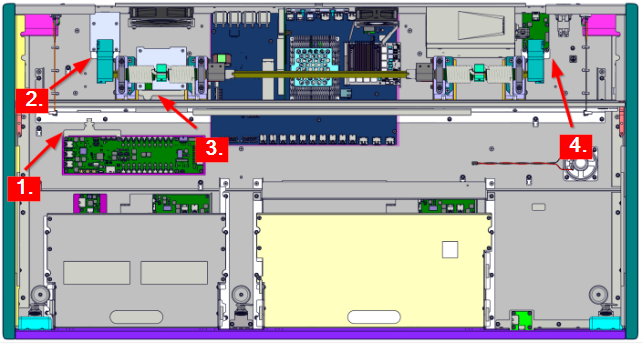 |
Instructions
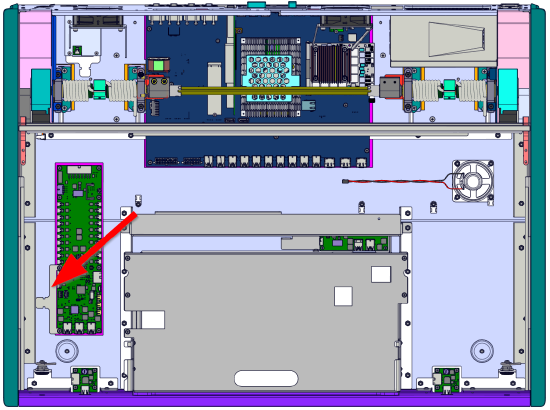
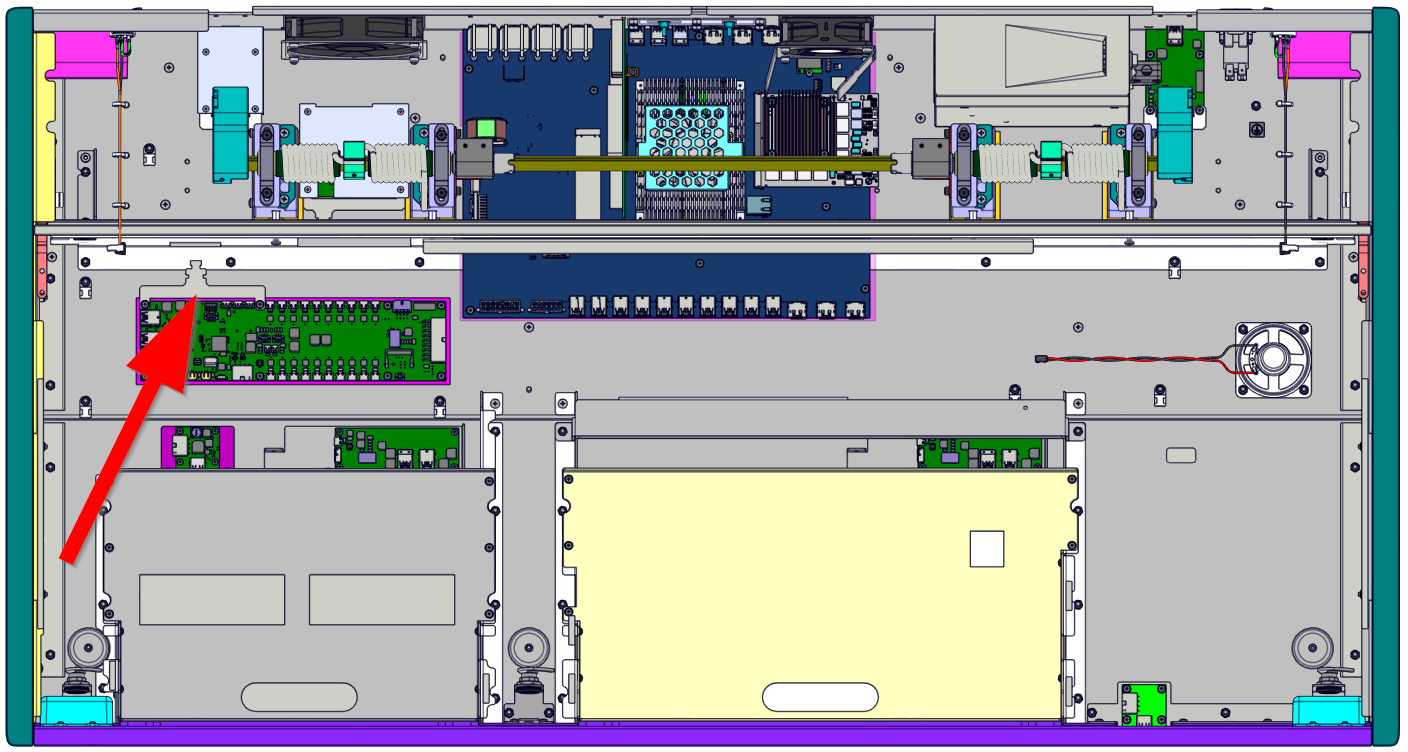
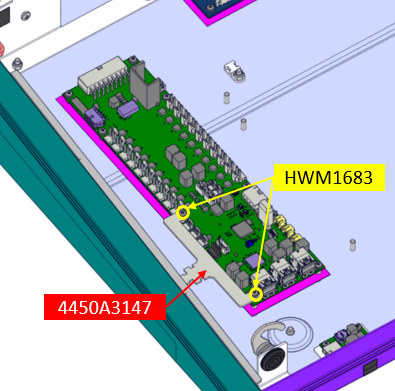
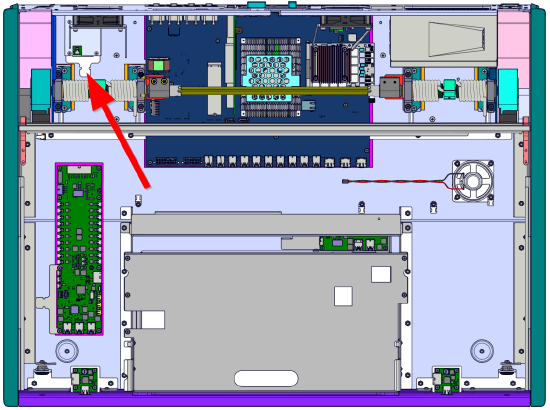
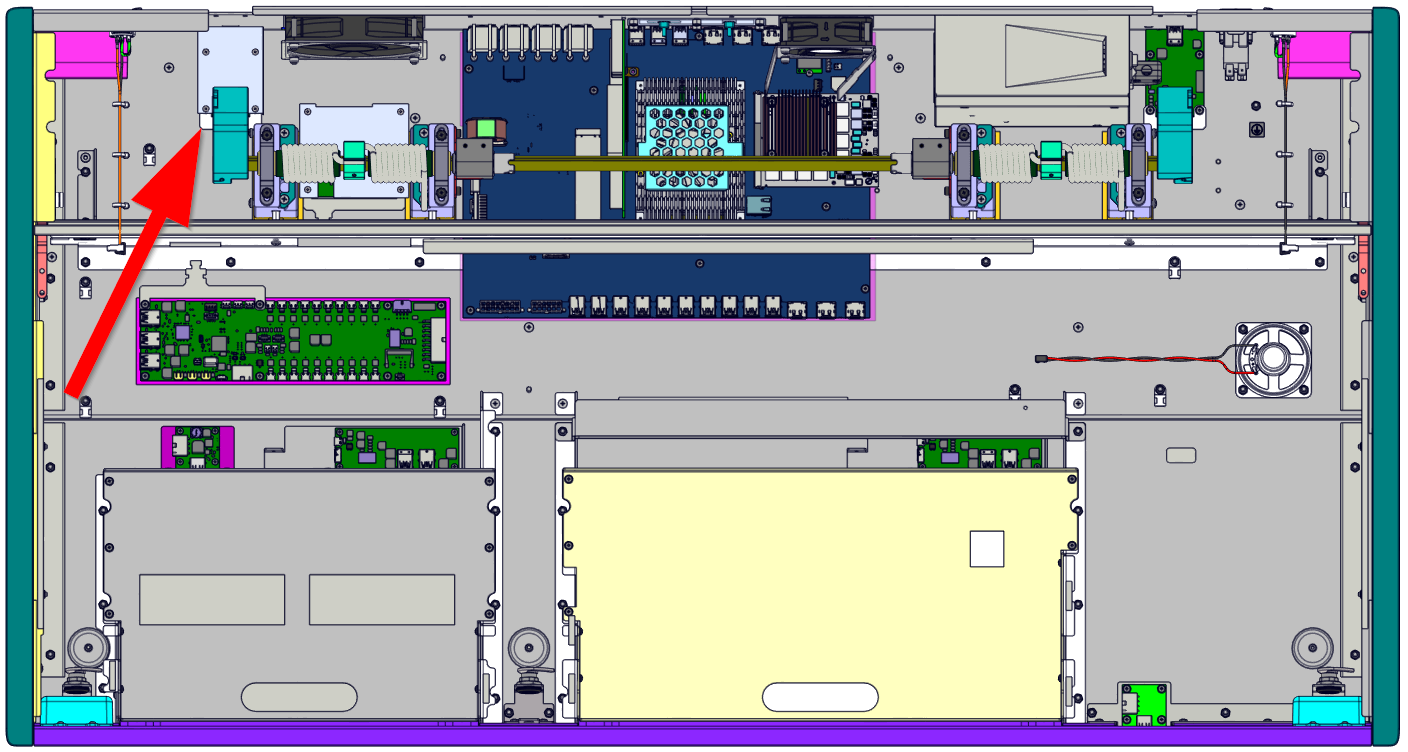
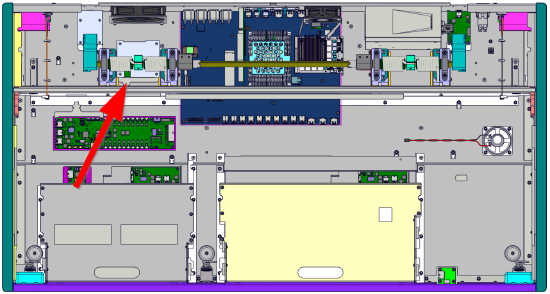
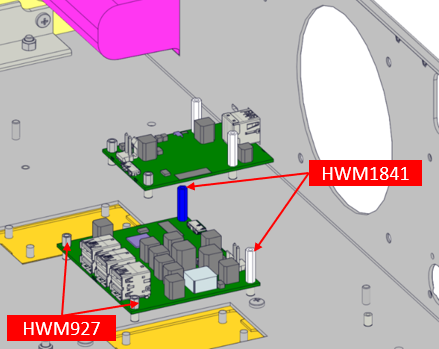
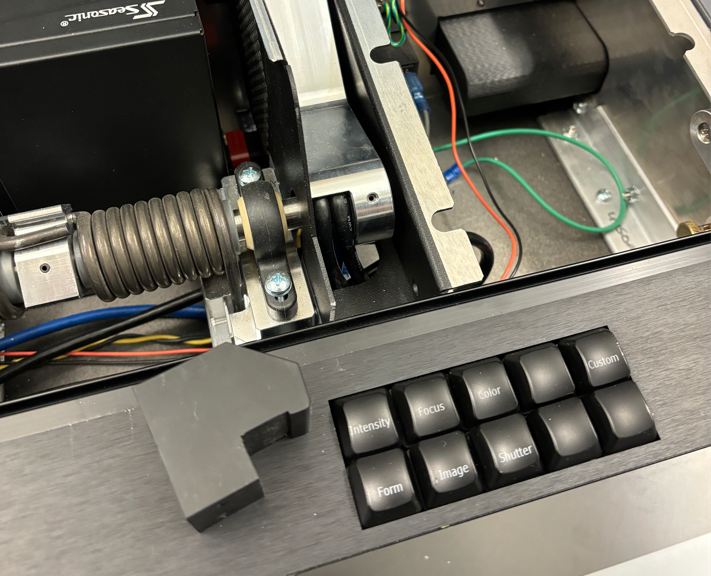
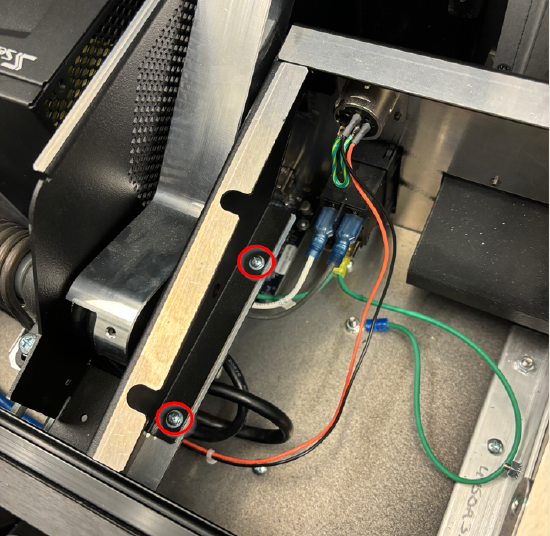
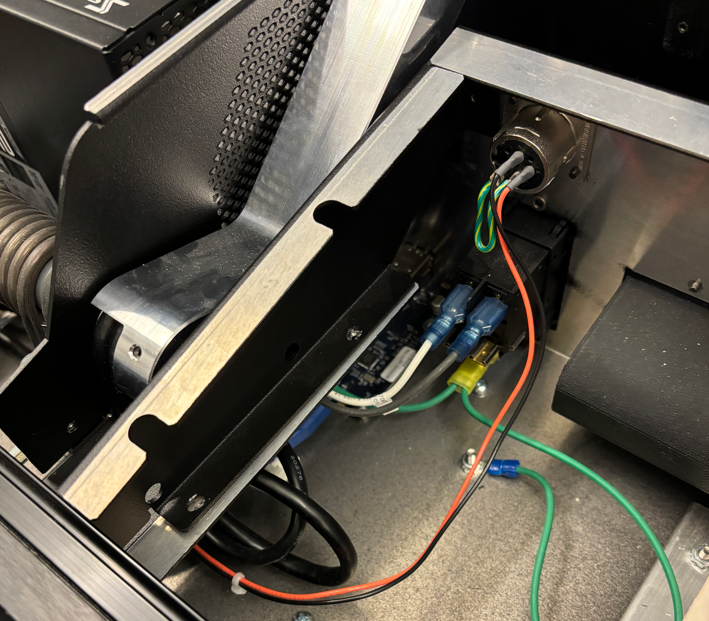
Project 1. Intelligent Power Board |
|||
Parts Needed
|
 |
 |
|
| Location on Apex 5 | Location on Apex 10/20 | ||
|
 |
||
|
 |
||
|
 |
||
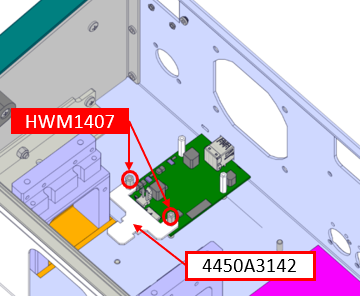
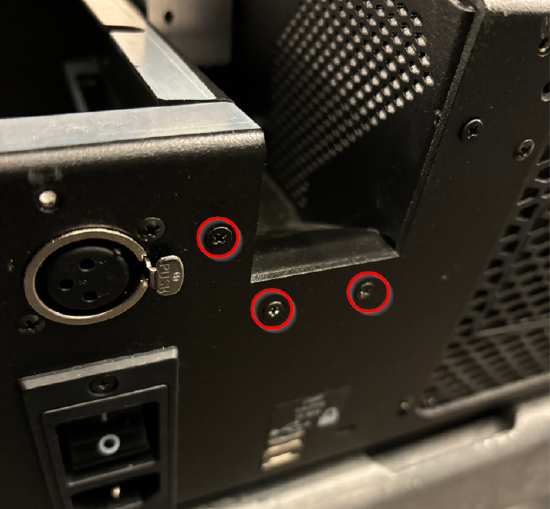
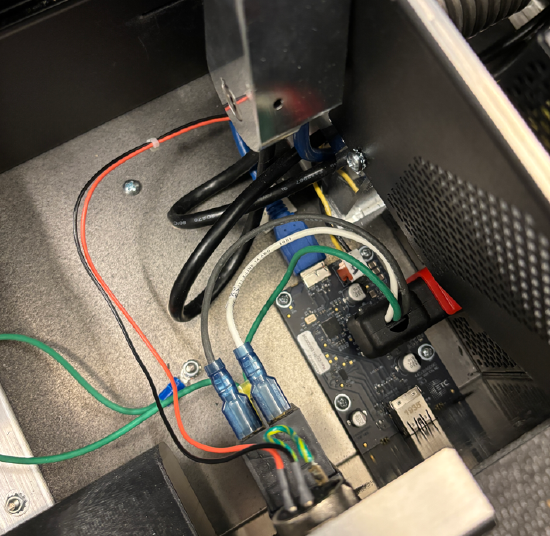
Project 2. Back Left USB Charging Port |
|||
Parts Needed
|
 |
 |
|
| Location on Apex 5 | Location on Apex 10/20 | ||
|
 |
||
|
 |
||
|
 |
||
|
 |
||
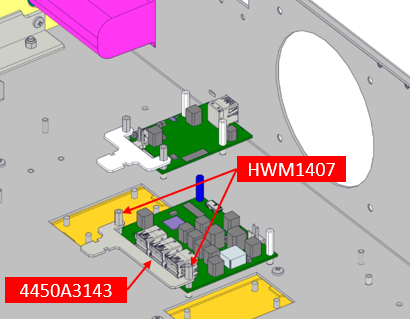
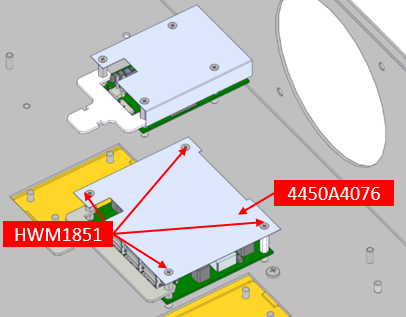
Project 3. I/O Garage USB Hub |
|||
Parts Needed
|
 |
||
| Location on Apex 10/20 only | |||
|
 |
||
|
 |
||
|
 |
||
|
 |
||
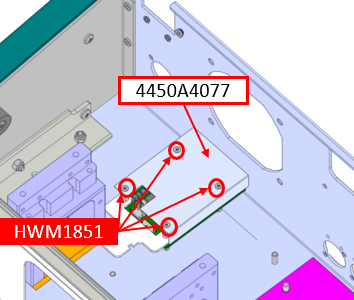
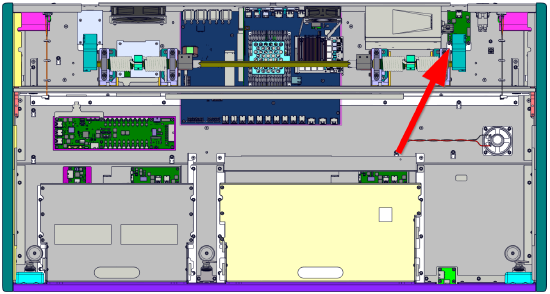
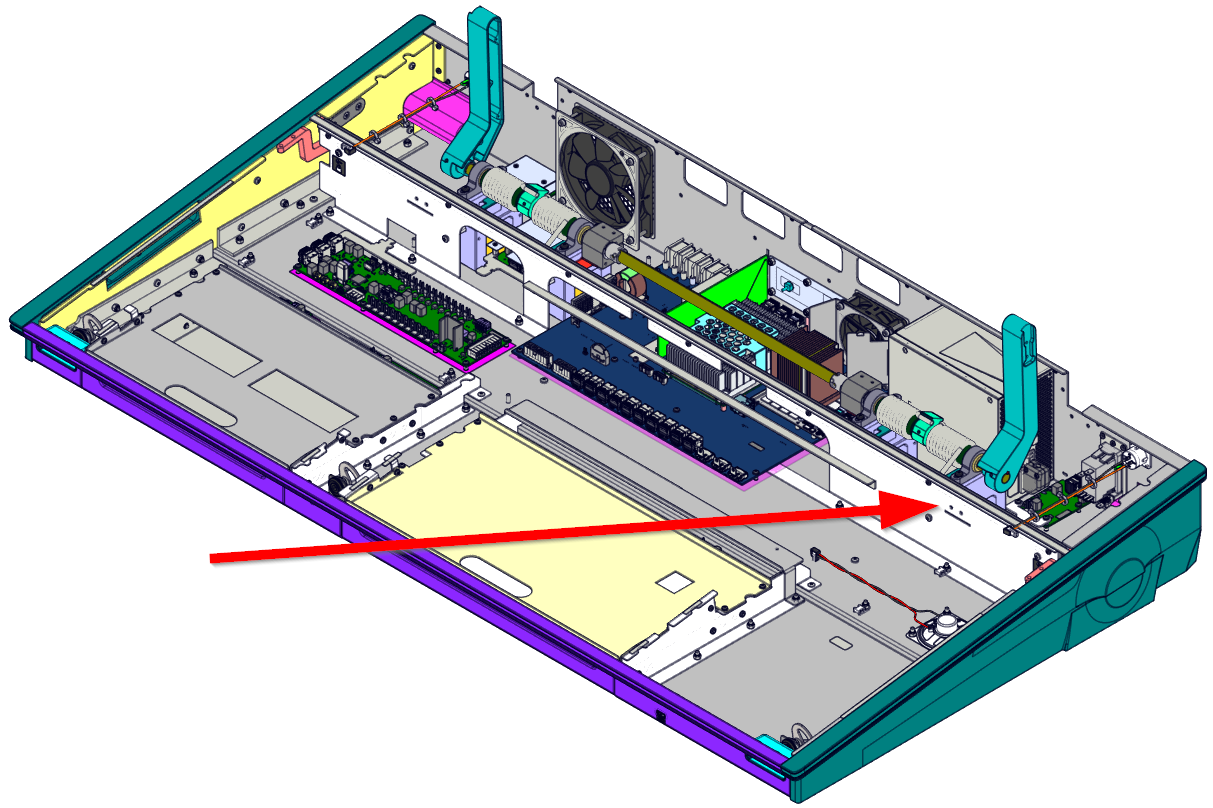
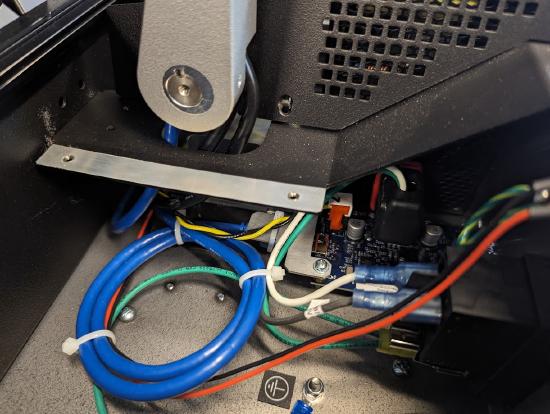
Project 4. Back Right USB Charging Port |
|||
Parts Needed
|
 |
||
| Location on Apex 10/20 only | |||
|
 |
 |
|
|
 |
 |
|
|
 |
||
|
 |
||
|
 |
 |
|
|
 |
||
|
 |
||
|
 |
||
Total List of Materials Needed
| Name of Item | Part Number | Amount Required for Apex 5 | Amount Required for Apex 10/20 | Image |
|---|---|---|---|---|
| Intelligent Power Board Bracket | 4450A3147 | 1 | 1 | 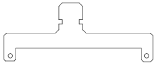 |
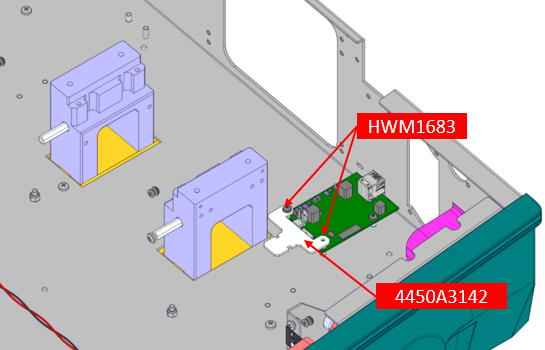
| Back USB Charging Port Bracket | 4450A3142 | 1 | 2 |  |
| Back Right USB Light Blocker | 4450A4077 | 1 | 1 | 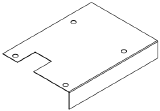 |
| Tall Standoffs (19mm hex) | HWM1841 | 2 | 4 | 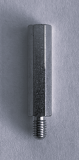 |
| Medium Standoffs (10mm hex) | HWM1407 | 2 | 4 |  |
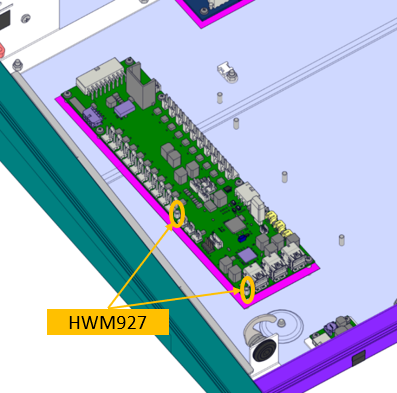
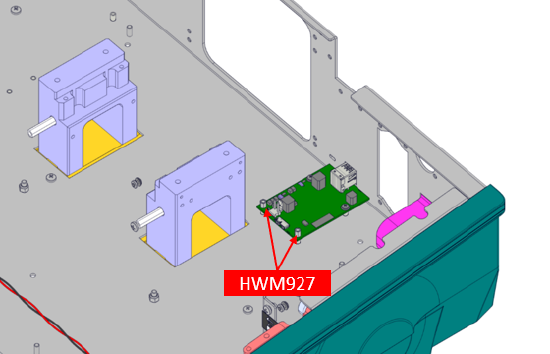
| Short Standoffs (6mm hex) | HWM927 | 4 | 8 | 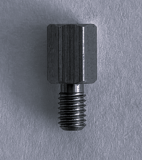 |
| Screw (6mm Philips) | HWM1683 | 2 | 4 | 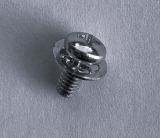 |
| Screw (6mm Philips) | HWM1851 | 4 | 8 | 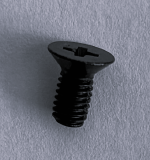 |
| Zip-Tie (3.9") | HW701 | 2 | 4 | 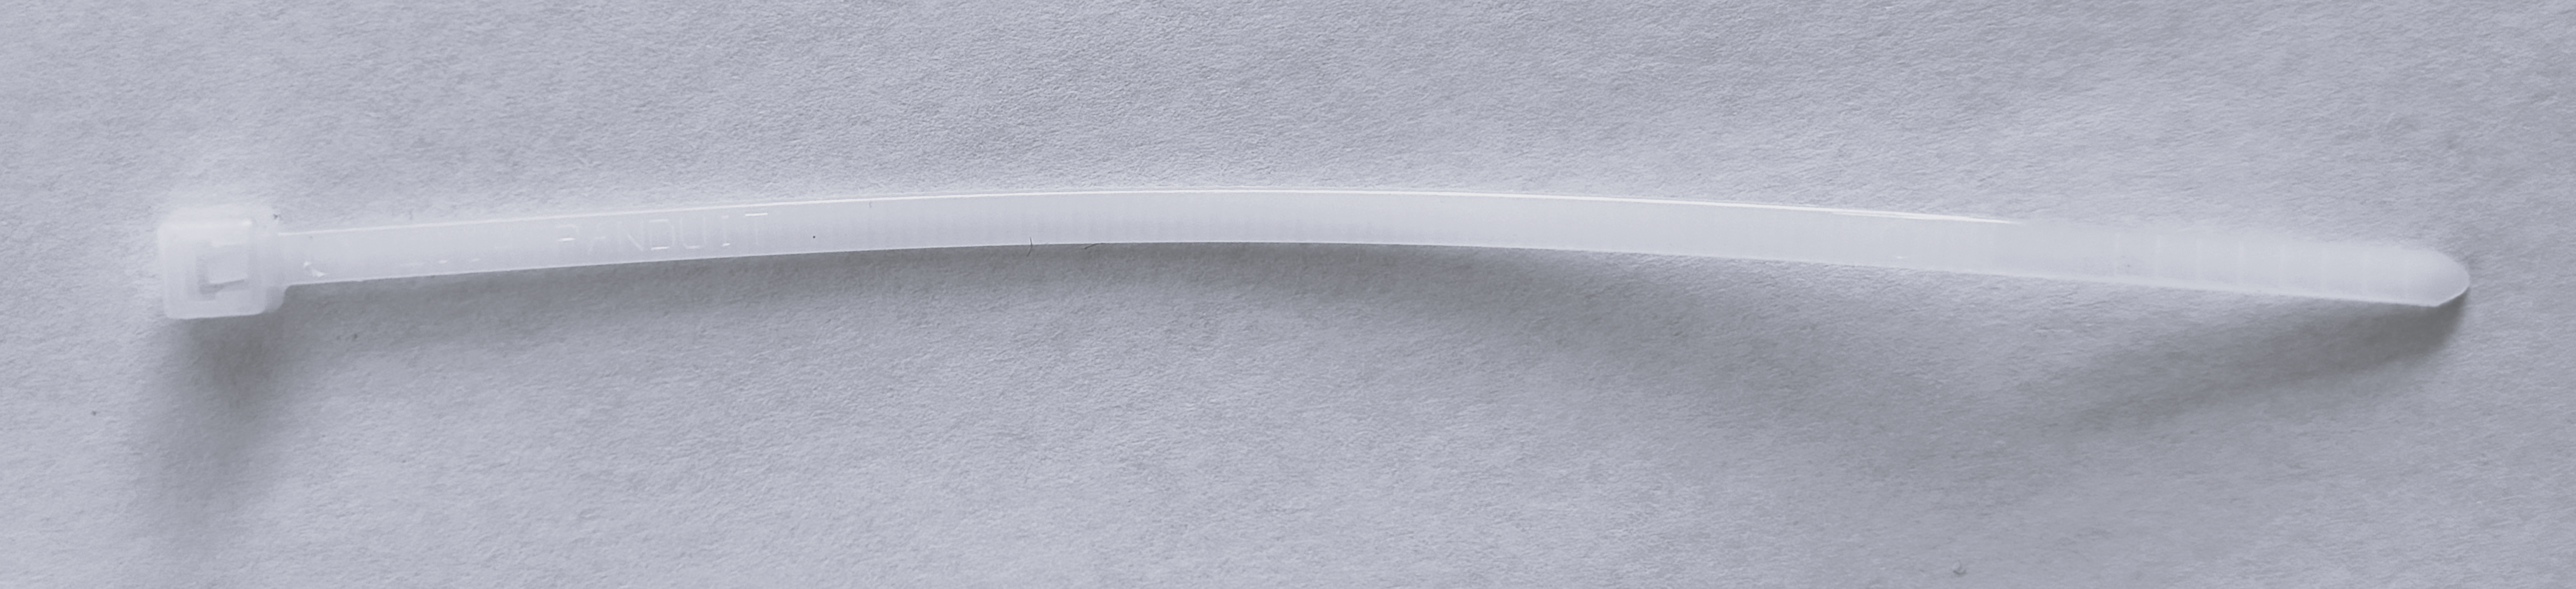 |
| I/O Garage USB Bracket | 4450A3143 | 1 | 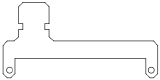 |
|
| I/O Garage USB Light Blocker | 4450A4076 | 1 |  |