
Fan Replacement in Selador Classic Fixtures
Intro
This article details the process for servicing the fan and filter in a Selador Classic 11" fixture. The process is exactly the same for other fixture lengths. Each fixture segment will have its own, independent fan.
Parts
- New fan: ETC Part# 7400B2001
- Fan Guard and Filter: ETC Part# B1034
- Optional Spares:
- Replacement Fan Screws: qty 4 of HW2273
- Replacement Fan Nuts: qty 4 of HW2141
Process
- Open up the fixture following the steps linked here.
- Once inside, note that the fan is secured to the back plate of the unit with four screws and nuts.

- Secure the bolts from twisting and remove the screws from the front. Repeat this for all four screws.
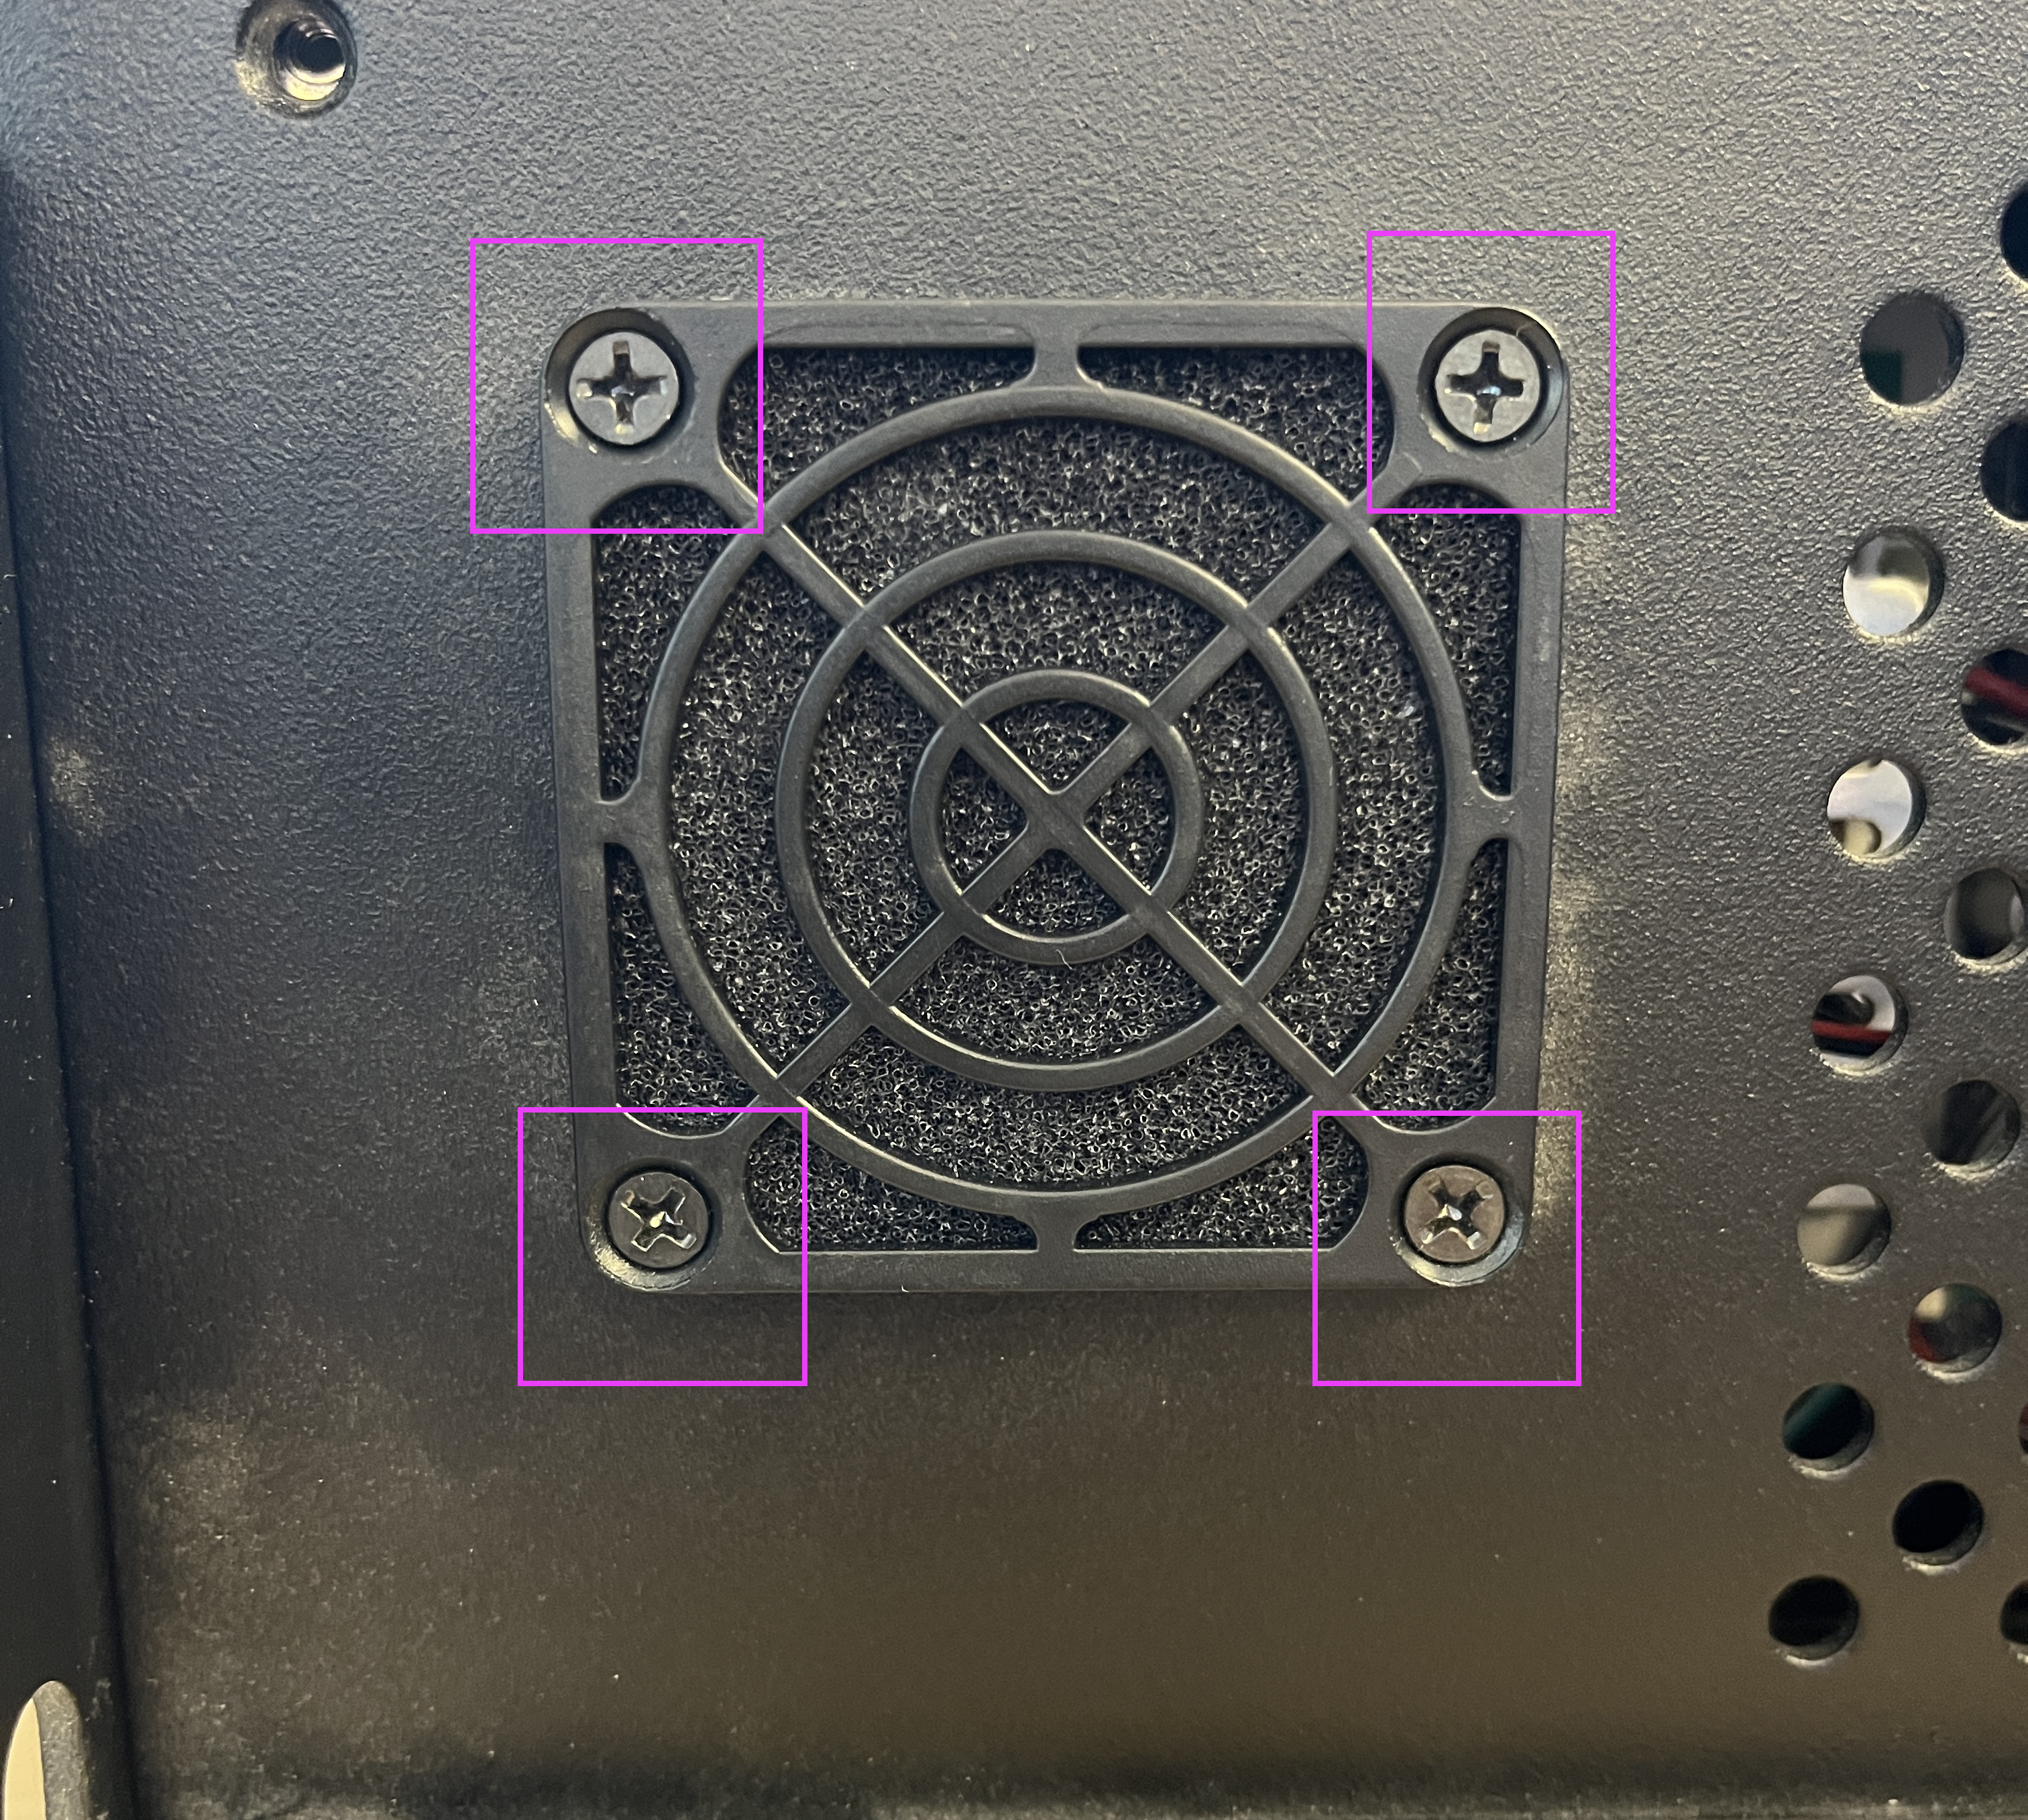
- Once the screws and nuts are removed, the fan should be in two pieces: the fan itself from the inside and the fan filter cover from the outside.
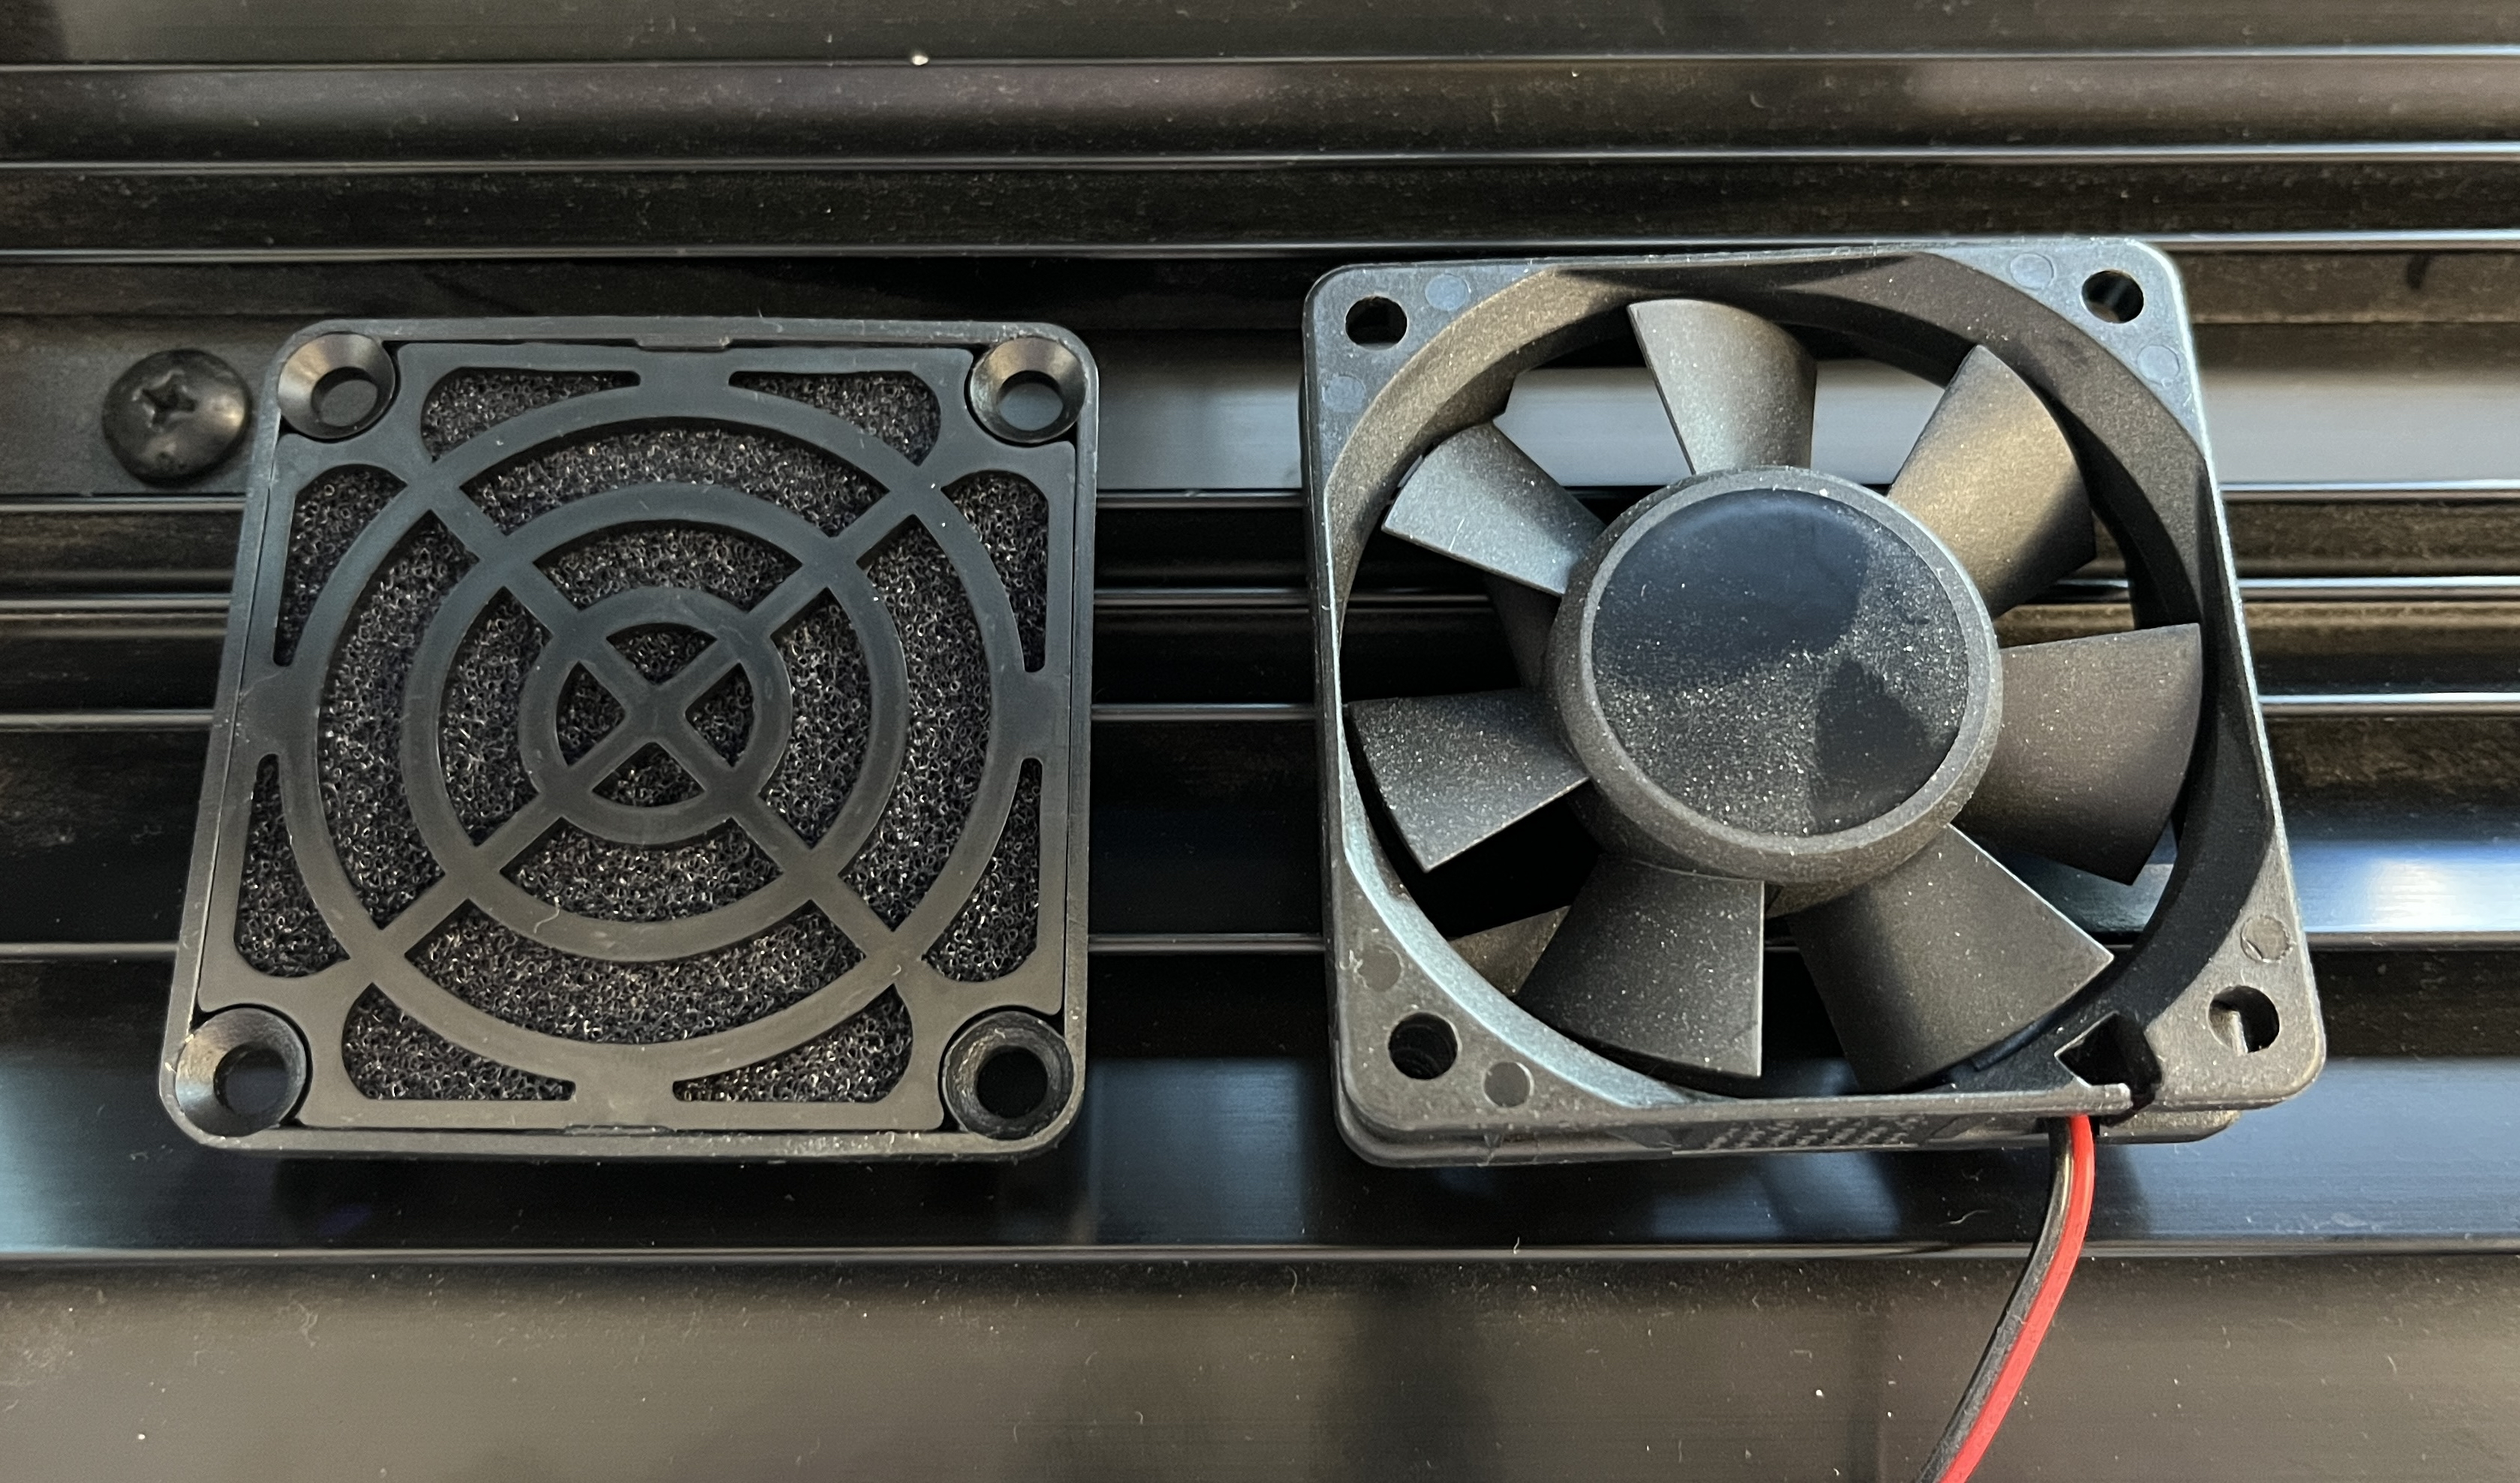
- If you're just replacing the filter, then swap out that part and screw the fan back together with the filter outside the fixture and the fan inside. Don't forget the nuts to hold the screws for the fan.
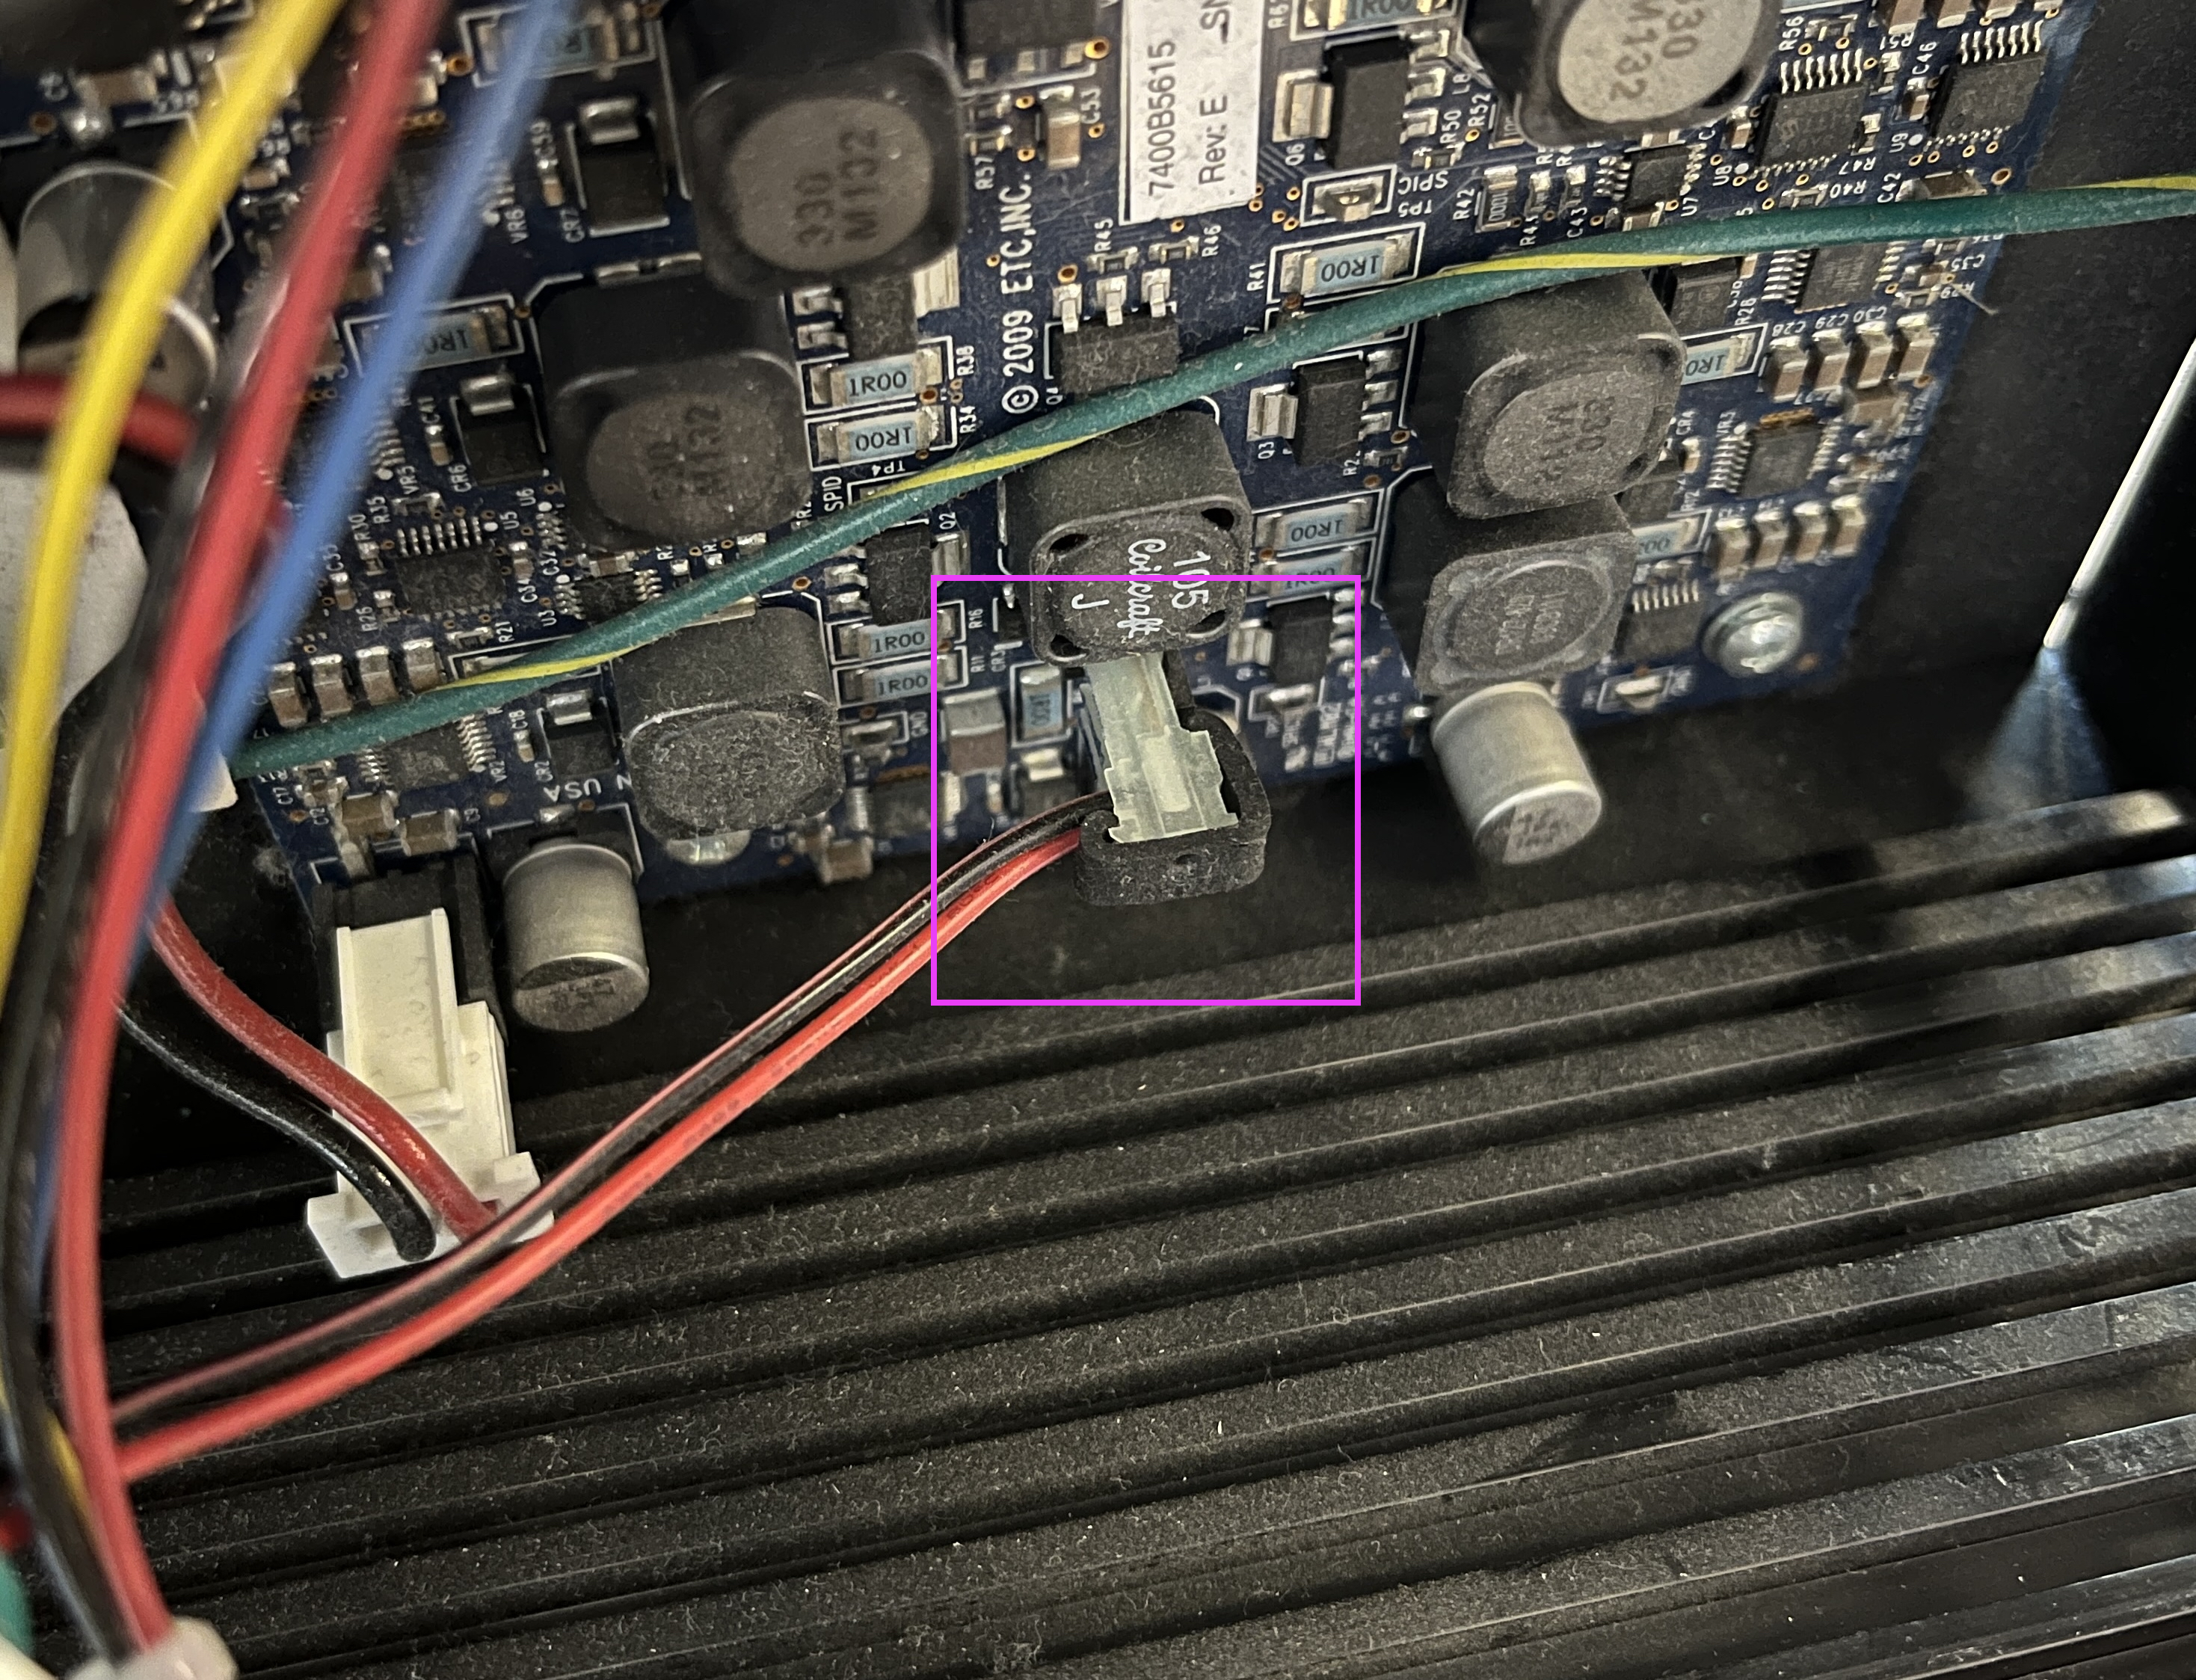
- To replace the fan itself, locate and not the orientation of the 2-wire harness running back to the inside of the fixture, shown in the image below. Disconnect and replace with the new fan's harness, making sure you match the orientation of the one you just removed.
- Once the new parts are secured to the fixture, you're clear to close it back up!