Replacing the DMX Chips on a Response Mk2 Two-Port Gateway
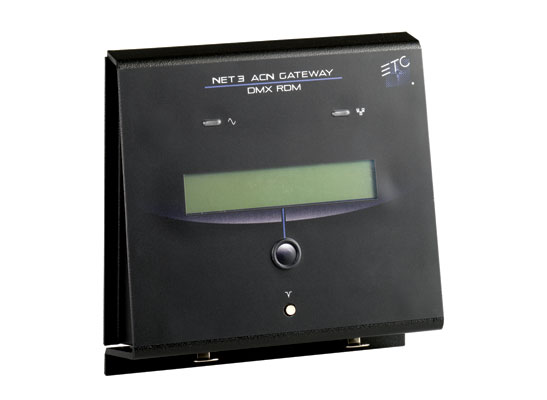
This article is for Response Mk2 Gateways (both CPU1 and CPU2) For Net3 ACN Gateways see here

Issue
While modern DMX chips rarely fail, occasionally it may be necessary to replace the DMX chips in a Response Mk2 DMX Gateway. The steps below will walk you through that process.
Solution
The information in this post is provided to assist in troubleshooting. Perform work at your own risk. ENSURE ANY POWER FROM DEVICES HAS BEEN DISCONNECTED BEFORE SERVICING ANY EQUIPMENT. If you do not feel comfortable performing the work, please contact us or your local service center. Be aware that ETC and its Affiliates are not responsible for any damage or injury caused by service of our products by anyone other than us or our authorized service providers, and such damage is excluded from the product’s warranty.
Required Tools
- #1 Phillips screwdriver, ideally with a magnetic end
- #2 Phillips screwdriver, ideally with a magnetic end
- chip puller or needle nose pliers (optional)
Instructions
- Lift off the magnetic faceplate of the gateway to access the electronics behind it
- If this is a portable gateway, unplug all cables and skip to Step 4
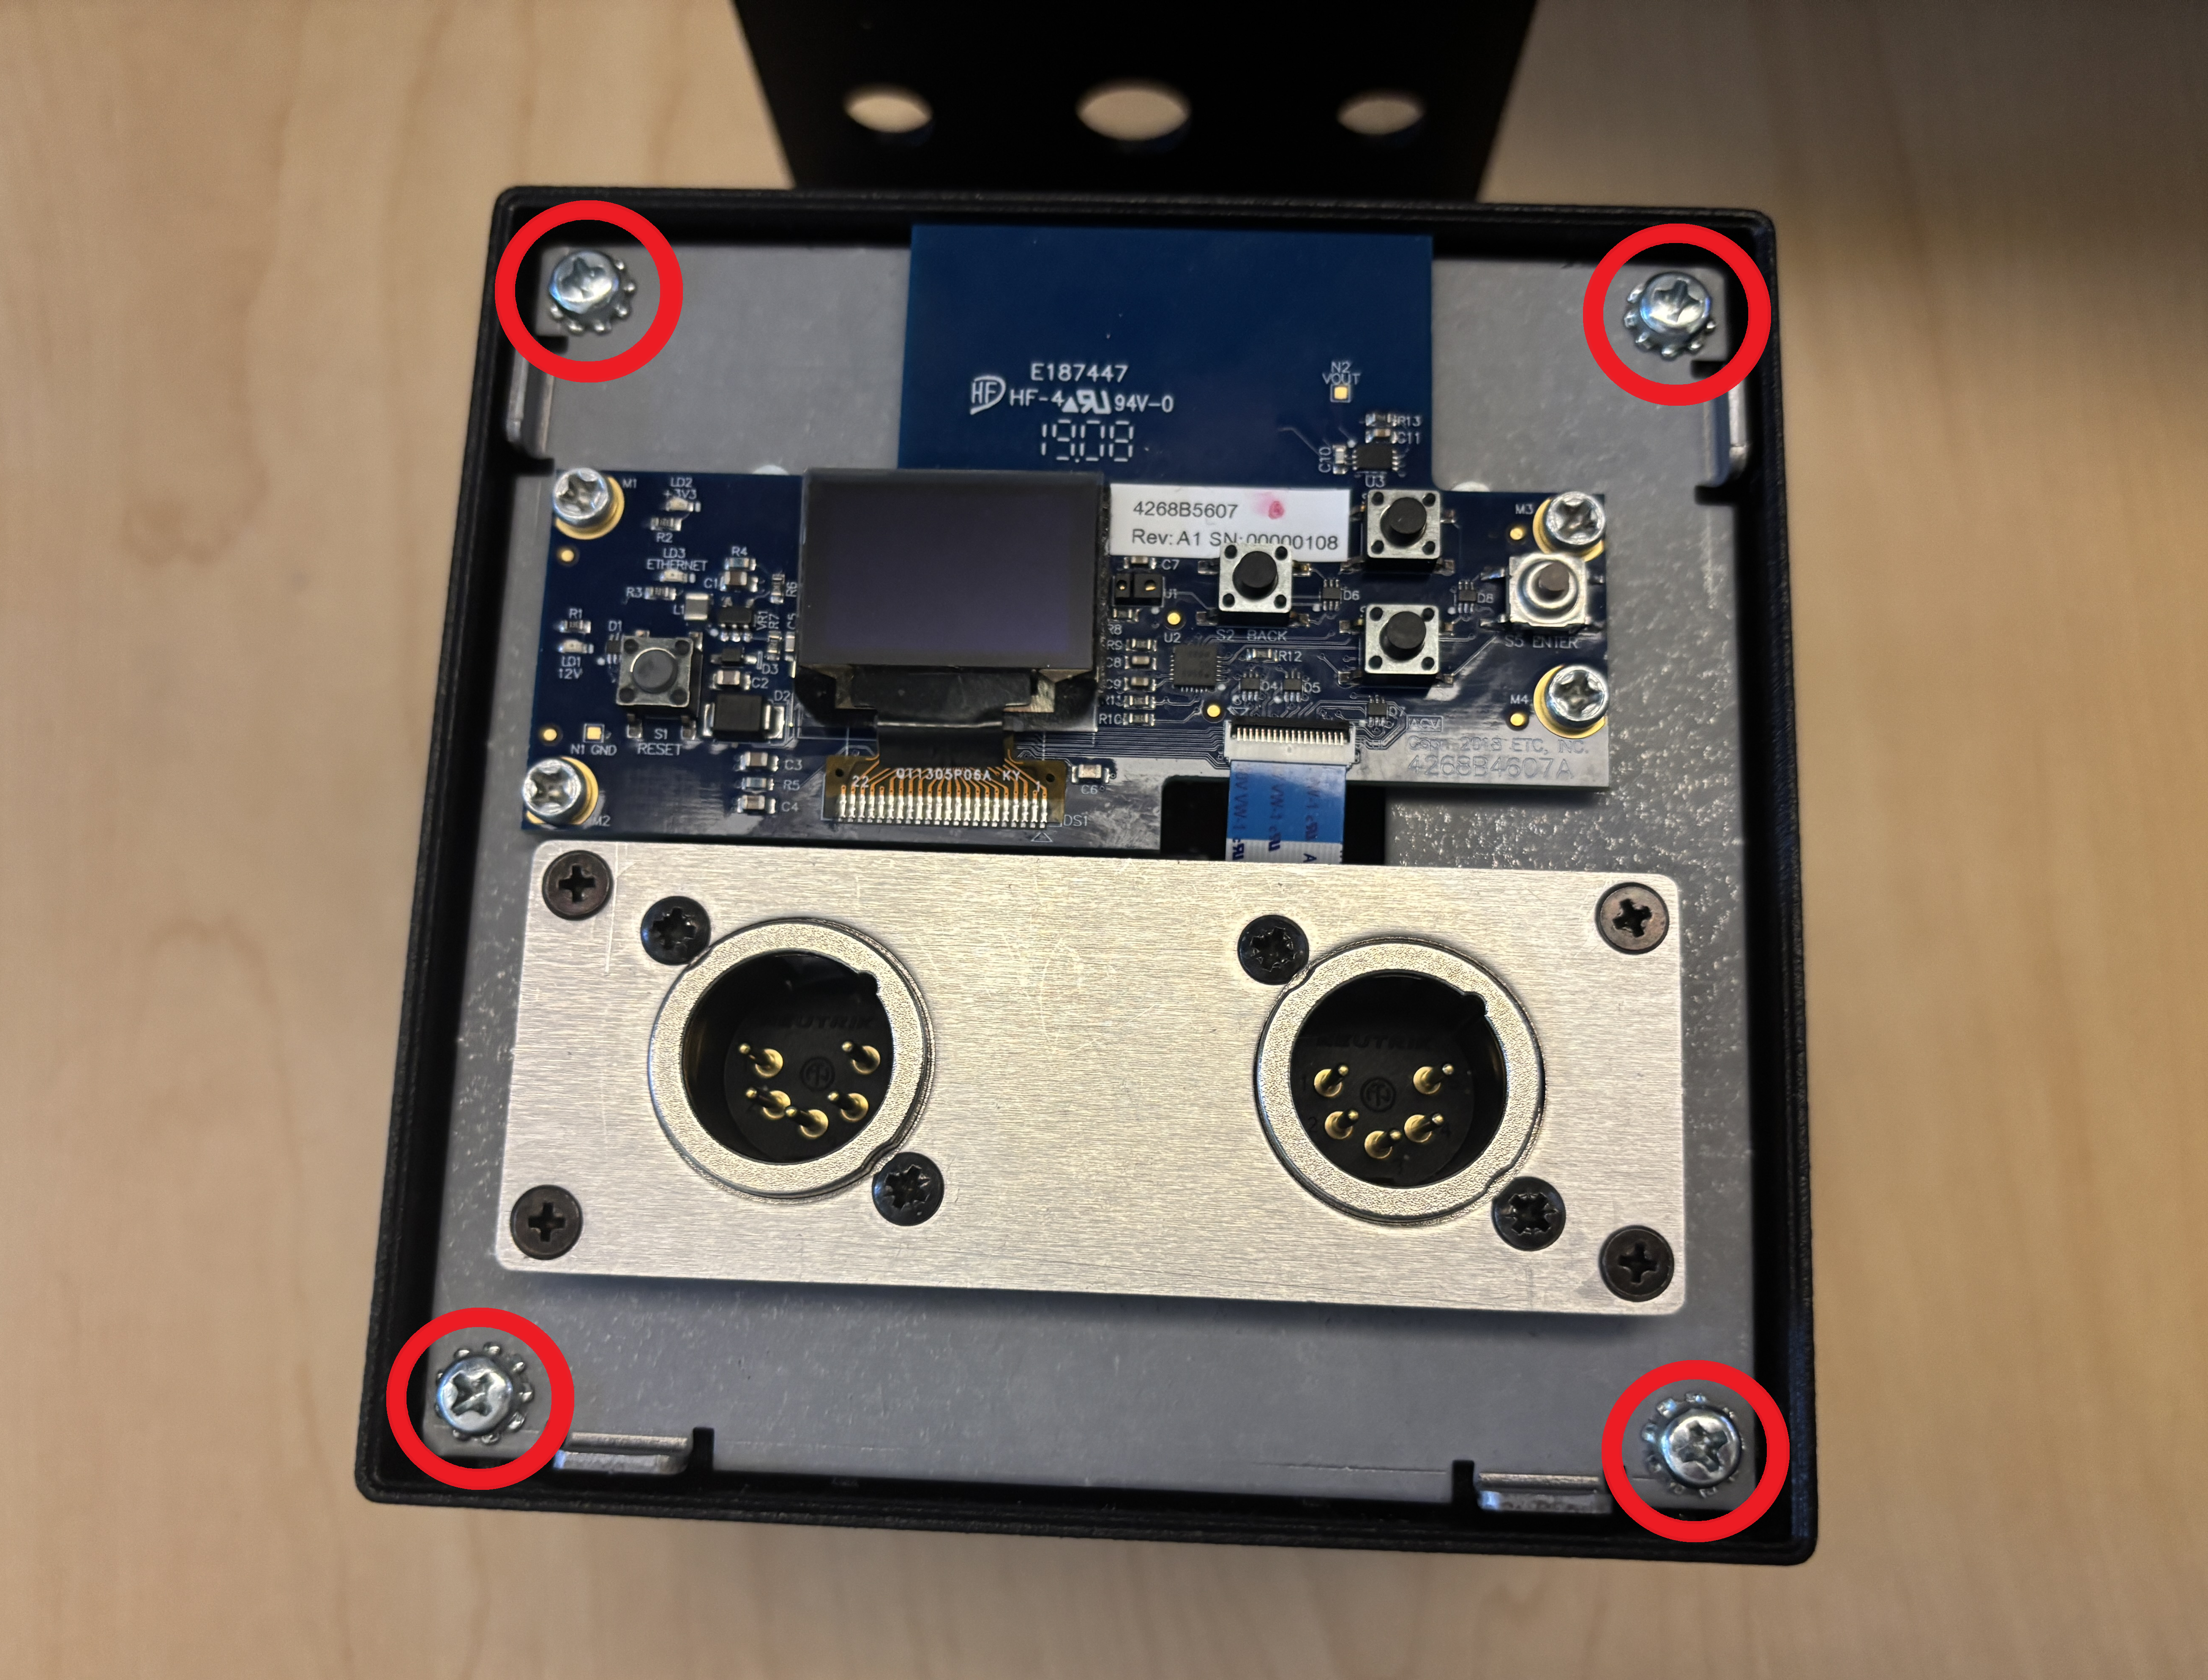
- If the gateway is permanently installed in a raceway or backbox, remove the four screws circled in red
- Carefully pull gateway forward out of housing and unplug the network and power cables
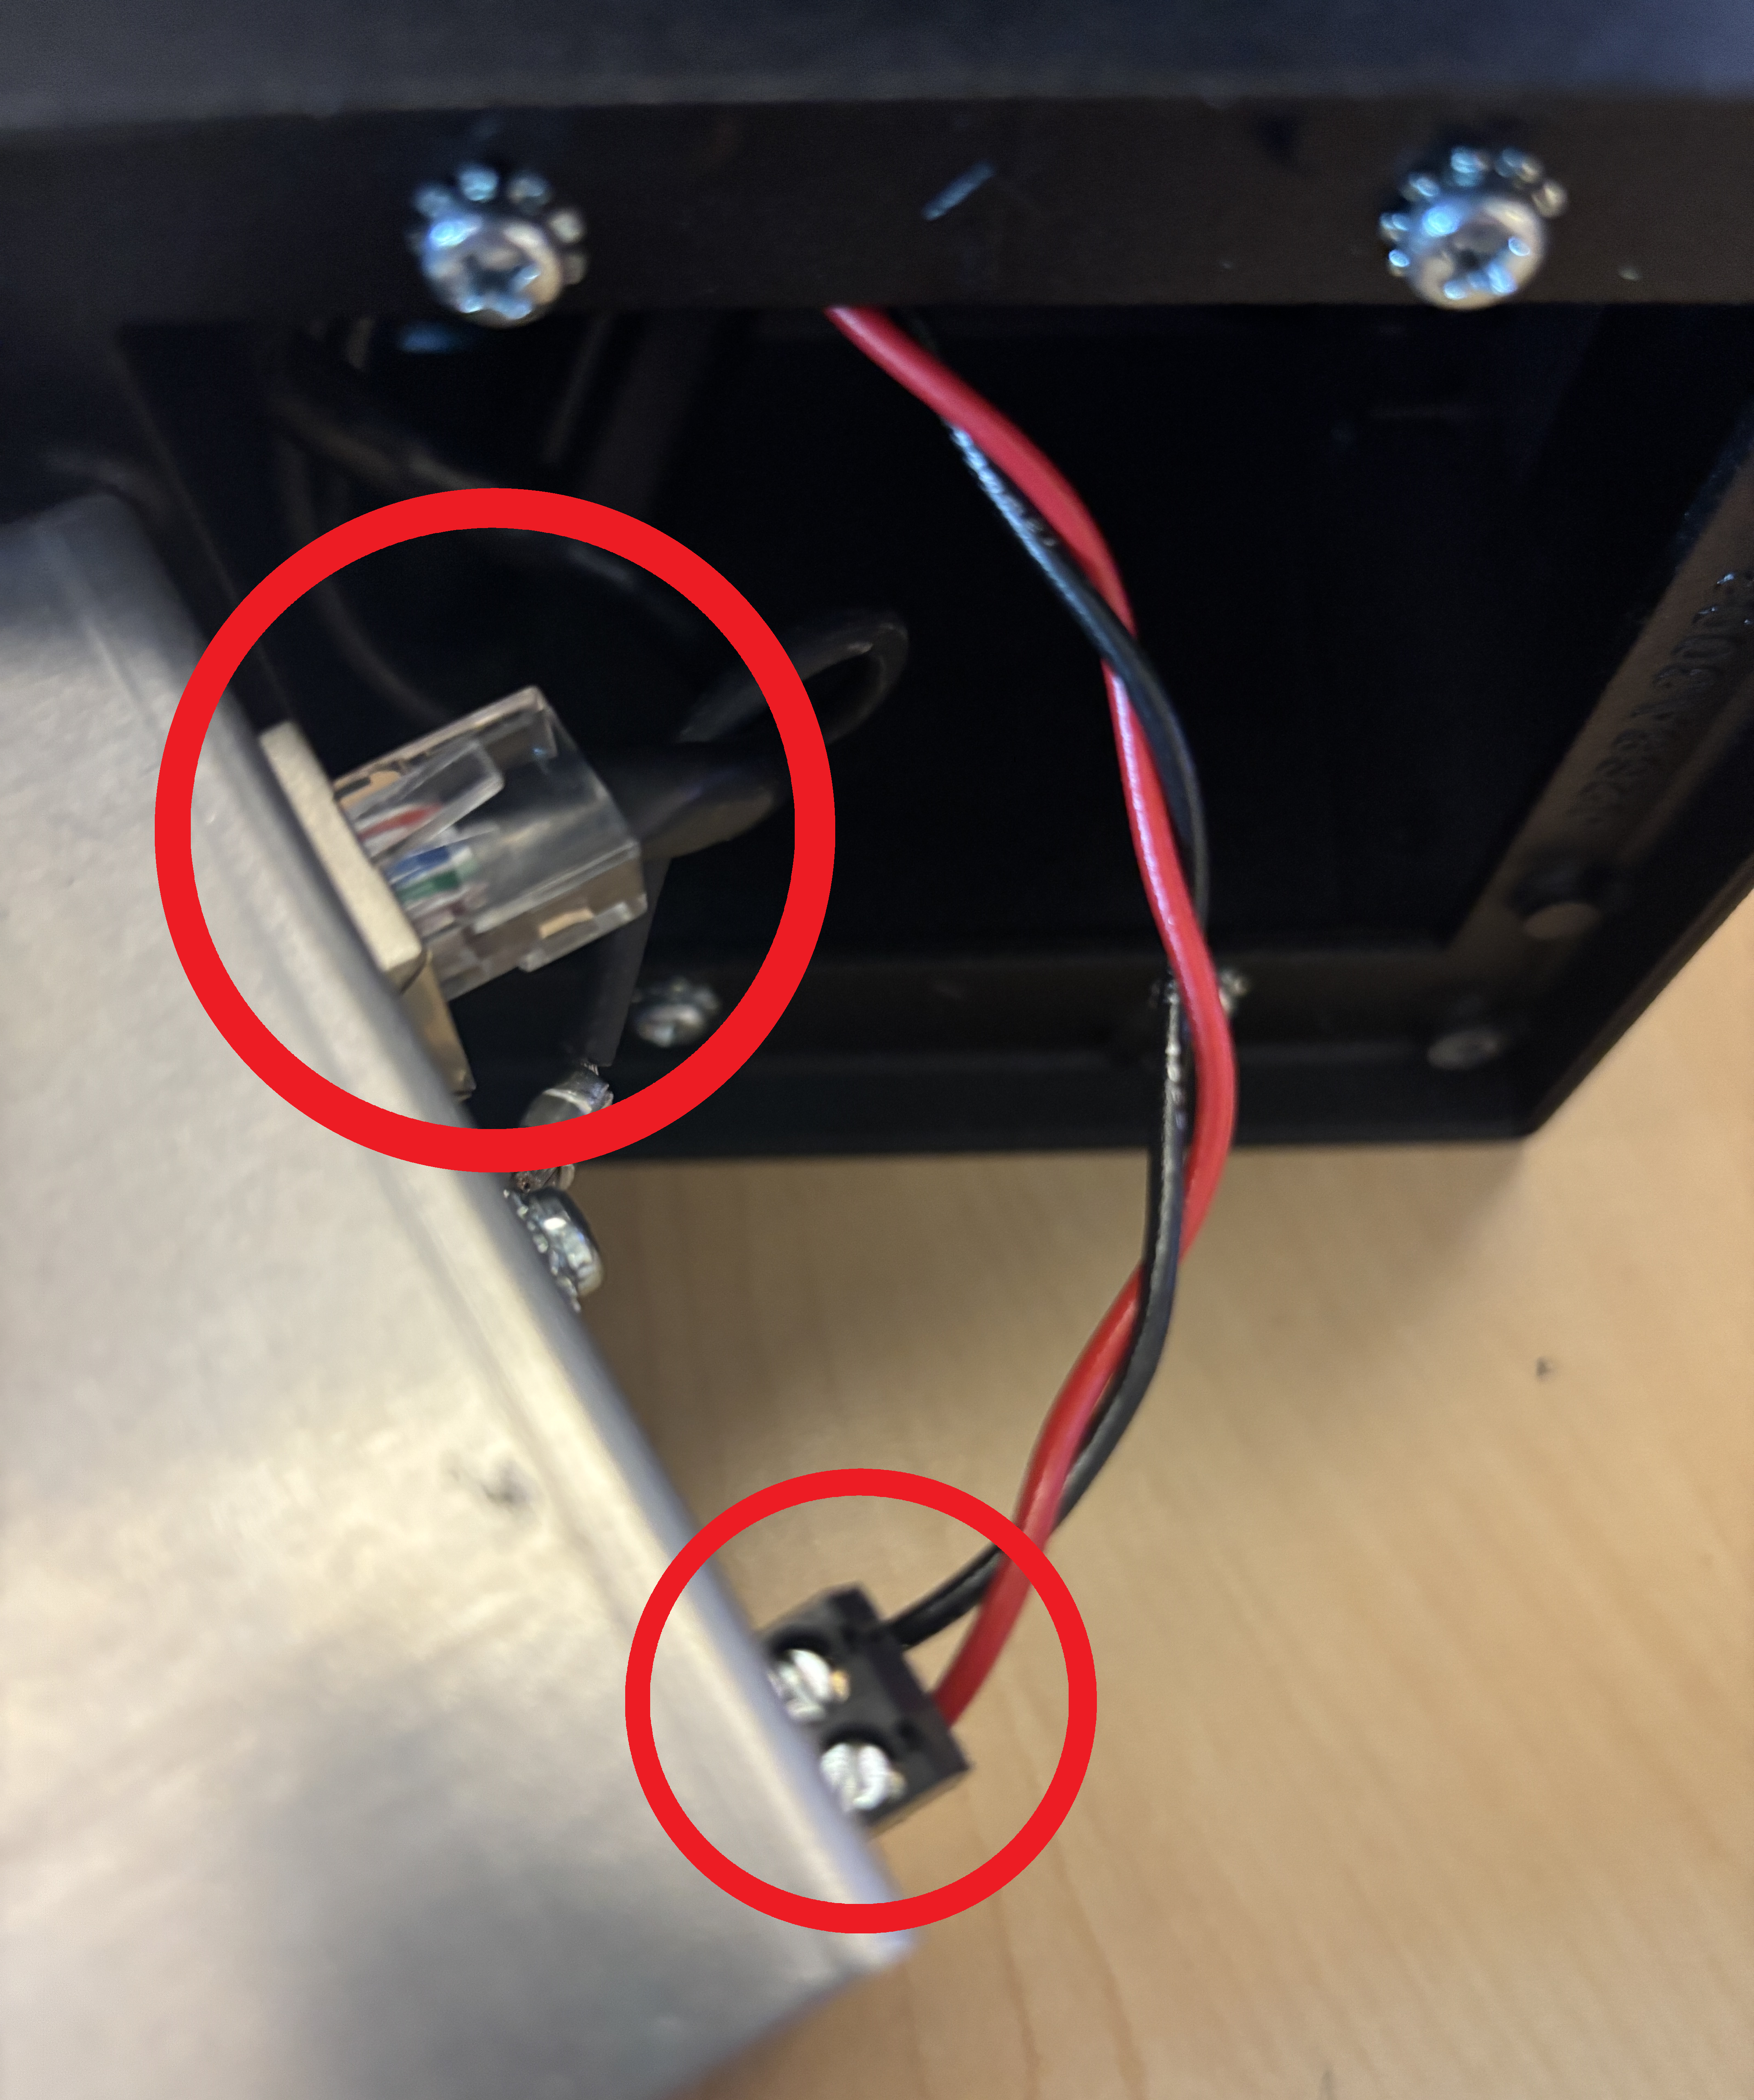
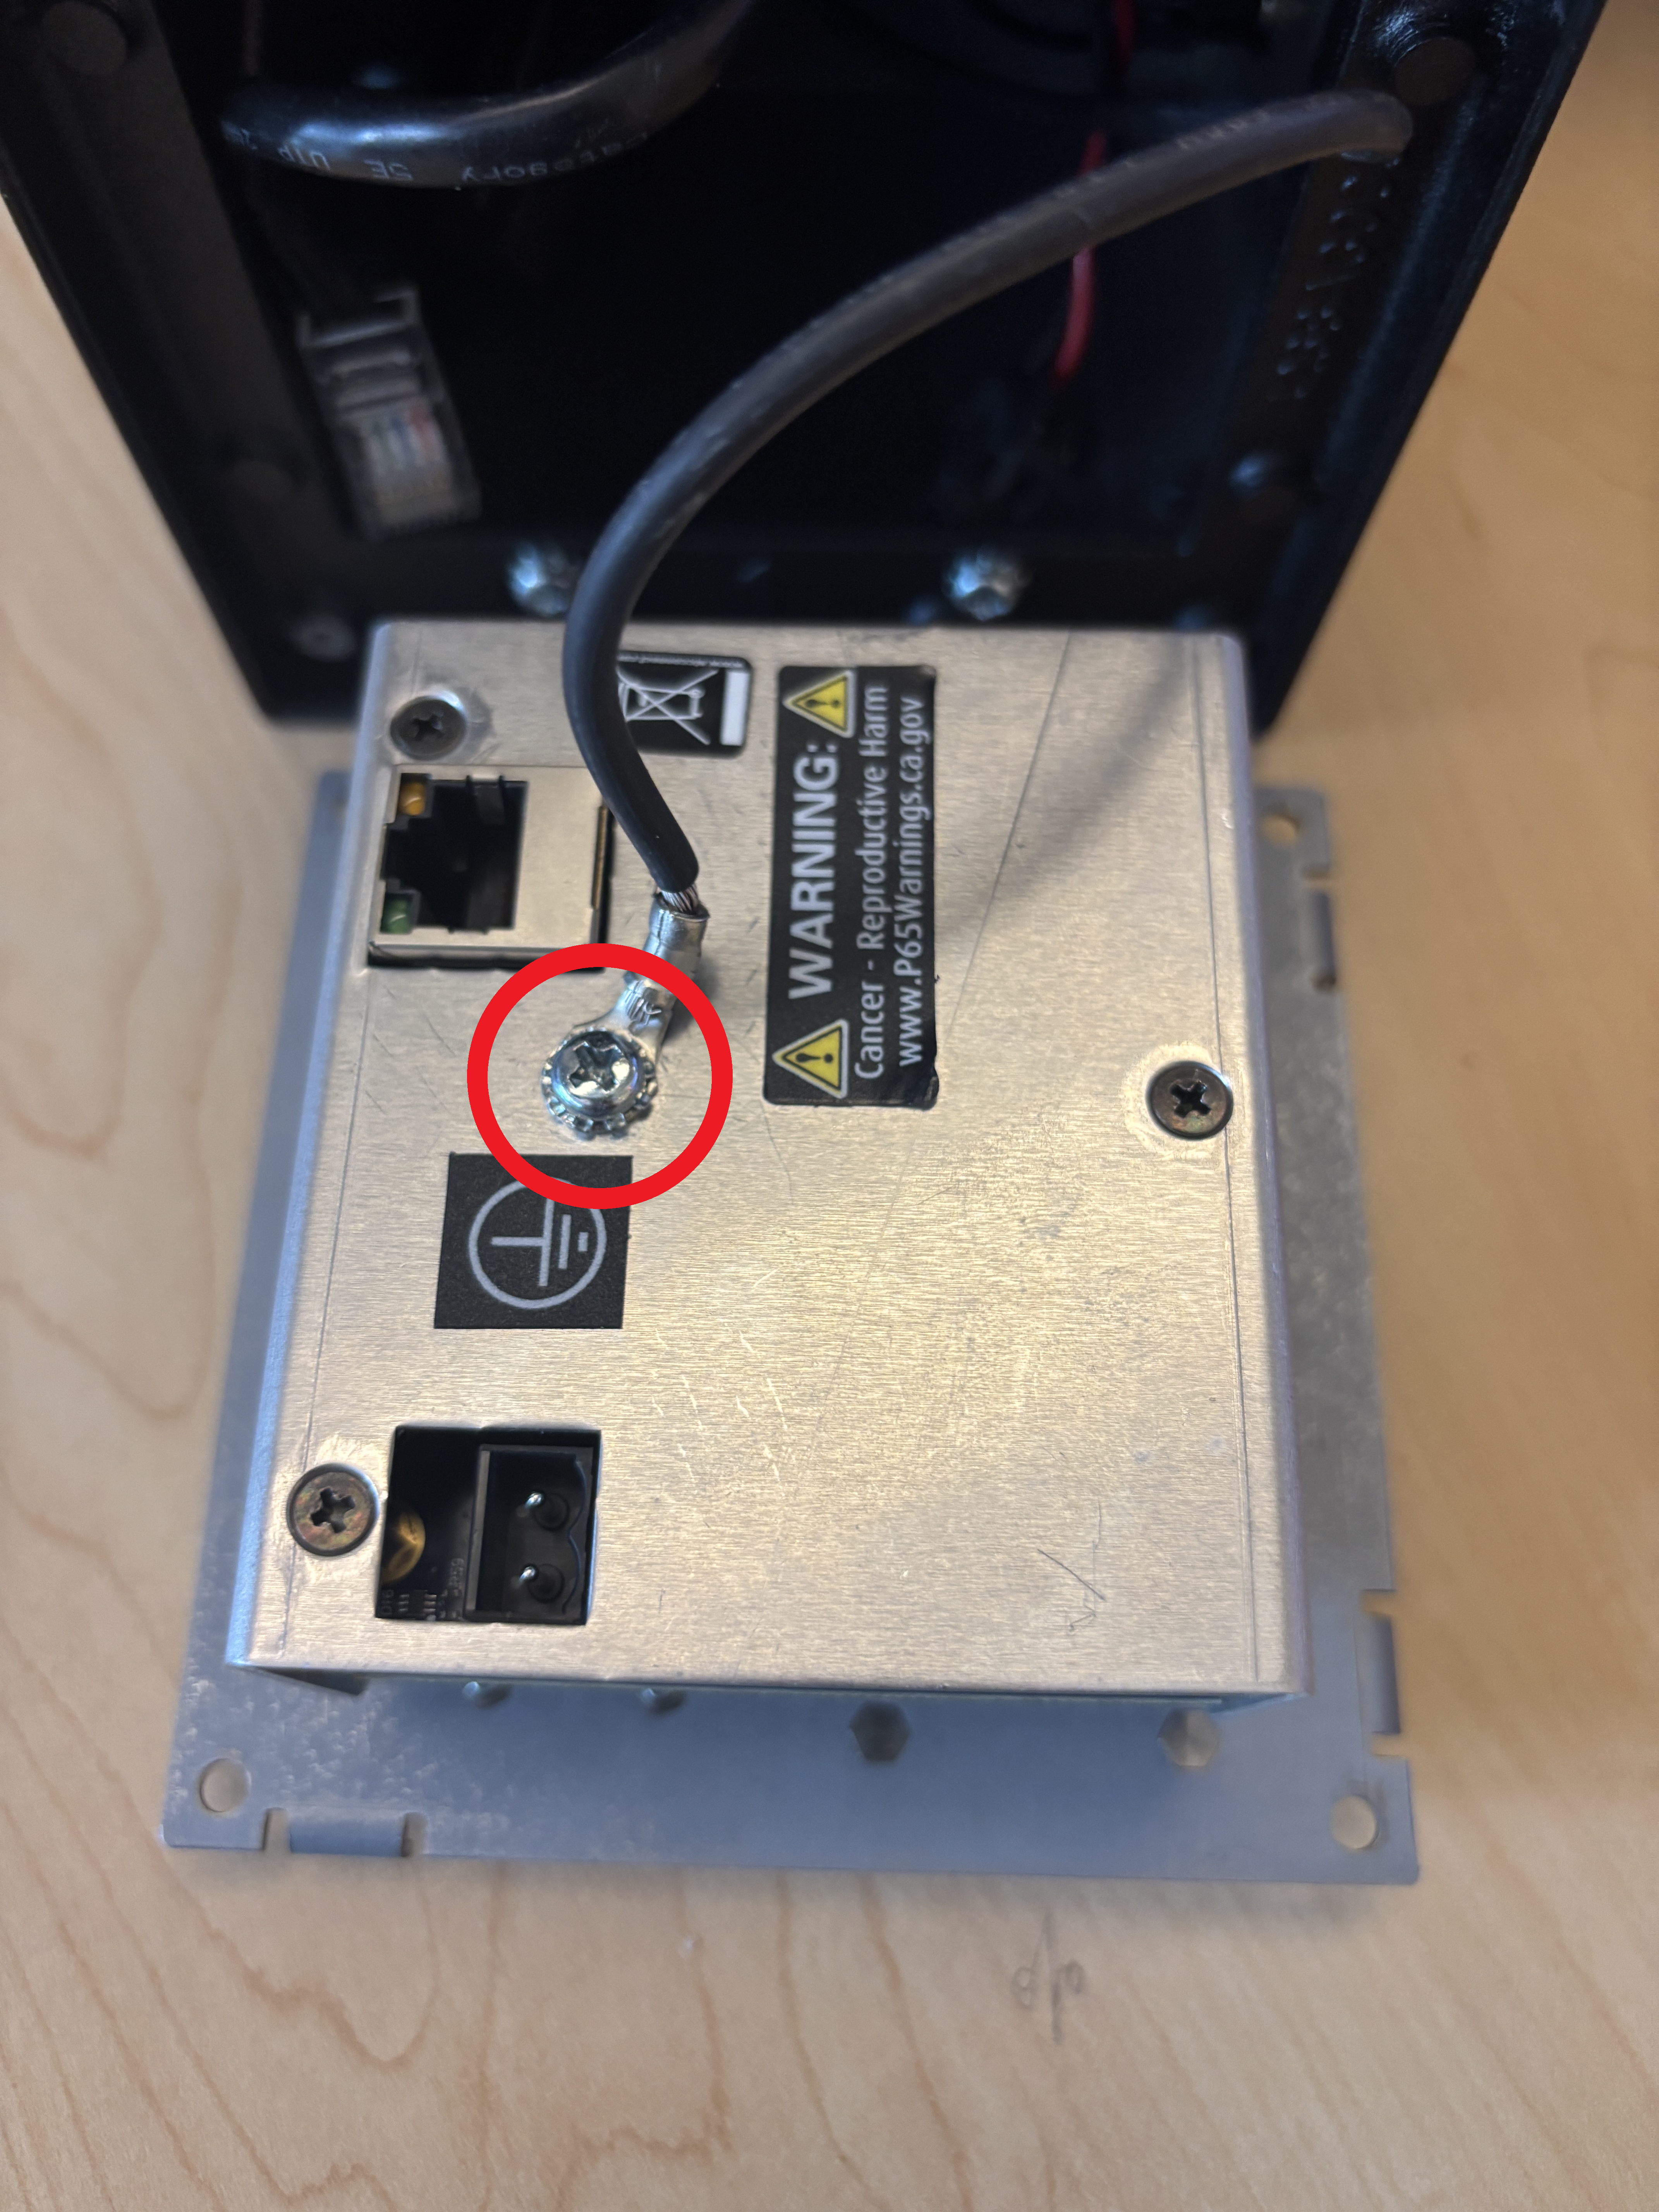
- Unscrew the ground wire and place the gateway on a flat surface
- Remove all eight black screws around the DMX ports and lift off the silver cover plate.
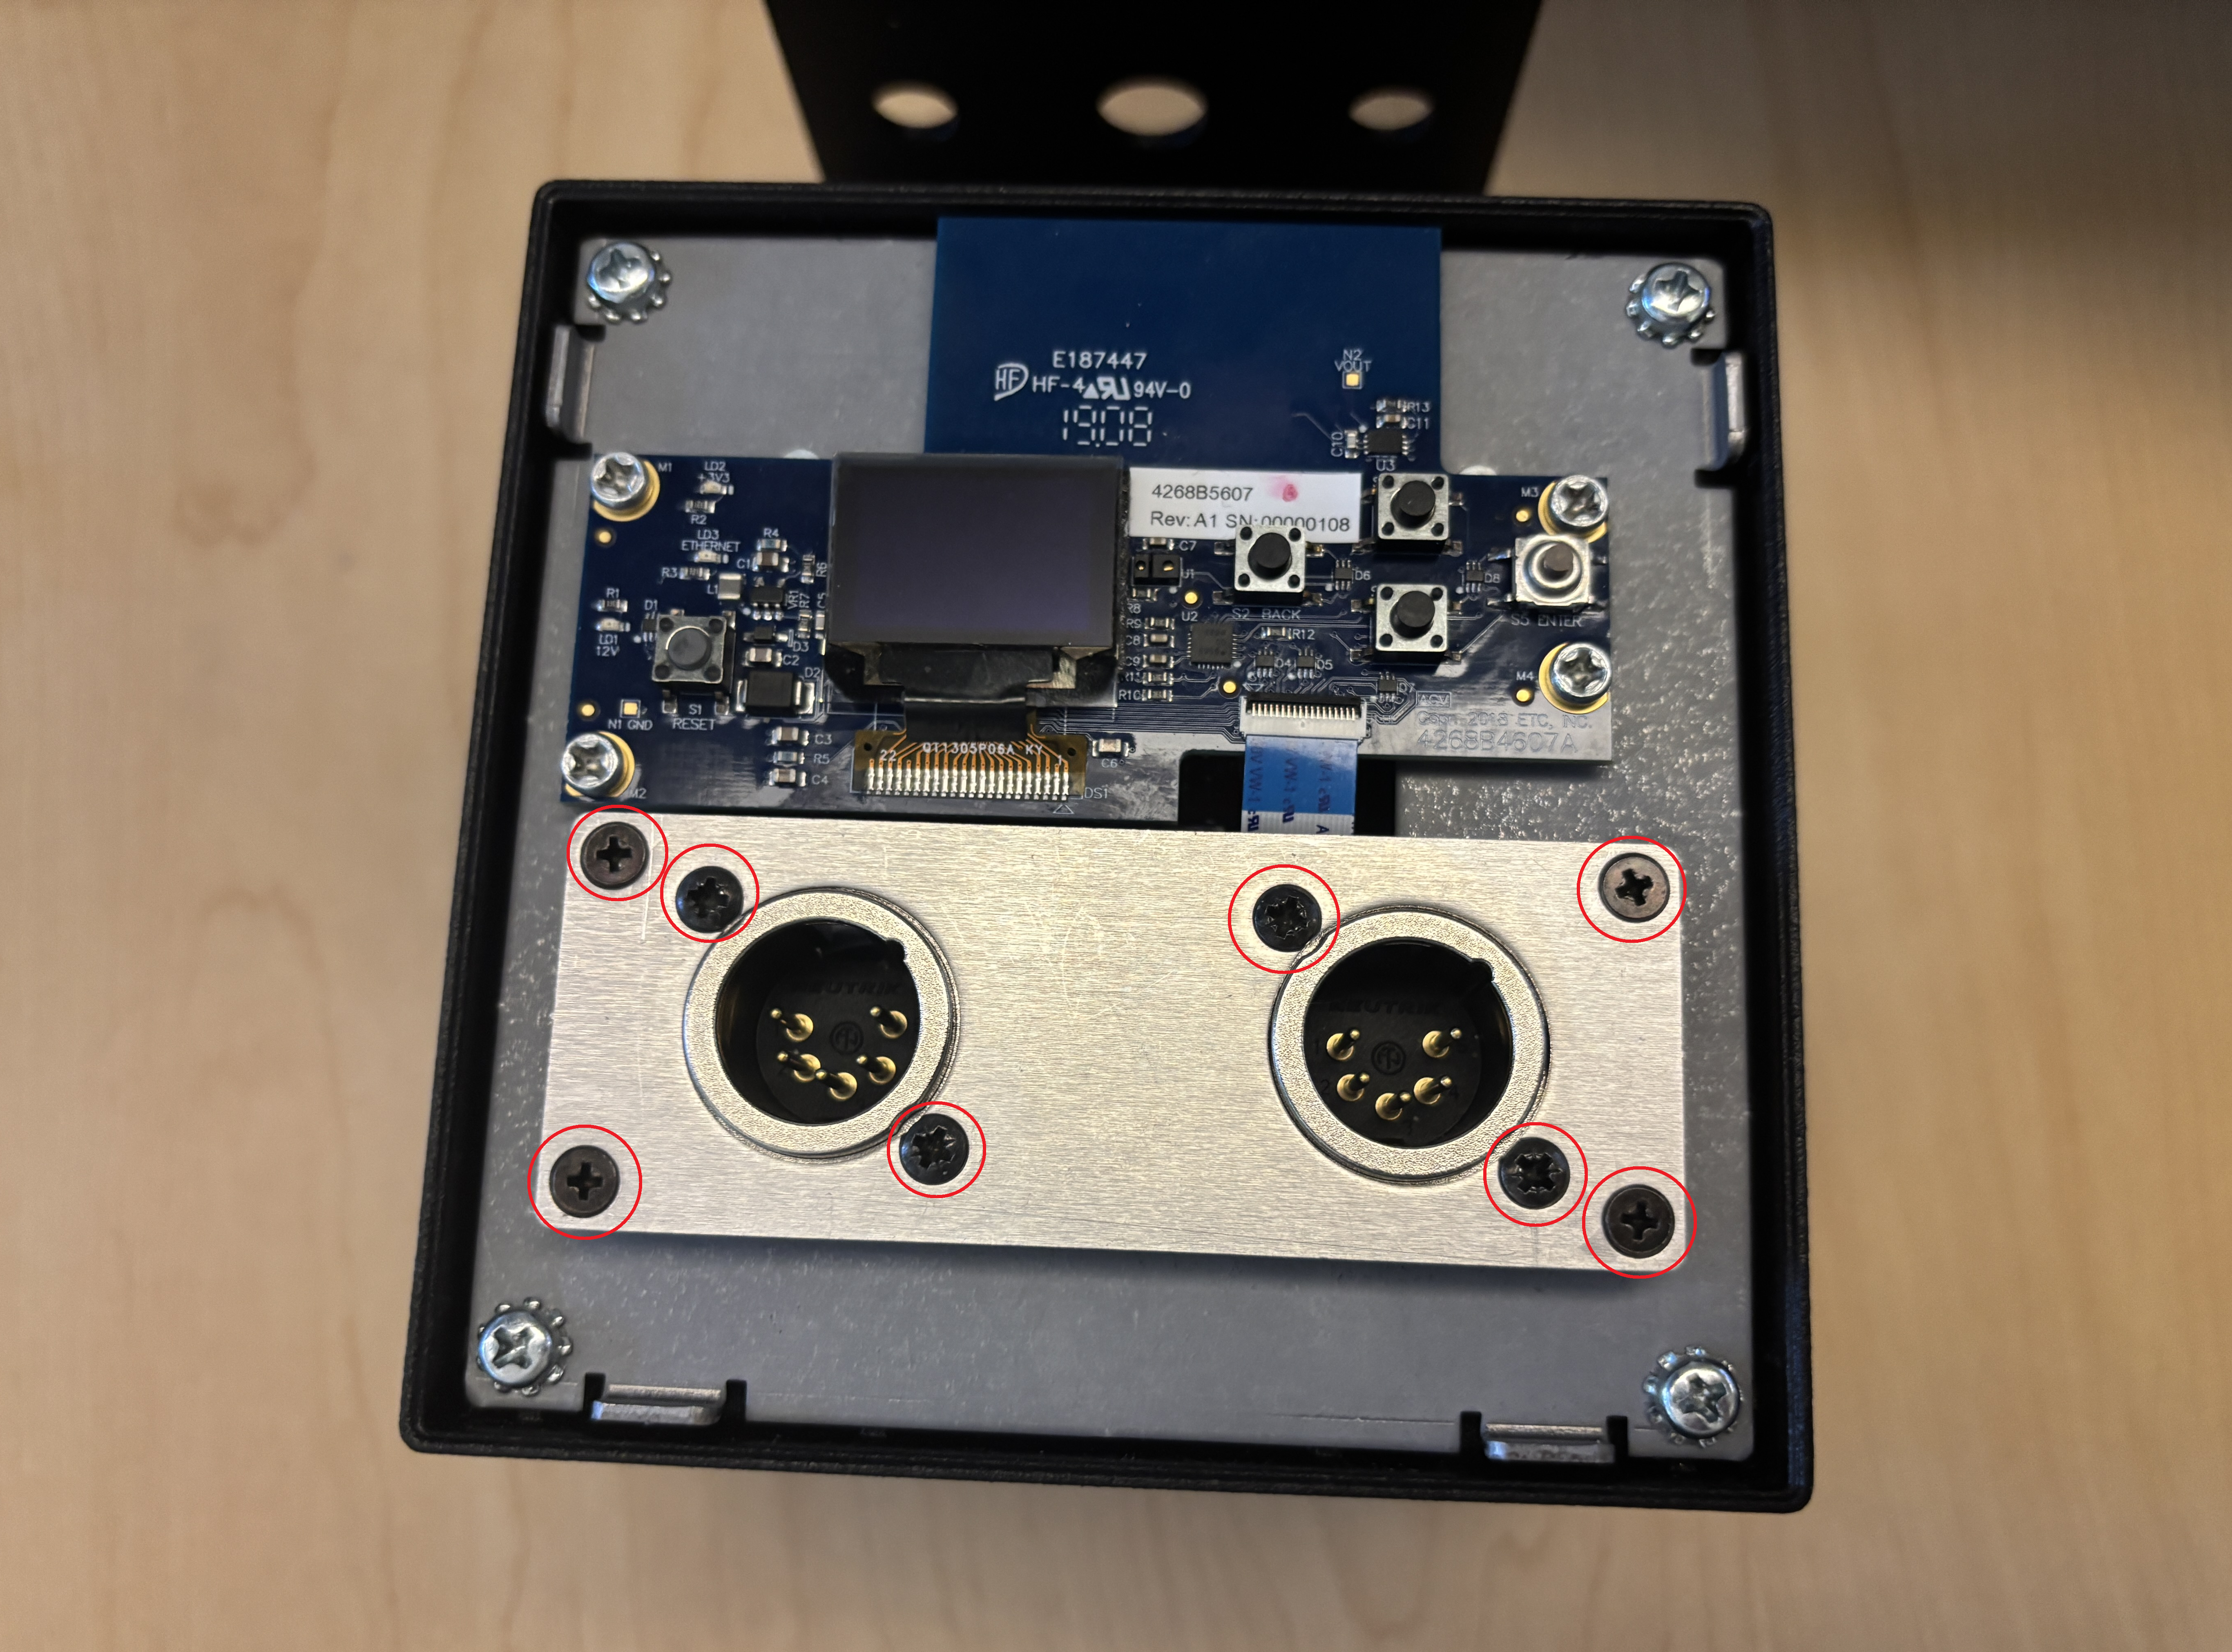
- Unscrew the four silver screws on the UI circuit board and move the board to the side. Be careful not to pull or stress the blue and white ribbon cable at the bottom of the board.

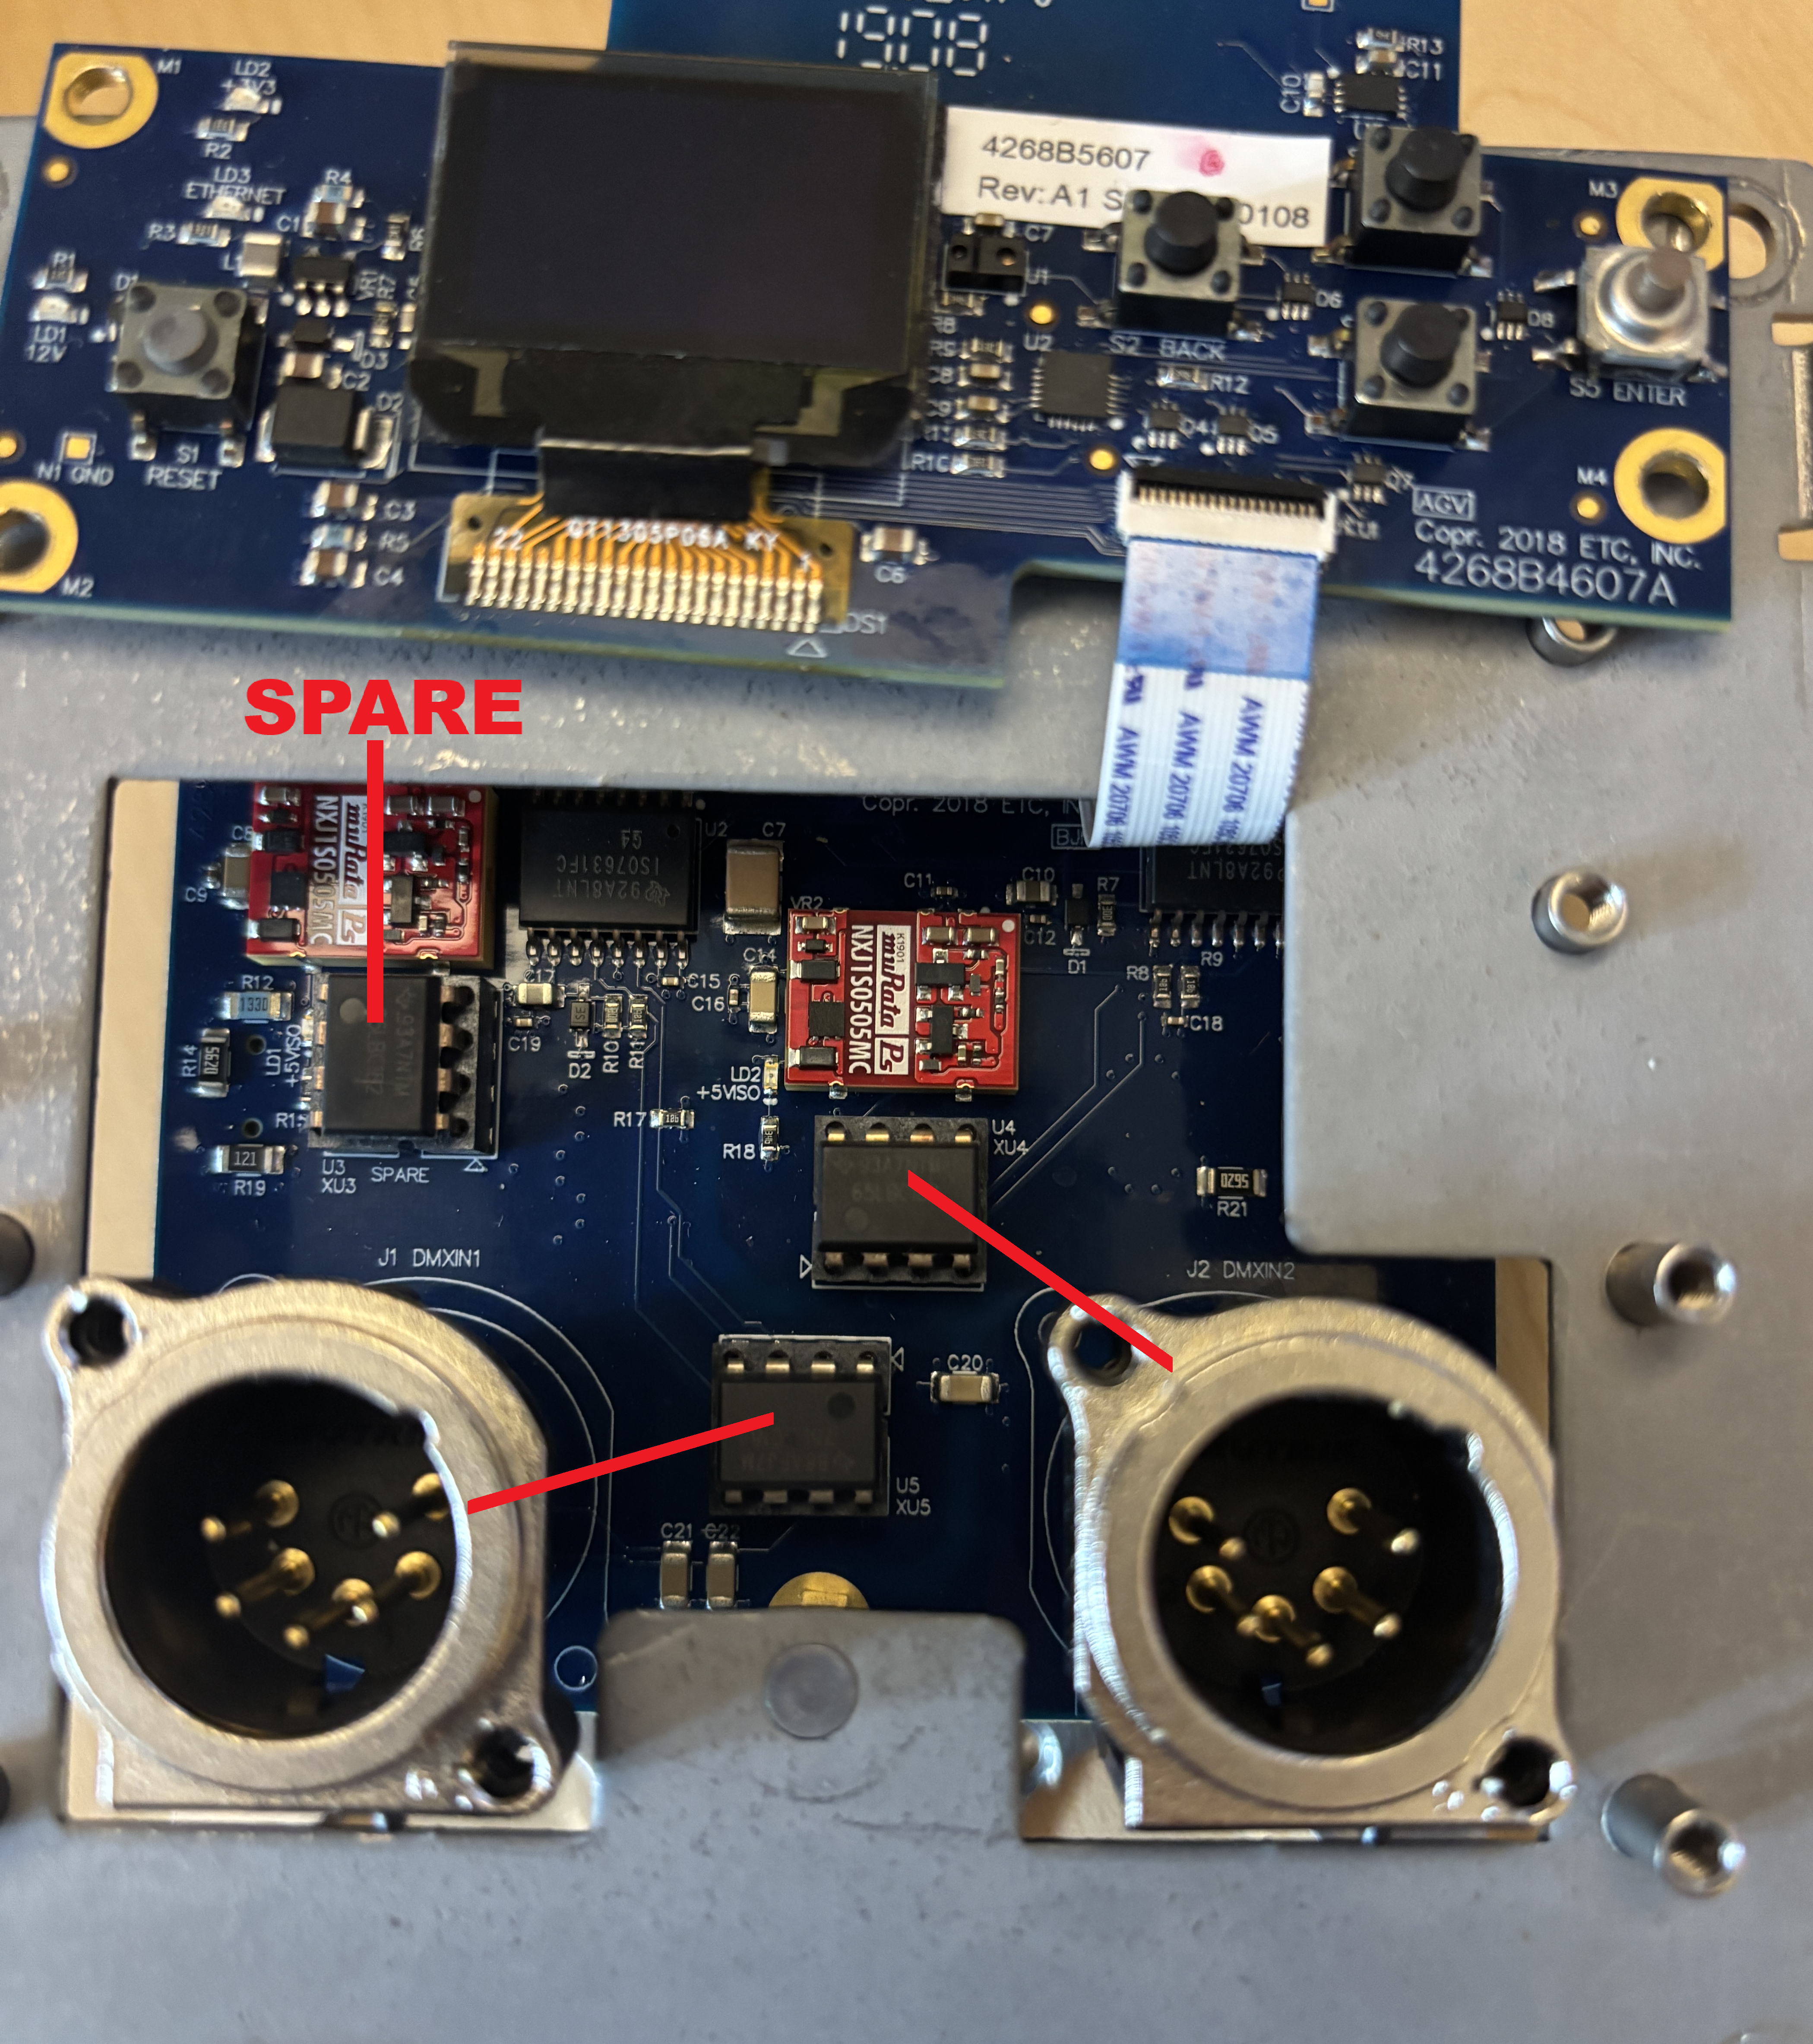
- Remove the DMX chip of the port that isn't working and replace it with a spare chip. The chip for Port 1 (left) is located at U5 and the chip for Port 2 (right) is located at U4.
- NOTES:
- There is a small, shiny dot on each chip — ensure that you keep that dot in the same orientation when you insert the spare into the slot.
- DMX chip pins are fragile. Be sure to lift straight up and push straight down when replacing chips. Do not wiggle chips side to side to loosen. You may find it helpful to use a small pair of tweezers.
- When completing the replacement, you may use the onboard spare located at U3 or you can purchase ETC Part Number Z1458-F to use.
- NOTES:
- Follow previous steps in reverse to reassemble.