Changing Sensor Thru-Power Circuit Mode from Eos
Question:
I have Sensor racks with ThruPower modules, and I want to choose whether they are dimmers or relays from my Eos family console. What's the best way to do that?
Answer
There are several ways to do this, and the most suitable will depend on how often you want to change the modes, and whether you need to have them associated with a certain Eos showfile.
These options use the various settings from the "Control Mode" property of each circuit
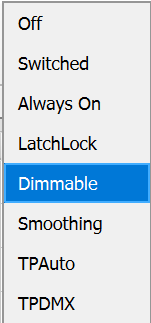
It's important to understand that these options are mutually exclusive. Either you choose manually between Dimmable, Switched, and maybe Always On, or you put the circuit into TPAuto mode, or into TPDMX mode. Mixing and matching these options would be a recipe for confusion.
Option 1: Manually changing the settings (Dimmable, Switched, Always On)
Eos can access and change the settings of individual Sensor modules from the Dimmer Feedback screen. These changes occur in the CEM3 processor, but are not stored anywhere else.
This method can be quick and easy, as you can use Eos groups to access multiple dimmers at once.
Normally you would choose between Dimmable and Switched, though you can also use Always On (circuit is on so long as the rack is powered, no need to switch on/off from console)
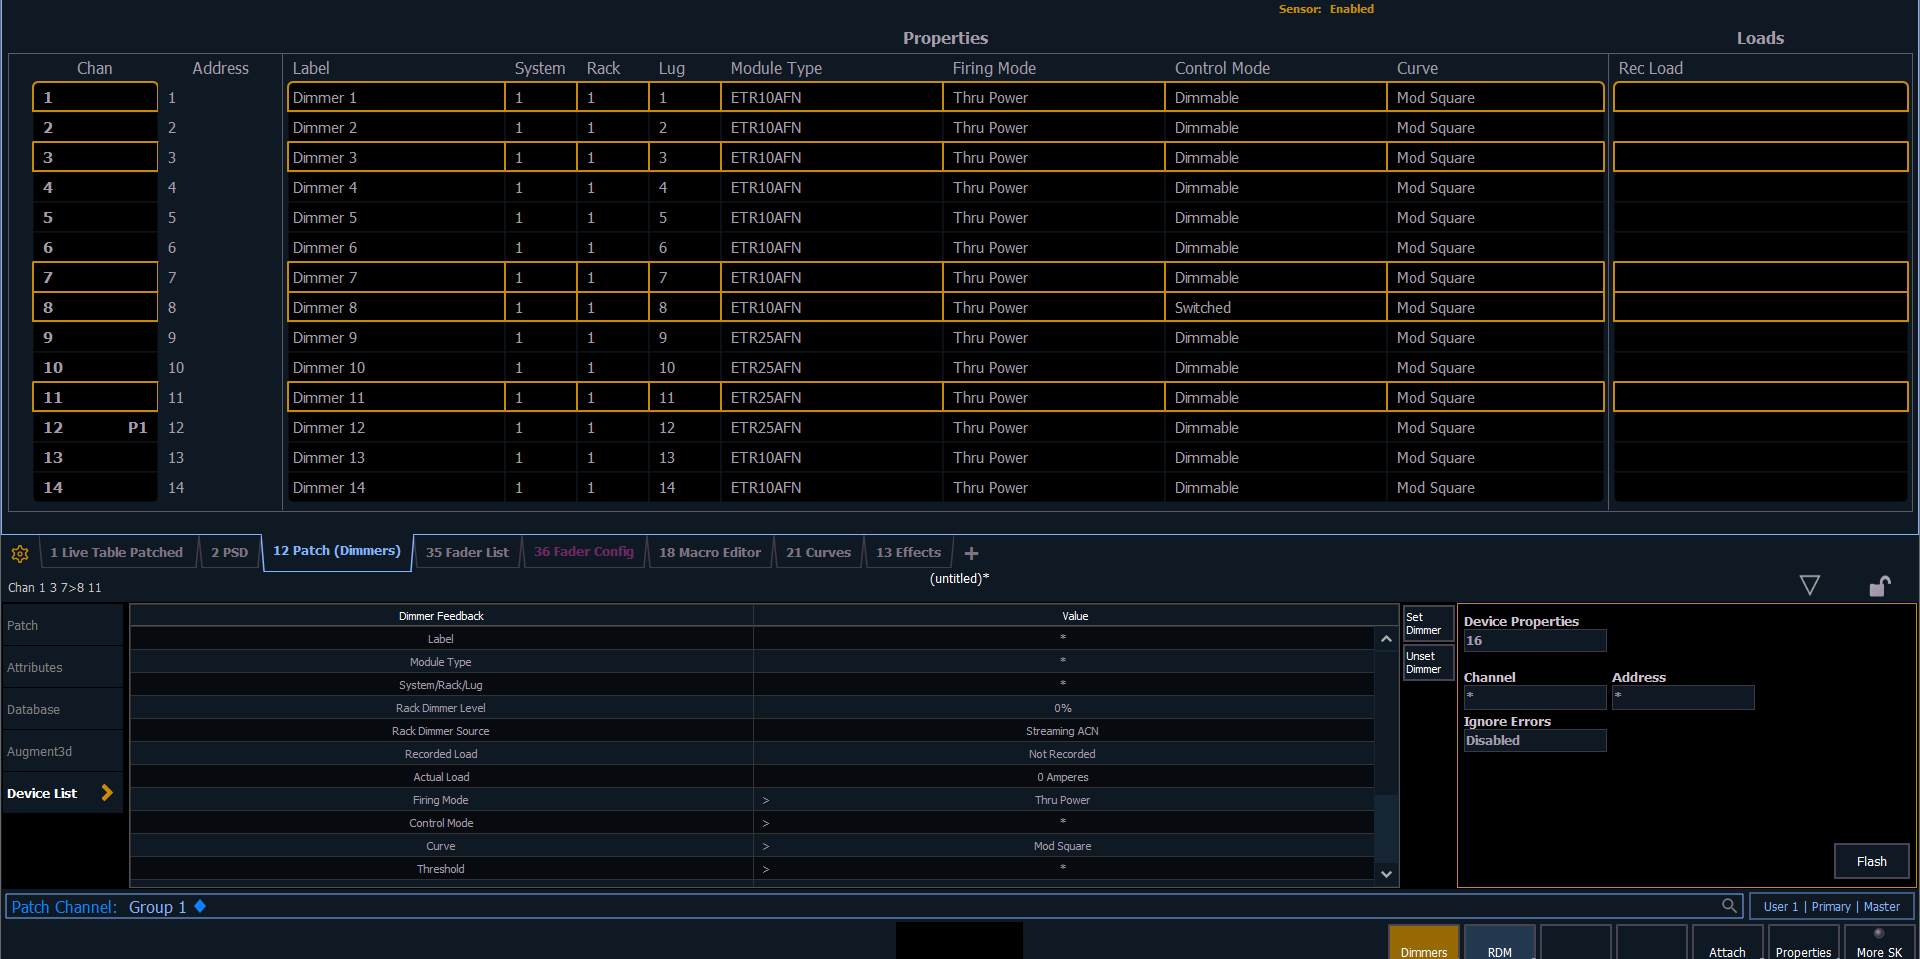
- Ensure Sensor Feedback is enabled, as shown in this article
- Go to Patch > Device List > Dimmers
- You will see a list of Sensor dimmer circuits on the network (if you don't, make sure the Address column is on the left by pressing Format)
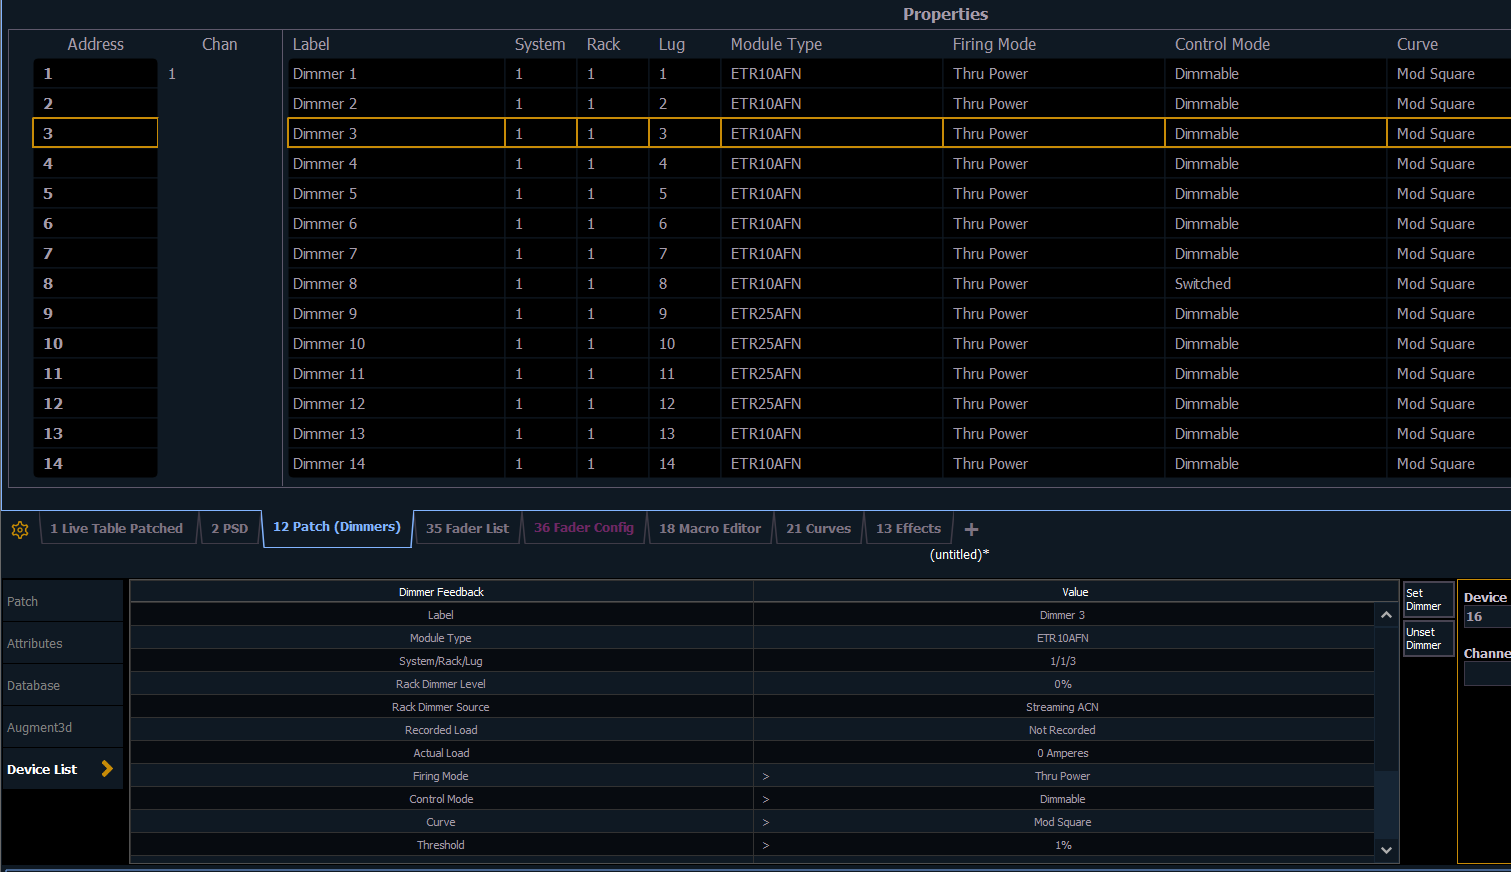
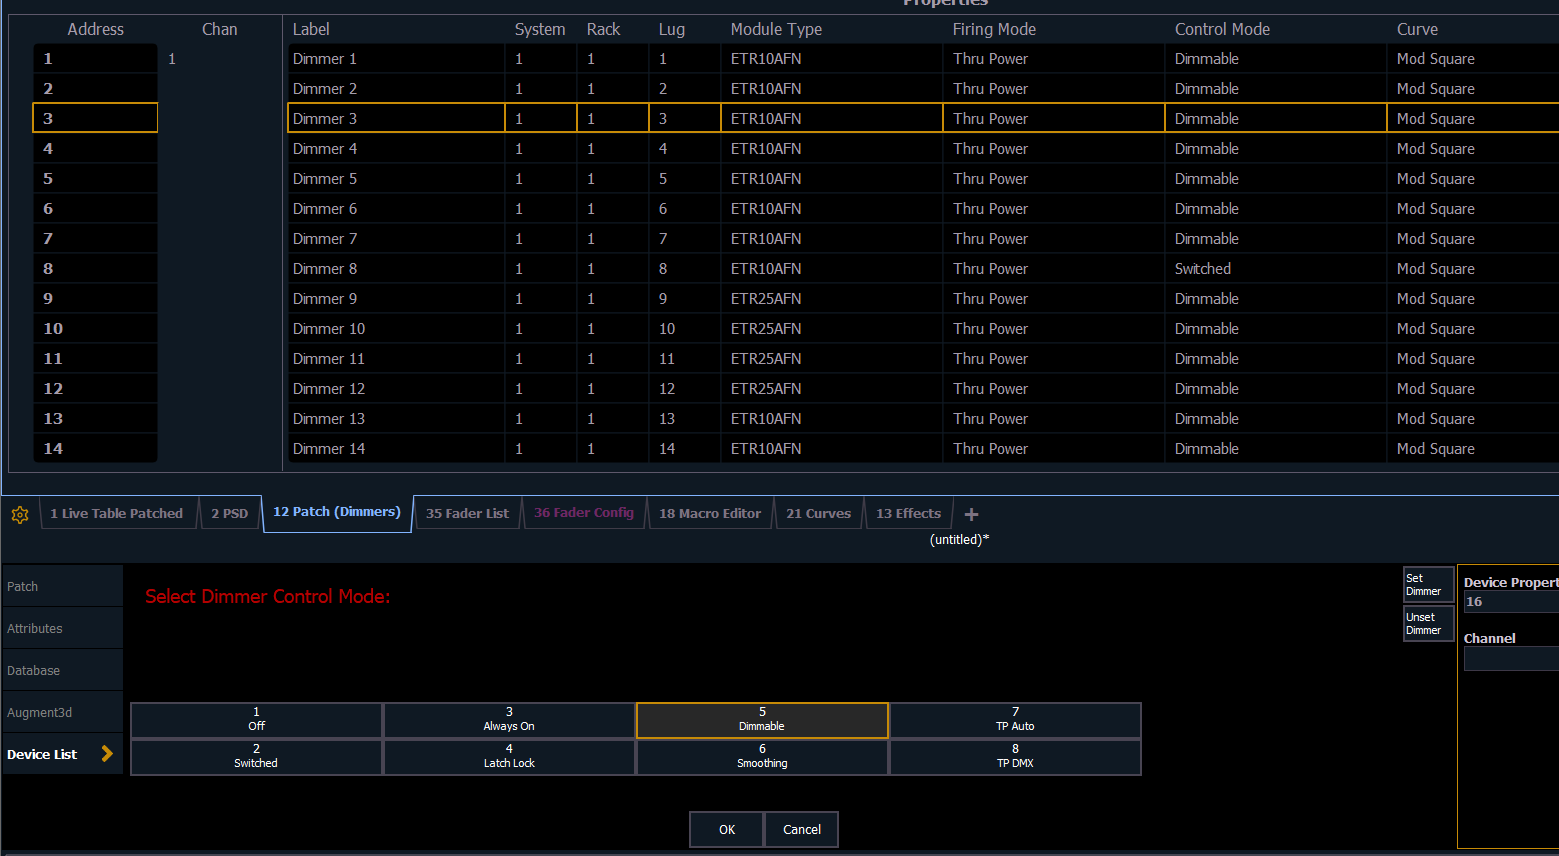
- Select circuits by address to edit their properties, including Control Mode
- You can patch channels directly from this window, using the syntax Address 3 Channel 3 Enter. This attaches the Channel directly to the Sensor circuit on the network
- If you have already patched the normal way, use the Attach softkey to associate this patch with the network dimmers (details on p151 of the Manual)
- Once you have patched, you can use Eos groups to select a range of circuits in this window, and change their Control Mode together
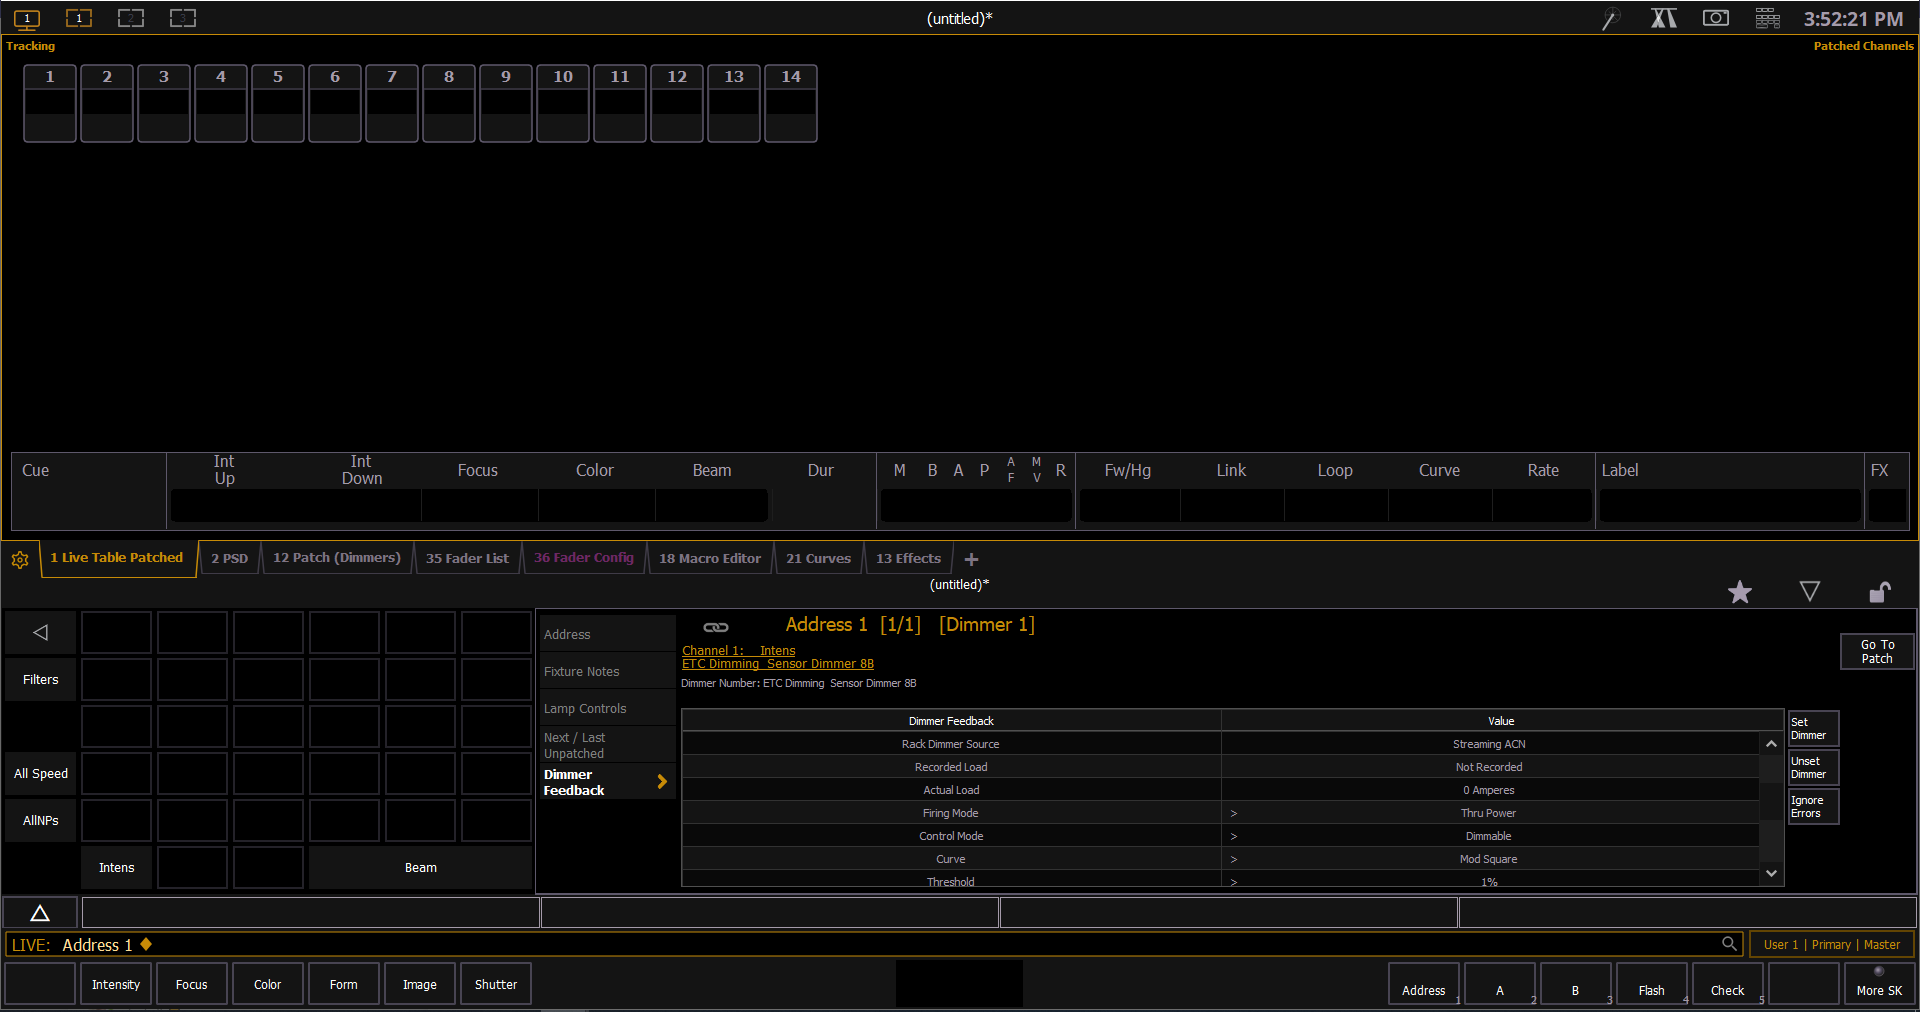
- You can also change individual circuits' modes from Live. Select the Eos channel, press About > Patch, and click on the underlined Address number
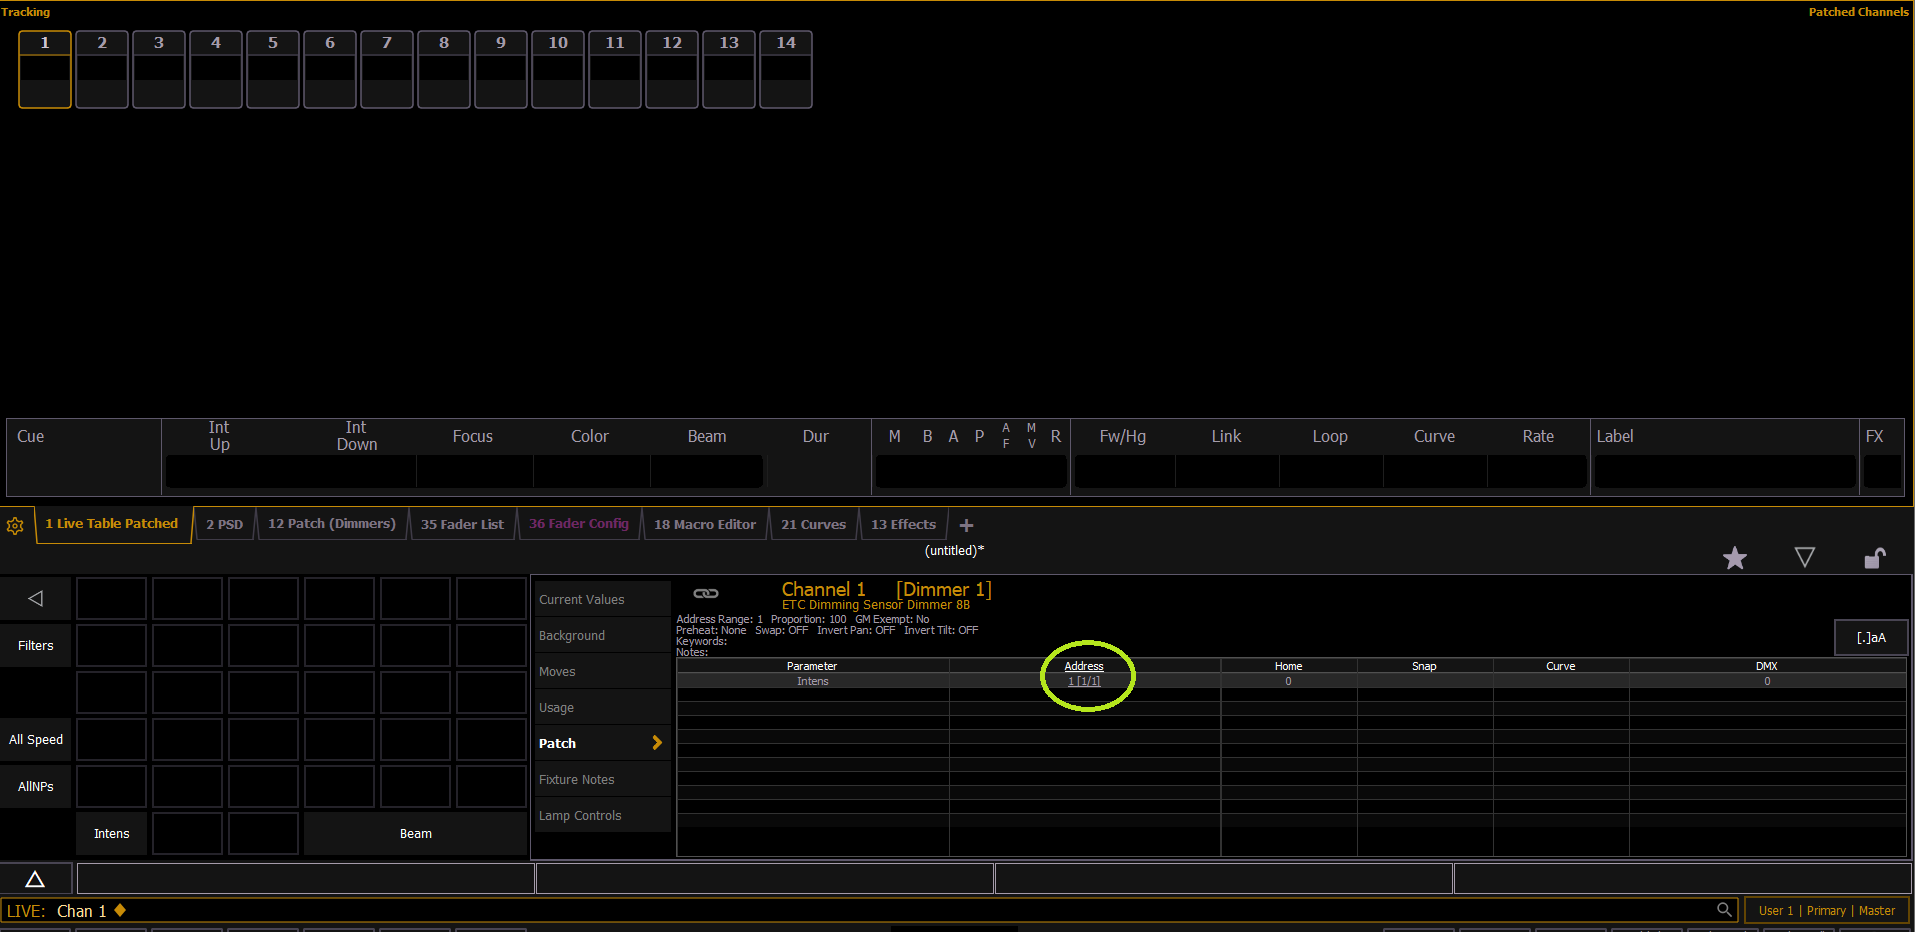
- This takes you to the About display for that address. In the Dimmer Feedback tab you can change the settings of that circuit
Remember, in this method, you are changing the Control Mode manually in the CEM3 processor. This is the same as doing it from Concert, the TPSR app, or the CEM3 facepanel. This information is not stored in the Eos showfile.
Option 2: TPAuto
TPAuto mode uses one DMX channel per Sensor circuit, but splits it up into a dimmed part (DMX values 0-254) and a switched part (255). When the circuit's level is between 0 and 254, the dimmer is engaged, but at level 255 the dimmer is bypassed and the relay is used. Using curves in Eos, it is possible to access either function without changing the Sensor configuration at all.
For dimmer channels, create a curve where input (live) level 100 = output level 99.5
For switched channels, use the built-in "Full at 1%" curve
Note that between levels 254 and 255, you may see a sudden increase in brightness in an incandescent fixture, as the dimmer is bypassed. This is why the top of the dimmer curve should be limited.
Using this method, all your ThruPower modules can be left in TPAuto mode, and their behaviour will be dictated by the curve in the showfile. This is especially useful for rep situations with a quick turnaround between shows - simply opening the showfile will set your outlets to the correct setting.
To create a 0-99.5% curve
- Open the Curve editor (Tab 21)
- Create a new Curve by typing in [1] [Enter], or a curve number of your choice
- Press Softkey 1: "Curve Edit"
- Type "100 @ 99.5 Enter"
- Label the Curve, e.g. "TPAuto Dimmer"
To apply curves to channels
- Open the Patch
- Select a channel
- Go to the Attributes view
- Click on the Curve box to choose one
- The curve you created for dimmer channels
- Curve 905 "Full at 1%" for relay channels

Option 3: TPDMX
This mode is similar to TPAuto, but instead of using the level to determine the control mode, each circuit has 2 DMX addresses - 1 for level, and 1 for mode selection. The second address uses 0-128 for switched, and 129-255 for dimmed, meaning that the 0 value is "safe", and will not accidentally dim a non-dimmable load.
There are two downsides to this method:
- It uses twice as many DMX addresses
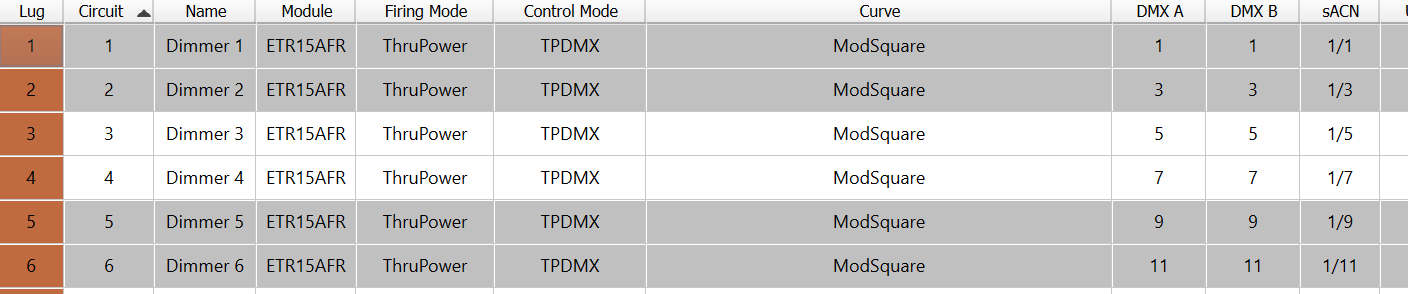
- The mode selection address must always be the next address in sequence - so if the circuit address is 11, the mode selection will be 12, and this can't be changed. This means you can't use sequential dimmer addressing
- Your circuit numbers can still be sequential, but then they won't match your patch numbers, as show below
But if these are acceptable, TPDMX gives you the same advantages as TPAuto without having to use custom curves or fixtures
- Use Concert to set circuits to TPDMX mode, and leave a space between DMX addresses (see image below)
- Patch the first address of each circuit as the normal control channel, and the second address as the mode selector
- Store the levels for the mode channels in a shielded sub so they don't accidentally change during programming
Option 4: Concert on the Console
Concert can be run on all Eos family consoles. It's installed outside of the main Eos software, and can be found in the shell under Maintenance. To update to the most recent version, place the installer on a USB stick and install using the Software Update function.
All dimmer and rack settings can be changed from Concert. The resulting setup can be stored as a Concert file, and you can save multiple Concert files to open later, and push the dimmer settings to the Sensor racks.