SolaSeries Software Update Procedure via Uploader
Step One:
Obtain new released software files from the High End Systems Lighting Fixtures webpage at: https://www.etcconnect.com/Products/High-End-Systems/Lighting-Fixtures/
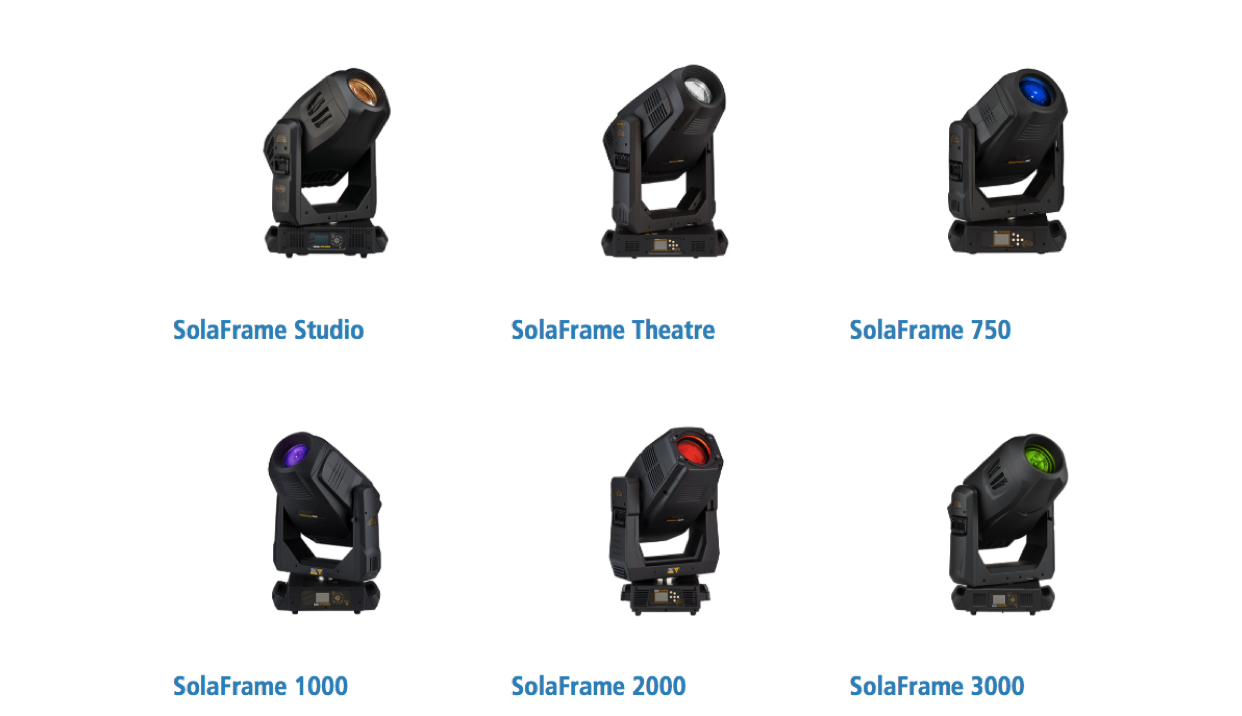
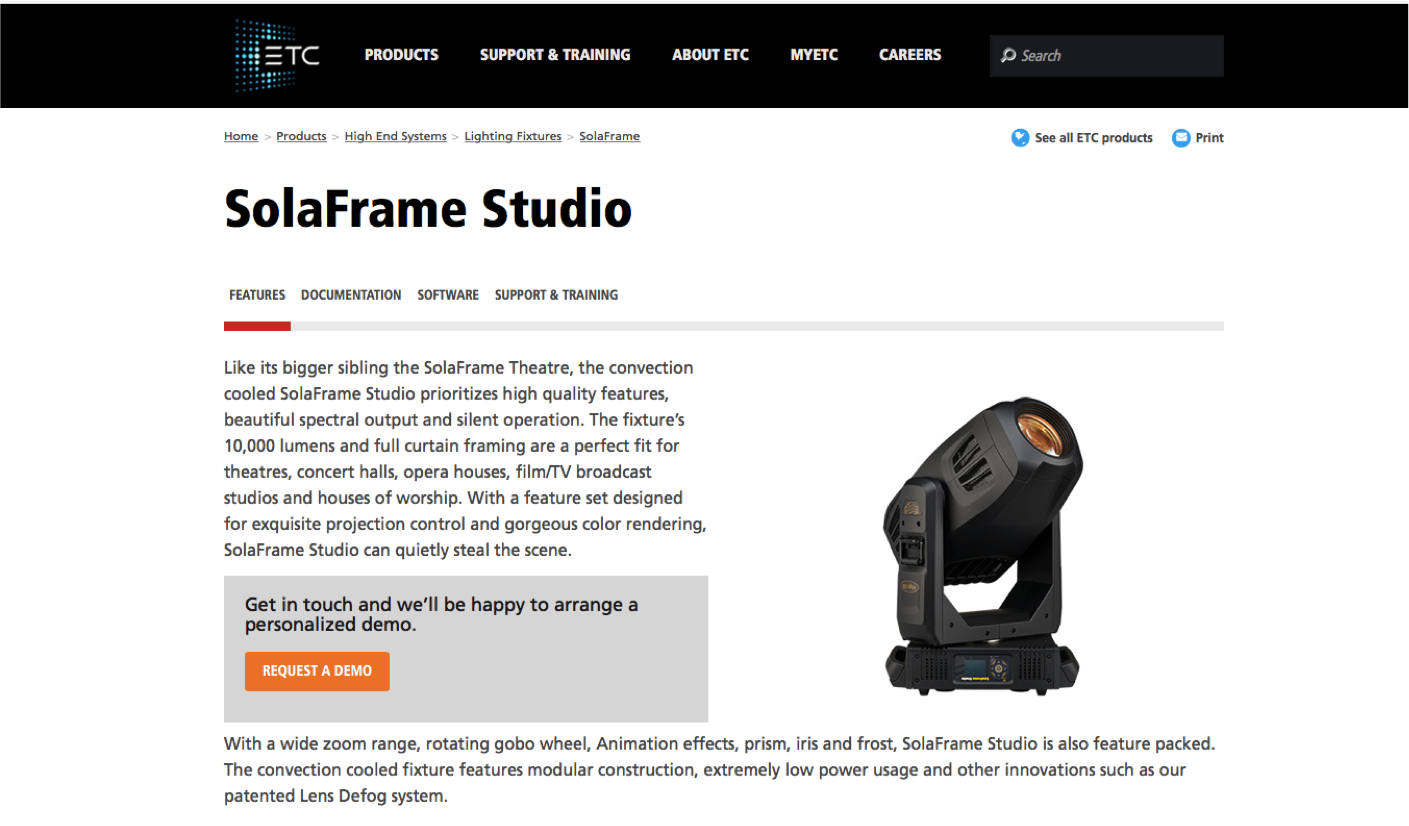
Navigate by fixture family (Frame, Spot, Wash, Hybrid Beam, Effects) to locate and select your product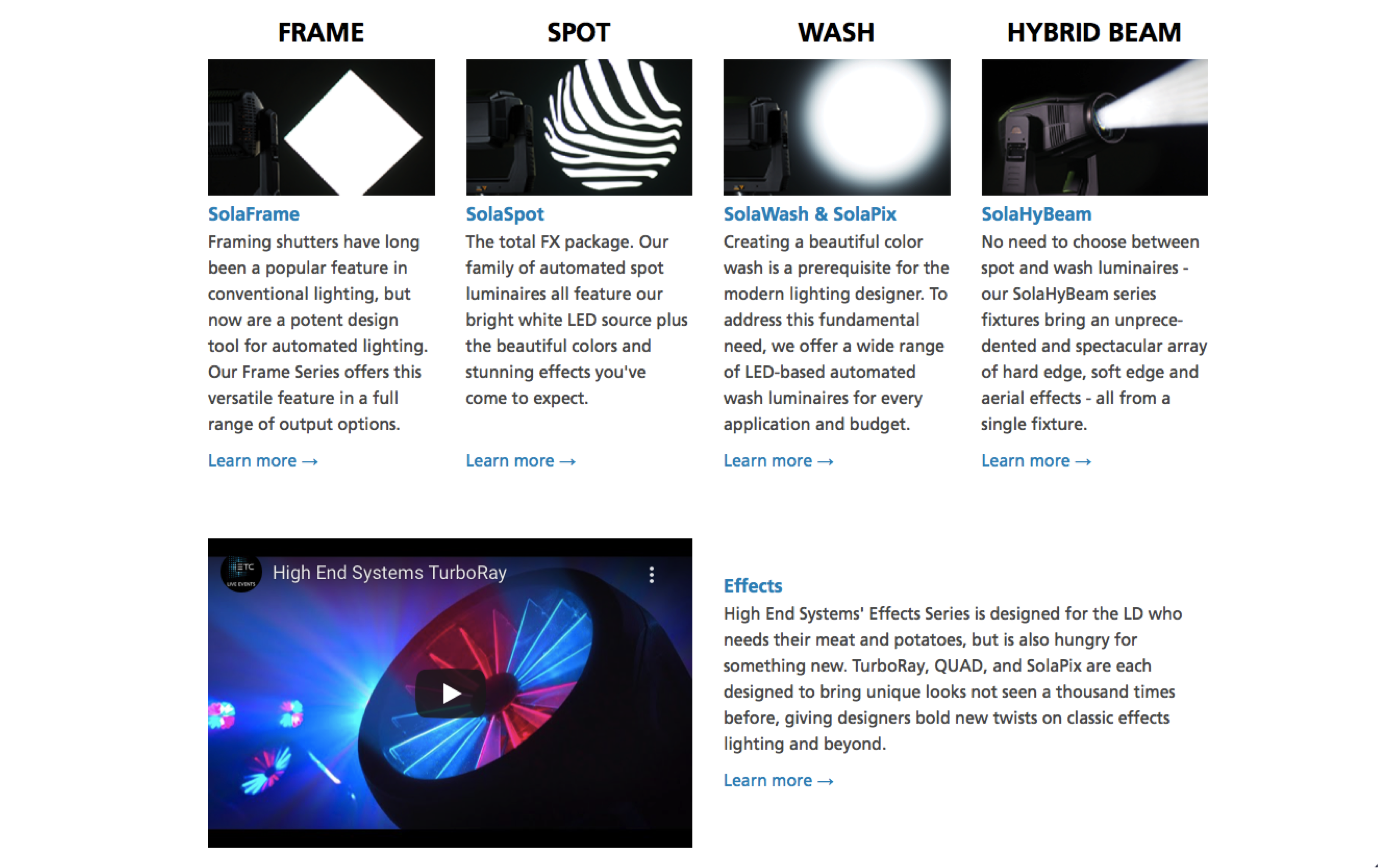
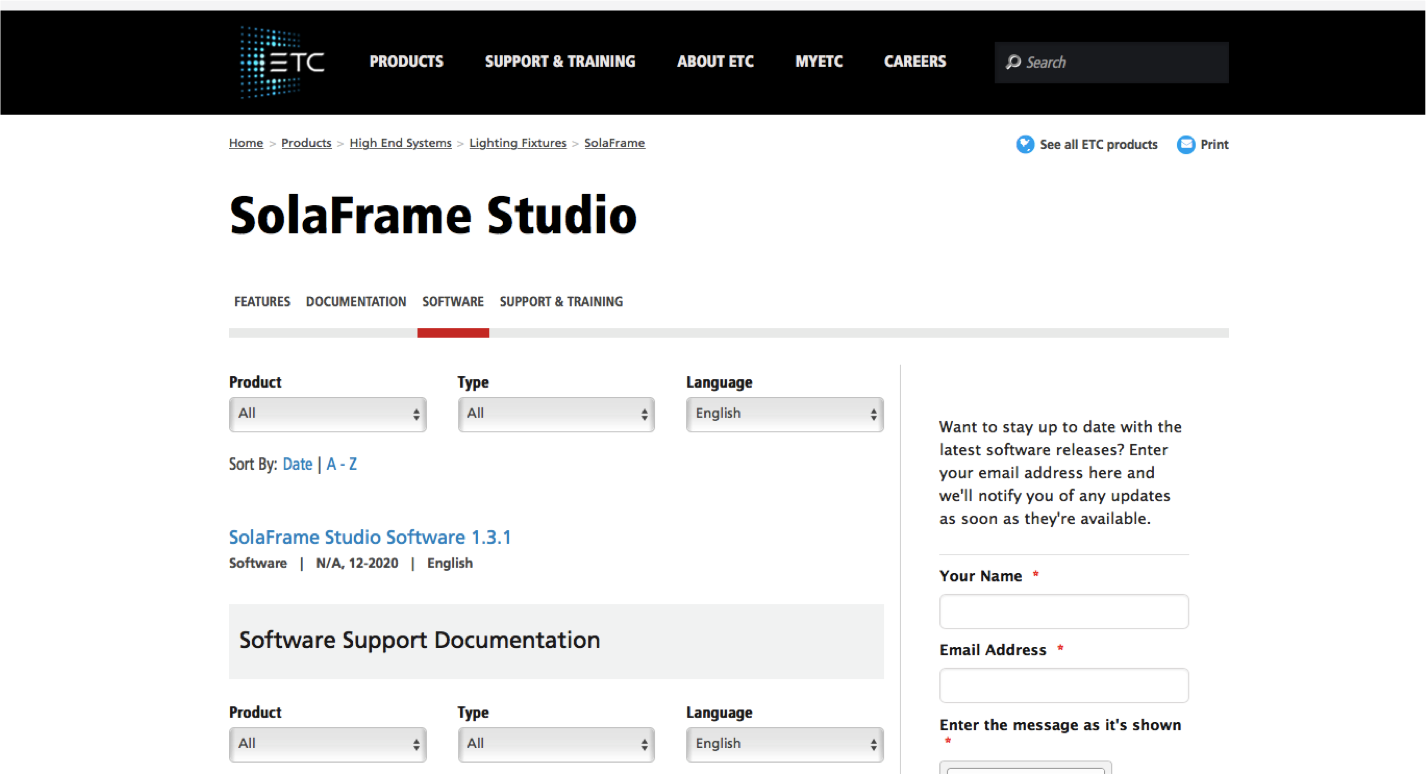
Click the Software tab at the top of the product page and click the highlighted software link to download to your computer
Pro Tip: There are several files within the .zip file. You will need to unzip the file you download
.GSD files are for individual PCB updates and will need to be accepted manually after each packet uploads
.HYD files are for all PCB updates and will automatically trigger the next packet upload when finishing the previous
.NCW files are for USB updates only and can only be used on fixtures that support the USB software install, Learn more here: https://support.etcconnect.com/Source_Articles/HES/Sola_Series_Fixtures/SolaSeries_Software_Update_Procedure_via_USB
Step Two:
Remove the compact flash card from the upload unit and place it in the USB memory card reader
Step Three:
Plug the USB into your computer with the downloaded software files & copy the files to the USB drive.
Pro Tip: If you have multiple fixture types to upload, you can organize the files by creating folders for each fixture and naming them accordingly
Step Four:
Place the compact flash card back in the uploader, the gold side should face toward the front display of the uploader
Step Five:
Connect the uploader to the fixture using 5 Pin DMX. Refer to the list below before plugging DMX into the fixture.
Pro Tip: Multiple fixtures of the same type can be uploaded on a single DMX line in batches of 20. Each fixture must be powered ON
-----------------------------------------------------------------------------------------------------------------------------------------------------------------------------------------------------------------------------------------
The Following Fixtures may be uploaded in groups of 5 fixtures at a time via DMX chain:
CAUTION:These fixtures MUST be powered down before connecting them to the upload unit. Please ensure that these fixtures are powered off at least 5 seconds prior to powering on and beginning an upload.
Technospot, TechnoArc, SolaWash 19, SolaWash 37, SolaSpot, SolaFrame 1500, ShapeShifter C1, ShapeShifter W1, ShapeShifter C2, ShapeShifter W2, SolaSpot Pro CMY
NOTE: The TurboRay requires a unique uploading device. Please contact your regional sales manager to purchase or obtain this device.
----------------------------------------------------------------------------------------------------------------------------------------------------------------------------------------------------------------------------------------
-----------------------------------------------------------------------------------------------------------------------------------------------------------------------------------------------------------------------------------------
Step Six:
Turn on the uploader and press the Mode/ESC button to display the menu screen
if you have multiple folders available, select the correct folder for the fixture that you would like to upload
Step Seven:
Power ON all fixtures (of the same type)
The display on the fixtures will all show “Long Wait.”
If the fixture requires a power cycle before the upload, you will have 30 seconds to start the upload, otherwise the fixture will boot normally.
Step Eight:
On the uploader, scroll to the .GSD or .HYD software file you wish to update and press the center button.
During the upload, the fixture display will show a status bar with scrolling numbers indicating upload progress
Step Nine:
If you are uploading via the individual .GSD files, you will be prompted after each packet to go to the next; when finished, the uploader will give you an option to reset the fixture
If you are uploading via the complete .HYD files, the fixture will automatically reset
Step Ten:
Unplug the uploader from the fixture and turn off the uploader
Pro Tip: to charge your HES Uploader, use the included USB power cable and either charge using the wall plug adapter or a USB charging port
NOTE: If the fixture update was a success, you will be able to verify the correct software version on each PCB by navigating to INFO > Software Version and scrolling through each PCB in the display menu of the fixture