Frontpanel Functionality in SmartFade
General Buttons
All buttons have LED’s. Some are multi-color. They light up when active, and blink when they can be selected for the current function.
Power button
The power button is used to power up and shut down the system. See “Power-up and Shutdown Procedures”

Clear button
The CLEAR button is used to clear intensities and set memory faders to zero (press 2-4 times). Nothing is deleted, it only sets levels to zero.
It can also be held with other buttons for some special functions, this is described in this manual where it so applies. See “Clear”

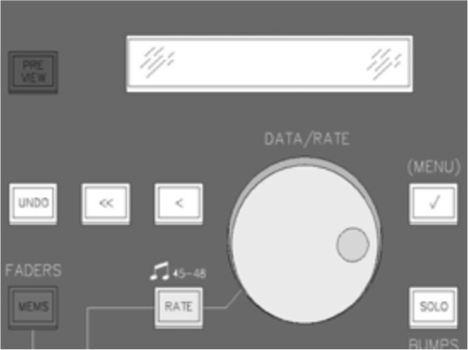
Undo
The UNDO button is used to reverse some specific situations. This applies only to the last performed command, and there is only one level of undo.

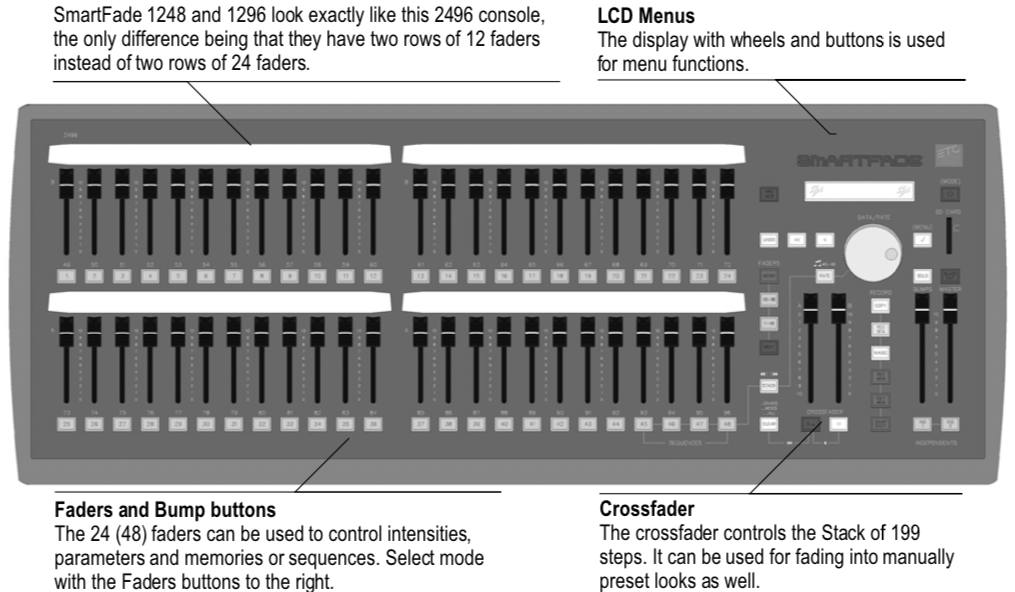
Faders & Bump buttons
There are 24 (48) faders. They can be set to control intensities or memories and sequences. These modes are set with the FADERS buttons.

 or
or 

Each fader has a Bump button below it. This button will light up when there is content, and it will mimic the output of the content by varying its intensity. The button color will vary depending on the type of content.
 ...
...  or ...
Bump Playback Modes
There are two Bump modes when a Bump button is pressed, Pile-on and Solo. Both use the level of the BUMPS fader. The SOLO button toggles between these modes. See “Bump Master”

Note: For intensity faders to control light output live, three things are required:
- The Master Fader is over zero, and normally set to full (the topmost position).
- The BLACKOUT button is off (not lit)
- The NEXT button is off (not lit).
Master & Black Out function
 |
The Master fader proportionally limits all intensity outputs. The Blackout button instantly sends all intensities generated by the console to zero. See “Master & Black Out function” |

Independents
The two Independent buttons are separate control channels (IND 1, IND 2) that can control any outputs in a toggle or bump mode. These outputs can be separated from all other controls. See “Set up Independents.”


Crossfader
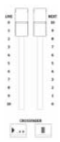 |
The Crossfader consists of a Live and Next fader, plus the Crossfade transport buttons. It can be used for fading between the 199 steps of the programmable Stack, or for single- scene fading into intensities that are set blind in NEXT mode. Stack & Crossfader. The following buttons are used together with the crossfader |


Sequence & Stack functions
These buttons are used to program and edit Sequences in the Mems faders, and the Stack of the Crossfader. See “Sequences." See “Stack.”


Record & Edit functions
The row of buttons under the wheel offer recording and editing functions.


LCD & Wheel Functions
The LCD menu provides quick access to functions.
Main functions
| Action | Console | Feedback | |
|---|---|---|---|
| Activate menus |  |
 |
|
| Scroll through choices | Wheel | Choices are shown over the wheel. Use the Menu button again to move to subsequent levels, and to accept setting changes. | |
| Previous choice |  |
Return to previous menu level. | |
| Exit |  |
Cancels out of the menus. | |
LCD - Preview mode
In preview mode it’s possible to see programmed intensities for MEMS faders 1-24
| Action | Console | Feedback |
|---|---|---|
| Activate preview mode |  |
Bumps 1-24 start blinking. Press again to deactivate preview mode. |
| Select fader | ...  |
The selected Bump stops blinking. The LCD(s) will show intensities for the currently selected fader mode. |